
Related Manuals for ATI Technologies ATP7500


Summary of Contents for ATI Technologies ATP7500
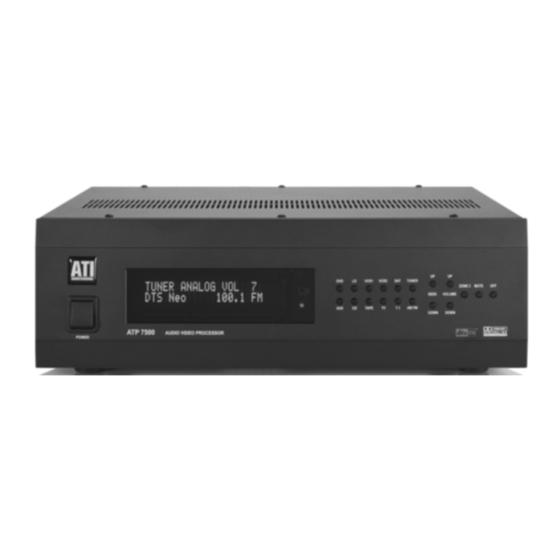
- Page 1 All manuals and user guides at all-guides.com ATP7500 DIGITAL PREAMPLIFIER-PROCESSOR OWNER’S GUIDE TRANSLATING TECHNOLOGY...
-
Page 2: Safety Instructions
All manuals and user guides at all-guides.com Please Read First Safety Instructions WARNING: TO REDUCE THE RISK OF FIRE OR ELECTRIC SHOCK, DO NOT EXPOSE THIS UNIT TO RAIN OR MOISTURE. Read all the safety and operating instructions before connecting or using this unit. CAUTION: To reduce the risk of electrical shock, do not remove the cover (or back). -
Page 3: Table Of Contents
Please read this manual thoroughly and carefully follow all instructions to ensure maximum utility and In the unlikely event that the ATP7500 was damaged in enjoyment from your investment. This important information shipment, be sure to save the carton and all packing material will help you make certain that the preamplifier-processor is as evidence for the freight carrier’s inspection. -
Page 4: General Recommendations
General Recommendations Precautions Before you begin the SETUP, we strongly recommend that you • Install the ATP7500 on a solid shelf. take a few moments to: • Be sure that the area surrounding the unit is well • Familiarize yourself with the controls and functions of the ventilated and not near a heat source of any kind. -
Page 5: System Setup
All manuals and user guides at all-guides.com System Setup We urge you, at least the first time you set up your system, to 2. Speaker Distance take the time and thoroughly follow each of the following You will need to set the distance, in feet, between your listening position and each speaker. - Page 6 All manuals and user guides at all-guides.com Advanced Input Assignment: Analog Input Name Change 6. Calibration This set is available should you wish to rename any of the You must calibrate the relative level of each channel to get a analog inputs.
-
Page 7: Rear Panel Connections
For each of these labeled inputs, you can plug in one video input, allowing for a choice of the type of connection: either a The RS232 port allows the control of the ATP7500 from a choice of Composite Video and S-Video or Component Video distant programmed controller (such as a Crestron system). -
Page 8: Typical Source Connections
All manuals and user guides at all-guides.com Typical Source Connections Here is a typical source connection for the ATP7500. It is shown only as an example and is by no means mandatory. There are endless possibilities regarding what and how you can connect to the rear panel. -
Page 9: 5.1 Speaker Setup & Configuration
All manuals and user guides at all-guides.com 5.1 Speaker Setup & Configuration ATP7500 Rear Panel Five Channel Power Amplifier Powered Woofer Page 9 Listening Room... - Page 10 All manuals and user guides at all-guides.com 6.1 Speaker Setup & Configuration ATP7500 Rear Panel Channel Power Amplifier Powered Woofer Page 10 Listening Room...
-
Page 11: 7.1 Speaker Setup & Configuration
All manuals and user guides at all-guides.com 7.1 Speaker Setup & Configuration ATP7500 Rear Panel Seven Channel Power Amplifier Powered Woofer Page 11 Listening Room... -
Page 12: Remote Control Operation
These keys work exactly the same way as the rotating volume control on the front panel. If the ATP7500 is in the mute mode (after you have pressed the MUTE key on the handset), and you then press the VOLUME... - Page 13 All manuals and user guides at all-guides.com MENU M1, M2, M3 and M$ When you press this key, the ATP7500 goes to setup mode. These macro buttons can send out a sequence of up to ten Use the up/down/left/right keys to navigate the menus.
-
Page 14: Remote Control Programming
The remote allows you to transfer a command from a button on your source remote control (original equipment remote control) to a button on the ATP7500 remote control. In the CD, DVD, AUX, SAT, TV,VCR and CBL device modes, new commands can be taught to any button except the LIGHT button. -
Page 15: Volume Punch Through
All manuals and user guides at all-guides.com To Erase a Learned Command Volume Punch Through From a Button The user can have the Audio Volume controls (VOL , VOL Step 1. Press the Device button and SELECT buttons and MUTE) operate in any of the eight Device modes. simultaneously, and hold until the orange Status LED and the Device button turn on and remain lit. -
Page 16: Programming A Macro Sequence
All manuals and user guides at all-guides.com Programming the Macro Buttons Programming a Macro Sequence An Example Macro buttons (M1, M2, M3, M4 and POWER) can send out a sequence of up to ten (10) commands with one button press. To program the M1 button in the AVC mode to turn on the Macros can be programmed in both the AVC and SAT modes receiver, turn on the CD, turn on the TV and turn on the VCR. -
Page 17: Replacing The Ac Power Fuse
1749 Chapin Road Montebello, CA 90640 Care and Maintenance Phone: 818-343-4777 Great care has been taken to ensure that your ATP7500 Email: sales@ati-amp.com preamplifier/processor is as flawless in appearance as it is in performance. The front panel is finished with a high-grade It is important that you include a note describing the exact anodizing process for durability as well as beauty. -
Page 18: Specifications
All manuals and user guides at all-guides.com Specifications All Specifications refer to 1 Vrms and 0 dBf digital or 2 Vrms analog input, except when stated. Input Level 200mVrms Output Level (Preamp) 3.5 Vrms Input Impedance 15 k Ohms Total Harmonic Distortion (Stereo Source) <0.03% Total Harmonic Distortion (7.1 Channel Source) 0.003%... - Page 19 All manuals and user guides at all-guides.com 90-Day Limited Warranty Transferability Terms and Conditions The above warranties are transferable to subsequent (7-Year Optional Extended Warranty) owners as long as all the conditions are met under the Optional Extended Warranty Program. The warranty is not This ATI product is warranted against defects in materials and transferable if the unit(s) was originally purchased from an workmanship for 90 days from the date of purchase by the...
- Page 20 All manuals and user guides at all-guides.com Amplifier Technologies, Inc. 19528 Ventura Boulevard #318 Tarzana, CA 91356 (818) 343-4777 Fax: (818) 343-7444 http://www.ati-amp.com Revision 1.0 EMAIL: sales@ati-amp.com...
Need help?
Do you have a question about the ATP7500 and is the answer not in the manual?
Questions and answers