Table of Contents
Advertisement
Quick Links
Advertisement
Table of Contents

Related Manuals for Celestron POPULAR SCIENCE TRAVEL SCOPE 60


Summary of Contents for Celestron POPULAR SCIENCE TRAVEL SCOPE 60
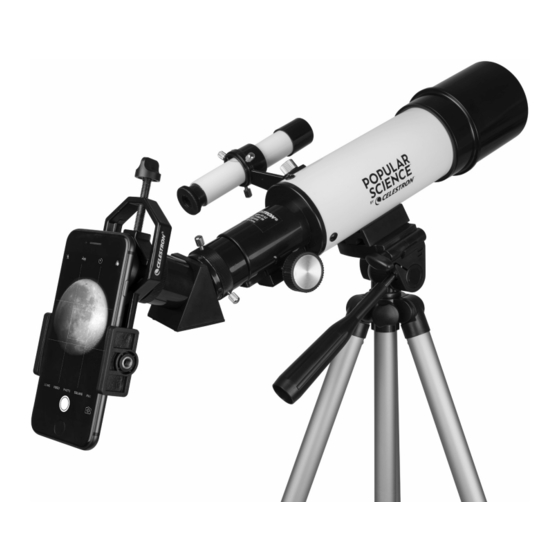
- Page 1 INSTRUCTION MANUAL Model #22006...
-
Page 2: What's In The Box
WHAT’S IN THE BOX We recommend saving your telescope box so it can be used to store the telescope when it is not in use. Unpack the box carefully as some parts are small. Use the parts list below to verify that all parts and accessories are present. PARTS LIST Optical Tube OTHER INCLUDED ACCESSORIES:... -
Page 3: Attaching The Telescope Optical Tube To The Tripod
ATTACHING THE TELESCOPE OPTICAL TUBE TO THE TRIPOD The telescope optical tube attaches to the tripod using the mounting bracket on the bottom of the optical tube and the tripod head platform. Before starting, make sure all of the knobs on the tripod are locked. 1. -
Page 4: Telescope Basics
ALIGNING THE Objective Lens Adjustment Screws Eyepiece FINDERSCOPE The finder is one of the most important parts of your telescope. It helps you locate objects and center them in the eyepiece. The first time you assemble your telescope, you need to align the finder to the telescope’s main optics. It’s best to do this during the day*. -
Page 5: Installing & Using The Barlow Lens
INSTALLING & USING THE BARLOW LENS 3x Barlow Lens Your telescope also comes with a 3x Barlow lens which triples the magnifying power of each eyepiece. To use the Barlow lens, insert the Barlow between the diagonal and the eyepiece. NOTE: Start by using a low power eyepiece as it will be easier to focus. - Page 6 USING THE BLUETOOTH REMOTE To insert or replace the battery, place your thumb in the center Press and hold the button on the remote for 5 seconds. A blue Using the Bluetooth settings on your phone, pair the device of the back cover, pressing inward and sliding downward remove light will turn on and, after a few seconds, start to blink.
-
Page 7: General Observing Hints
Your telescope was designed for terrestrial observation as well as celestial viewing. WARRANTY Your telescope has a Two Year Limited Warranty. For detailed information and to register your new product, please visit celestron.com/pages/warranty. SAFETY INSTRUCTIONS • Risk of explosion if battery is replaced by an incorrect type.
Need help?
Do you have a question about the POPULAR SCIENCE TRAVEL SCOPE 60 and is the answer not in the manual?
Questions and answers