Advertisement
INSTALLATION
INSTRUCTIONS
WIRELESS DIGITAL ROOM
THERMOSTAT AND RECEIVER
TABLE OF CONTENTS
Pack contains........................................................................................................... 1
Installation - Receiver .............................................................................................. 1
Mounting of wall mouting plate ................................................................................................. 1
Wiring ......................................................................................................................................... 1
Mounting of the receiver ............................................................................................................ 1
Installation - Thermostat ......................................................................................... 2
Installing batteries ...................................................................................................................... 2
Mounting of thermostat ............................................................................................................. 2
Pairing procedure .................................................................................................... 2
Operating states of the system ................................................................................................... 3
Troubleshooting ...................................................................................................... 3
Technical specifications ........................................................................................... 3
PACK CONTAINS
Override
RF Test
x1
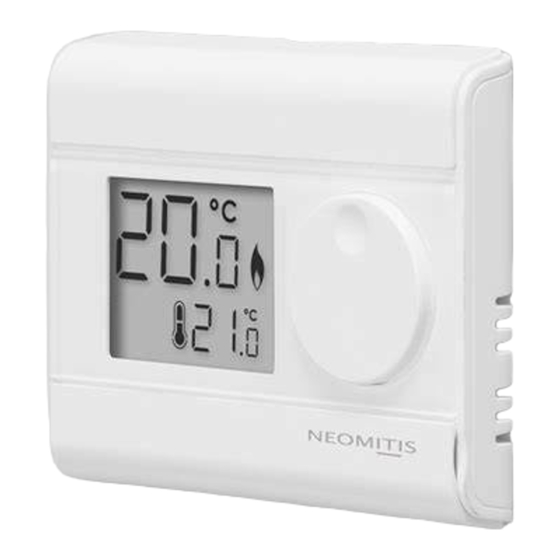
Thermostat
x2
AA Batteries (LR6)
RTE0RFA NEO ENG DH V08 18 08 2020
RTE0RFA
x1
x1
Receiver
Thermostat table stand
x4
x4
Screw Anchor
Screws
INSTALLATION - RECEIVER
For best performance, do not mount the receiver on metal wall boxes and leave at
least 30 cm distance from any metal objects including wall boxes and boiler housing.
MOUNTING OF WALL MOUTING PLATE
The receiver is fixed on the wall with the standard wall plate which is supplied with the
product.
1- Unscrew the 2 screws under the
receiver.
x2
3- Secure the wall plate with the two
screws provided using the horizontal
and vertical holes.
WIRING
All electrical installation work should be carried out by a suitably qualified
Electrician or other competent person. If you are not sure how to install
this thermostat consult either with a qualified electrician or heating
Engineer. Do not remove or refit the receiver onto the backplate without
the mains supply to the system being isolated.
All wiring must be in accordance with IEE regulations. This product is for fixed wiring
only.
230V Connections
Standard wallplate
supplied with the
receiver
N
L
1
2
3
4
Power supply
Power out
230V~ 50Hz
230V~ 50Hz
N = Neutral
L = Live
1 = Not used
2 = Not normally used
3 = Common - Power In 230V
4 = Call for heat - Power out 230V
NOTE: The unit is double in insulated so does not require and earth but a terminal is
supplied for the spare wire.
MOUNTING OF THE RECEIVER
1- Replace the receiver on the wall
mounting plate.
2- Remove the wall plate from the
receiver.
4- In case of surface mounting, a knock
out area is provided on the wall plate
and on the corresponding area of the
receiver.
Voltage Free Connections
Standard wallplate
supplied with the
receiver
N
L
1
2
3
4
230V Connection
In
out
In / out : Voltage
Free Connections
N = Neutral
L = Live
1 = Not used
2 = Not normally used
3 = Common - Power In: Voltage Free Connec-
tions
4 = Call for heat - Power Out: Voltage Free
Connections
2- Secure the receiver by screwing the
both locking screws under the receiver.
x2
1
Advertisement
Table of Contents

Summary of Contents for Neomitis RTE0RFA
- Page 1 MOUNTING OF THE RECEIVER 1- Replace the receiver on the wall 2- Secure the receiver by screwing the mounting plate. both locking screws under the receiver. AA Batteries (LR6) Screw Anchor Screws RTE0RFA NEO ENG DH V08 18 08 2020...
-
Page 2: Pairing Procedure
INSTALLATION - THERMOSTAT 5- Secure the thermostat by screwing the locking screws under the thermostat. Recommended locations for your thermostat. To ensure that your thermostat provides accurate readings and controls effectively, it must be installed approximately 1.5 m above floor level on an inside wall, away from •... -
Page 3: Technical Specifications
Prog Boost OPERATING STATES OF THE SYSTEM Manufactured by: Neomitis Ltd (contactuk@neomitis.com) EU declaration of conformity: We hereby declare under our sole respon- sibility that the products described in these instructions comply with the States of the indicator light Operating states of the thermostat... -
Page 4: Controls And Display
............................2 ........................... 2 ...................... 2 ................... 2 What is a room thermostat ..................2 OVERVIEW Override RF Test Override RF Test CONTROLS AND DISPLAY • Thermostat Override RF Test Override RF Test RTE0RFa NEO ENG CP V05 07 08 2020... -
Page 5: What Is A Room Thermostat
OPERATING STATES OF THE SYSTEM TECHNICAL SPECIFICATIONS Green WHAT IS A ROOM THERMOSTAT OVERRIDE Override RF Test FACTORY SETTINGS Set temperature NEOMITIS ® LIMITED - 16 Great Queen Street, Covent Garden, London, WC2B 5AH UNITED KINGDOM Registered in England and Wales No: 9543404 www.neomitis.com...


Need help?
Do you have a question about the RTE0RFA and is the answer not in the manual?
Questions and answers