Advertisement
Quick Links
Advertisement

Subscribe to Our Youtube Channel
Related Manuals for Crosley Furniture Stanton CF3121


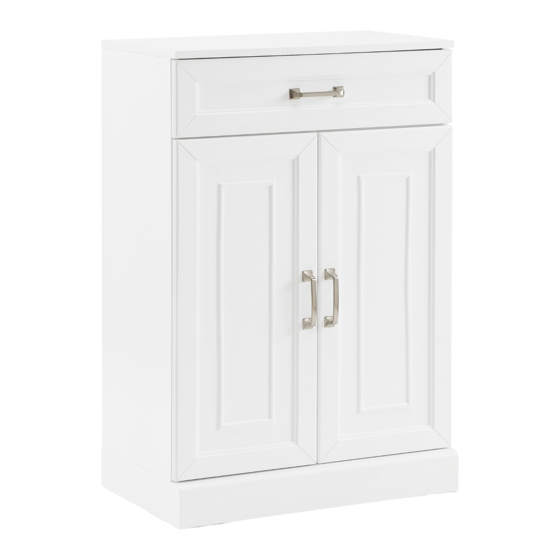
Summary of Contents for Crosley Furniture Stanton CF3121
- Page 1 Storage Cabinet CF3121...
-
Page 2: Part List
PART LIST Top Panel Left Panel Right Panel Cross Rail Bottom Panel 1 PC 1 PC 1 PC 1 PC 1 PC Drawer Front Drawer Right Drawer Back Drawer Bottom Drawer Left Panel Panel Panel Panel Panel 1 PC 1 PC 1 PC 1 PC 1 PC... -
Page 3: Hardware List
HARDWARE LIST Ø1/4"*25mm Ø1/4"*11mm Ø1/4"*13mm 4mm*90 Ø8*30mm Bolt Spring Washer Flat Washer Allen Wrench Wood Dowel 1 PC 10 PCS (Extra 1) 10 PCS (Extra 1) 10 PCS (Extra 1) 12 PCS (Extra 1) 6*3*15mm 7*3.5*15mm Magnet Round Head Door Hinge Screw Handle Screw... - Page 4 Step 1. Attach magnet (part #6) to cross rail (part D) using round head screws (part #7) and phillips head screwdriver. Attach handle (part #10) to drawer front panel (part F) using short round head bolts (part #12) and phillips head screwdriver. Step 2.
- Page 5 Step 3. Attach drawer panels (parts G & H) to drawer front panel (part F) using long screws (part #16) and phillips head screwdriver. Slide drawer bottom panel (part J) into the grooves of assembled unit (parts F, G & H). Attach drawer back panel (part I) to assembled unit (parts G, H &...
- Page 6 Step 5. Attach top panel (part A) to assembled unit (parts B & C ) using wood dowels (part #5), bolts (part #1), spring washers (part #2), flat washers (part #3) and allen wrench (part #4). Step 6. Attach bottom panel (part E) to assembled unit (parts B & C) using wood dowels (part #5), bolts (part #1), spring washers (part #2), flat washers (part #3) and allen wrench (part #4).
- Page 7 Step 7. Carefully turn unit upright. Attach back panel (part M) to assembled unit (parts A, B, C & E) using short screws (part #14) and phillips head screwdriver. x 16 Step 8. Place shelf holders (part #13) into desired position and slide adjustable shelf (part N) and assembled drawer into place.
- Page 8 Step 9. Attach door panels (parts K & L) to panels (parts B & C) using screws (part #9) and phillips head screwdriver. NOTE: It is important to adjust levelers once fully assembled and uprigft. Extend adjustable leveler until it's firmly in contact with the floor.
- Page 9 8*3*15mm 8*4*35mm Wall Anchor Bracket Safety Strap Short Screw Long Screw Safety Wall Strap 1 SET 1 PC 2 PCS 1 PC 1 PC 1 PC SAFETY WALL STRAP INSTALLATION Note: It is highly recommended to install this safety strap kit to prevent tipping, damage and/or injury.
Need help?
Do you have a question about the Stanton CF3121 and is the answer not in the manual?
Questions and answers