TESmart HKS0802A1U User Manual
4-port dual monitor hdmi kvm switch
Hide thumbs
Also See for HKS0802A1U:
- User manual (40 pages) ,
- User manual (40 pages) ,
- User manual (16 pages)
Table of Contents
Advertisement
Quick Links
Advertisement
Table of Contents

Related Manuals for TESmart HKS0802A1U


Summary of Contents for TESmart HKS0802A1U
- Page 1 4-Port Dual Monitor HDMI KVM Switch USER MANUAL HDMI Dual...
-
Page 3: Packing List
HDMI Dual Features: Using only 1 set of keyboard, mouse and 2 monitors to control 2 Ÿ computers Support Unix/Windows/Debian/Ubuntu/Fedora/Mac OS Ÿ X/Raspbian/Ubuntu for Raspberry Pi and other Linux basic system Support resolution up to 3840*2160@60HZ Ÿ Support hot plug, disconnect or connect devices to the KVM at Ÿ... -
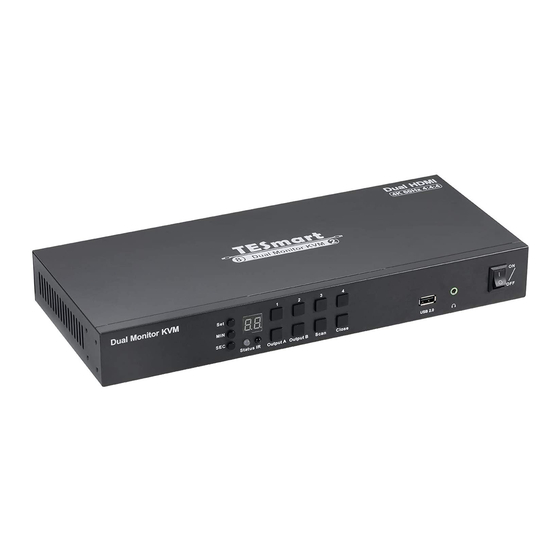
Page 4: Panel Description
HDMI Dual Panel Description: Output A Input A Input A Input A Input A DCCI PC 4 PC 3 PC 2 PC 1 USB 2.0 DC 12V Input B Input B Input B Input B Output B 8 10 8 11 15 16 Name Description... - Page 5 HDMI Dual Name Description Keyboard and Connect to keyboard and mouse mouse input HDMI output ports Connect to HDMI displays HDMI input A/B:Connect to the two outputs of the same computer PC 4 Input USB:Connect to computer by USB Type A to Type B cable HDMI input A/B:Connect to the two outputs of the same computer...
- Page 6 HDMI Dual Name Description LED display Display current selected input port Red: Turn off auto scanning mode Status LED Green: Turn on auto scanning mode IR receiver Receive IR remote signal [1~4]: Press button[1]~[4] to directly select input [Output A]: Keyboard and mouse focus on the desktop of output A in the display mode 2 [Output B]: Keyboard and mouse focus on the desktop of output B in the display mode 2...
-
Page 7: Connection Diagram
HDMI Dual Connection Diagram : Step1:Connect the two outputs of the PC1 to the Input A and Input B of the KVM PC1 inputs. Connect the USB of the PC to the USB of the KVM PC1 inputs with USB type A to B cable .. - Page 8 HDMI Dual Step 3: Connect speakers, USB devices, Ext. IR and RS232 to the KVM. IR receiver Speaker Speaker Console center Barcode Barcode Printer Printer Scanner drive Scanner drive Step 4:Directly connect the DCCI port of first KVM switch according to above steps, in order to realize simultaneous display of 4 monitors AUX Cable IR receiver...
- Page 9 HDMI Dual Cascade Diagram AUX Cable Note: The slave only connects to monitors and computers. Computers need to connect 4 HDMI cables simultaneously.
-
Page 10: How To Use
HDMI Dual Step 5: Turn on the power switch to start the Dual Monitor KVM. How To Use : 1. Set up the connection according to the connection diagram. 2. After all the PCs are started in step 1, then you can control the Dual Monitor KVM by keyboard hot keys, IR control or the front- panel key, the specific control methods are as follows: How to use keyboard hot keys :... - Page 11 HDMI Dual Turn on or off keyboard and mouse pass through mode Note: For the best compatiblity, it is better to turn on keyboard and mouse pass through mode. In this mode, the keyboard and mouse are dynamically mapped to computer, so you are able to use special keyboard and mouse that with multimedia keys or other customized keys.
-
Page 12: Ir Remote Control
HDMI Dual IR Remote Control : Switch to PC 1 Switch to PC 2 Switch to PC 3 Switch to PC 4 The function is the same as the function of the panel key Output A The function is the same as the function of the panel key Output B Turn on auto switching mode Note: 1.For the safety request by some express company, the remote control is not... - Page 13 HDMI Dual Commands Content AA BB 03 01 01 EE Switch to PC 1 AA BB 03 01 02 EE Switch to PC 2 AA BB 03 01 03 EE Switch to PC 3 AA BB 03 01 04 EE Switch to PC 4 AA BB 03 02 00 EE Turn off buzzer...
- Page 14 HDMI Dual Commands Content Change active selected computer in AA BB 03 05 01 EE display mode 2 Turn on keyboard and mouse pass AA BB 03 06 00 EE through mode Turn off keyboard and mouse pass AA BB 03 06 01 EE through mode Switch the control hot key to [Right AA BB 03 07 01 EE...
-
Page 15: Warranty Information
Warranty Information: We warrant this product as free of defects in material and workmanship for a period of one (1) year from the date of shipment. If during the period of warranty this product proves defective under normal use, we will repair or replace this product, provided that this product has not been subjected to mechanical, electrical, or other abuse or modifications.
Need help?
Do you have a question about the HKS0802A1U and is the answer not in the manual?
Questions and answers