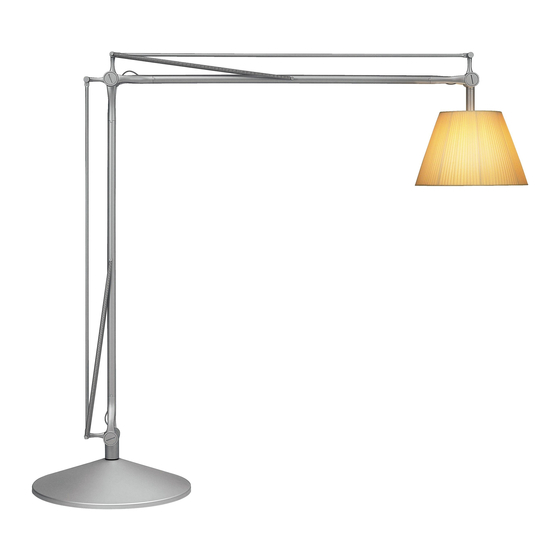
FLOS Superarchimoon Outdoor Instruction For Correct Installation And Use
Hide thumbs
Also See for Superarchimoon Outdoor:
- Instruction for correct installation and use (13 pages) ,
- Manual (12 pages)
Advertisement
Quick Links
Advertisement

Summary of Contents for FLOS Superarchimoon Outdoor
- Page 1 SUPERARCHIMOON OUTDOOR DESIGN BY PHILIPPE STARCK...
- Page 2 FLOS declina responsibility for products that are modified. Sicherheit in Frage stellen und somit gefaehrlich werden. la sécurité de celui-ci en le rendant dangereux. FLOS décline ogni responsabilità per i prodotti modificati. - The symbol...
- Page 3 - Si el cable externo se estropea, debe ser sustituido pela FLOS ou por pessoal qualificado para evitar qualquer заменён FLOS или квалифицированным персоналом 切使用しないで下さい。 por FLOS o por personal cualificado con el fin de evitar perigo. в целях предотвращения опасности; - 器具上の表示...
- Page 4 - PRIMA DI INIZIARE L’INSTALLAZIONE VERIFICARE DI ESSERE IN POSSESSO DI 6 COLLI NECESSARI <IT> COME DA FIG.1. CORPO - BEFORE STARTING THE INSTALLATION CHECK THAT YOU HAVE ALL THE 6 PACKAGES AS PER <GB> STRUCTURE DRAWING 1. KÖRPER CORPS - BEVOR SIE MIT DER INSTALLATION BEGINNEN, ÜBERPRÜFEN SIE, DASS SIE IM BESITZ VON 6 <DE>...
- Page 5 Fig. 2 Fig. 3 <IT> Fig.2 Avvitare a fondo i piedini (F) nella base (B). <IT> Fig.3 Posizionare accuratamente la base (B) con il lato “FRONT” nella direzione di lavoro della lampada. <GB> Fig.2 Screw completely the feet (F) in the base (B). <GB> Fig.3 Carefully position the base (B) with the “FRONT” side facing the fitting working direction. <DE>...
- Page 6 Fig. 4 Fig. 5 <IT> Fig.4 Avvitare e svitare i piedini per ottenere l’esatta planarità della base. Una volta effettuata la regolazione, <IT> Fig.5 Fissare le zavorre (T) con le viti (A). bloccare i piedini serrando il controdado (N). <GB> Fig.5 Fix the ballast (T) with the screws. (A). <GB>...
- Page 7 Fig. 7 Fig. 8 CLAC Fig. 6 <IT> Fig.6 Introdurre il cavo di alimentazione (W) nel foro (G) della copertura e nel foro (E) della base. <IT> Fig.7 Chiudere la copertura (C); Fig.8 Introdurre la struttura (S) fino a fondo corsa. Rimuovere la fettuccia di sicurezza.
- Page 8 Fig.9 Fig.10 Fig. 11 <IT> Fig.9 Avvitare la lampada (L). Fig.10 Avvitare il diffusore (D). <IT> Fig.11 Per regolare la posizione dell’apparecchio utilizzare il braccio superiore; evitare di movimentare l’apparecchio prendendolo dal diffusore. <GB> Fig.9 Screw on the lamp (L). Fig. 10 Screw the diffuser (D). Fig.11 Use the upper arm to adjust the position of the device.
- Page 9 www.flos.com...


Need help?
Do you have a question about the Superarchimoon Outdoor and is the answer not in the manual?
Questions and answers