Table of Contents
Advertisement
Quick Links
INSTRUCTION FOR CORRECT INSTALLATION AND USE
WARNING!
The safety of this fitting can only be guaranteed if these instructions are observed, during both installation and use. Please
retain these instructions safety.
REmARkS
- When installing and whenever acting on the appliance, ensure that the power supply has been switched off.
- The appliance may in no way be modified or tampered with, any modification may compromise safety causing the appliance
to become dangerous. FLOS declines all responsibility for products that are modified.
- If not familiar with electrical connections, contact a qualified electrician.
TECHNICAL DATA
Incandescent light bulb max.100W, attachment E26, type IAA/S.
CLEANING INSTRUCTIONS
Use only a soft cloth to clean the appliance, dampened with water and soap or mild cleanser if needed for resistant dirt.
Warning: do not use alcohol or other solvents.
INSTRUCTIONS D'INSTALLATION ET D'EmPLOI
ATTENTION!
La sûreté de cet appareil est garantie uniquement si l'on respecte ces instructions soit en phase d'installation soit pendant
l'utilisation; il faut donc les conserver.
NOTICES
- Au moment de l'installation et chaque fois que l'on intervient sur l'appareil, s'assurer que la tension d'alimentation ait été
coupée.
- L'appareil ne peut être modifié ou altéré de quelque manière que ce soit, toute modification peut compromettre la sécurité
de celui-ci en le rendant dangereux. FLOS décline toute responsabilité pour les produits modifiés.
- Si vous n'êtes pas pratiques pour les branchements électriques, contactez un électricien qualifié.
DONNEES TECHNIQUES
Ampoule incandescente max.100W, branchement E26, type IAA/S.
INSTRUCTIONS POUR LE NETTOYAGE
Pour le nettoyage de l'appareil utiliser exclusivement un chiffon doux, humecté si nécessaire, avec de l'eau et du savon ou
avec un détergent neutre pour les salissures les plus tenaces. Attention: ne pas utiliser d'alcool ou solvents.
FLOSUSA
UL Listed
C-UL Listed
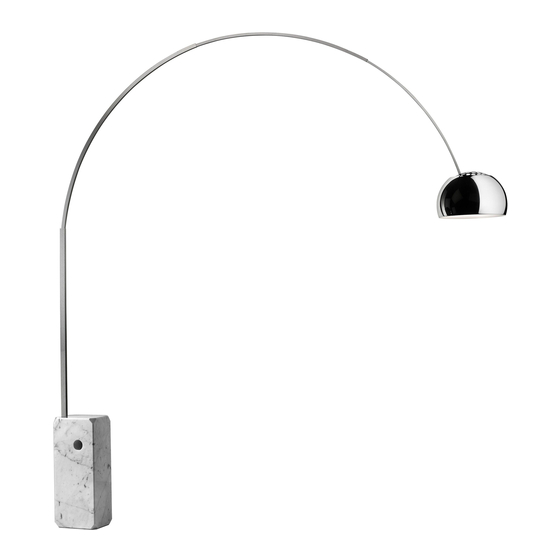
ARCO
1
08-29-2008
Cod.14580
Advertisement
Table of Contents

Related Manuals for FLOS ARCO


Summary of Contents for FLOS ARCO
- Page 1 - L’appareil ne peut être modifié ou altéré de quelque manière que ce soit, toute modification peut compromettre la sécurité de celui-ci en le rendant dangereux. FLOS décline toute responsabilité pour les produits modifiés. - Si vous n’êtes pas pratiques pour les branchements électriques, contactez un électricien qualifié.
- Page 2 - El aparato no puede ser en ningùn caso modificado o forzado, cualquier modificaciòn puede comprometer la seguridad haciéndolo peligroso. FLOS declina cualquier responsabilidad por los productos modificados. - Si Ud. no está familiarizado con conexiones eléctricas, contacte con un técnico electricista cualificado.
- Page 3 Fig.1 Fig.1 Fit the rod (A) into the slot (B). Slip the connector (C) into the hole in the base (D). Screw the rod (A) to the base (D) with the screw (E). Fig.1 Placer la tige (A) dans l’eplacement (B); introduire le raccord (C) dans le trou de la base (D). Fixer la tige (A) à la base (D) avec la vis (E).
- Page 4 Fig.2 Fig.3 Fig.4 Fig.2 Insert the large channel (H) into the rod (A). The electric supply wire must be laid carefully along the bottom of the channels. Fig.3 Hook the small and channels onto the pins (I) depending on the position required. Fig.4 Slide the reflector (L) over the channel (M) and fix the grid (N) to the lampholder (O) using the sleeve (Q).
Need help?
Do you have a question about the ARCO and is the answer not in the manual?
Questions and answers