GFW GALICIA Assembly Instructions Manual
Hide thumbs
Also See for GALICIA:
- Assembly instructions manual (15 pages) ,
- Assembly instructions manual (14 pages) ,
- Assembly (15 pages)
Advertisement
Quick Links
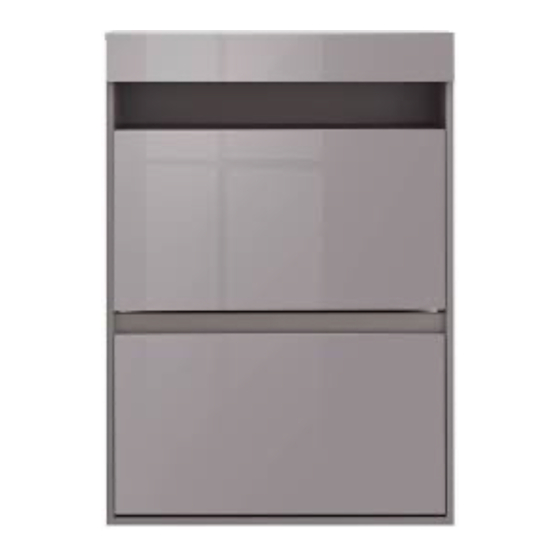
GALICIA WALL HANGING TWO TIER SHOE CABINET ASSEMBLY INSTRUCTIONS
Thank you for purchasing the Galicia Two Tier Shoe Cabinet.
Please read the instructions carefully to ensure safe operation of this product,
especially the installation warnings shown in Page 2 of this guide.
PLEASE READ this sheet prior to assembly to familiarise yourself with the various stages of construction.
Carefully open the pack supplied and check the contents against the parts and fittings check list. Do not
destroy any of the packaging until you are certain that you have all the necessary parts for the assembly.
CAUTION: There are small components used in the construction of this unit. These loose items should be
kept away from young children whilst assembling your unit to avoid the danger of choking.
Tools Required
Size:
70 x 24 x 98.8 cm (WDH)
Colour:
White or Grey or Black
Finish:
Melamine Cabinet with Gloss Fronts
Version 1 - 210702
PO No:
Page 1 of 15
1
Hour
1/4
Set Up
Advertisement

Related Manuals for GFW GALICIA


Summary of Contents for GFW GALICIA
- Page 1 GALICIA WALL HANGING TWO TIER SHOE CABINET ASSEMBLY INSTRUCTIONS Thank you for purchasing the Galicia Two Tier Shoe Cabinet. Please read the instructions carefully to ensure safe operation of this product, especially the installation warnings shown in Page 2 of this guide.
-
Page 2: Care Information
GALICIA WALL HANGING TWO TIER SHOE CABINET ASSEMBLY INSTRUCTIONS IMPORTANT - READ CAREFULLY - RETAIN THESE INSTRUCTIONS FOR FUTURE REFERENCE. INFORMATION This product is designed to hold 12 Kg in total, spread evenly over the whole unit. Do not exceed this weight. - Page 3 GALICIA WALL HANGING TWO TIER SHOE CABINET ASSEMBLY INSTRUCTIONS Parts and Fittings Checklist Please check the pack contents before assembling the product. If any components are missing, please contact your retailer. The fittings pack contains small items that should be kept away from children.
- Page 4 GALICIA WALL HANGING TWO TIER SHOE CABINET ASSEMBLY INSTRUCTIONS Fittings (to scale) Code Item Quantity Cam Bolt (38mm overall) Cam Lock Dowel (8x30mm) Screw for Fitting Wall Support Bracket (4x32mm) Screw for Fitting Hinge Swivel Bush (4x12mm) Screw for Fitting Flap for Swivel and Back Panel (3.5x16mm)
- Page 5 GALICIA WALL HANGING TWO TIER SHOE CABINET ASSEMBLY INSTRUCTIONS Fittings (not to scale) Code Item Quantity Wall Hanging Support (Fixed to Cabinet) Wall Hanging Bracket (Fixed to Wall) Swivel Bush on Side Panel Decor Flap Buffer Fittings (packed in one LED box).
- Page 6 GALICIA WALL HANGING TWO TIER SHOE CABINET ASSEMBLY INSTRUCTIONS STEP 1 For this step: Tools required Fittings required Parts (U) & (N), carefully tap into place using a small hammer. A x18 U x4 N x4 STEP 2 For this step:...
- Page 7 GALICIA WALL HANGING TWO TIER SHOE CABINET ASSEMBLY INSTRUCTIONS STEP 3 For this step: Tools required Fittings required B x7 C x1 STEP 4 For this step: Tools required Fittings required D x4 L x2 Version 1 - 210702 Page 7 of 15...
- Page 8 GALICIA WALL HANGING TWO TIER SHOE CABINET ASSEMBLY INSTRUCTIONS STEP 5 For this step: Tools required Fittings required B x4 F x6 W x6 STEP 6 For this step: Tools required Fittings required E x4 X x2 Q x2 Version 1 - 210702...
- Page 9 GALICIA WALL HANGING TWO TIER SHOE CABINET ASSEMBLY INSTRUCTIONS STEP 7 For this step: Tools required Peel off cover from sticker (T) and adhere to back of battery box then adhere to side panel. Fittings required H x1 Position wires and fit LED Clip (J) and G x6 Cable Clip (K) using screws (G).
- Page 10 GALICIA WALL HANGING TWO TIER SHOE CABINET ASSEMBLY INSTRUCTIONS STEP 8 For this step: Tools required Fittings required E x4 Once flaps have been adjusted, tighten screws (E) to secure hinge mounting plates in their final position. Version 1 - 210702...
- Page 11 GALICIA WALL HANGING TWO TIER SHOE CABINET ASSEMBLY INSTRUCTIONS STEP 9 For this step: x2 SETS Tools required LOOSELY FIT THE SWIVELS (R&S) TO EACH SIDE OF THE FLAP (8) USING SCREWS (F). DO NOT TIGHTEN SCREWS 100% YET. Fittings required F x6 GENTLY LEAN SWIVELS (R&S)
- Page 12 GALICIA WALL HANGING TWO TIER SHOE CABINET ASSEMBLY INSTRUCTIONS STEP 11 For this step: Tools required Fittings required CAREFULLY INSERT THE LOWER ASSEMBLED CARRIAGE INTO POSITION BETWEEN THE SIDE PANELS, INSERT PIVOTS (V) AND E x4 USING SCREWS (E) FIX INTO PLACE, DO NOT OVERTIGHTEN THE SCREWS.
- Page 13 GALICIA WALL HANGING TWO TIER SHOE CABINET ASSEMBLY INSTRUCTIONS STEP 13 For this step: Tools required CLAMP CENTRAL PARTITIONS (10) IN PLACE USING SCREWS (F). Fittings required F x4 STEP 14 For this step: Tools required same horizontal level 668mm Warning: Always ensure the area to be drilled is free from hidden electrical wires, water or gas pipes.
-
Page 14: Changing The Batteries
GALICIA WALL HANGING TWO TIER SHOE CABINET ASSEMBLY INSTRUCTIONS STEP 15 For this step: i. On the hanging wall ii. With help, hang the cabinet onto the supports make certain metal wall brackets by carefully aligning Tools required hooks (x) are fully... - Page 15 GALICIA WALL HANGING TWO TIER SHOE CABINET ASSEMBLY INSTRUCTIONS Assembly Completed Your Galicia Shoe Cabinet is now completely assembled. Periodically check to ensure that the components are in their proper position, free from damage. Also, make sure the connectors are tight and secure.
Need help?
Do you have a question about the GALICIA and is the answer not in the manual?
Questions and answers