Table of Contents
Advertisement
Quick Links
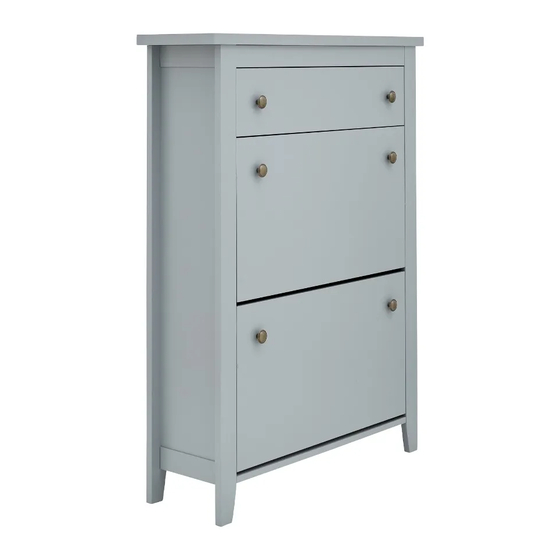
SHOE CABINET ASSEMBLY INSTRUCTIONS
Thank you for purchasing the
carefully to ensure safe operation of the product.
PLEASE READ this sheet prior to assembly to familiarise yourself with the various stages of
construction.
Carefully open the pack supplied and check the contents against the parts and fittings check list. Do not
destroy any of the packaging until you are certain that you have all the necessary parts for the
assembly.
CAUTION: There are small components used in the construction of this unit. These loose items should
be kept away from young children whilst assembling your unit to avoid the danger of choking hazards.
Tools Required
SHOE CABINET
78
x
24
x
108CM/WHITE
Batch No.: WMI 14999
Page 1 of 8
. Please read the instructions
2 Person Build
Advertisement
Table of Contents

Related Manuals for GFW SHOE CABINET


Summary of Contents for GFW SHOE CABINET
-
Page 1: Tools Required
SHOE CABINET ASSEMBLY INSTRUCTIONS SHOE CABINET Thank you for purchasing the . Please read the instructions carefully to ensure safe operation of the product. 108CM/WHITE PLEASE READ this sheet prior to assembly to familiarise yourself with the various stages of construction. - Page 2 SHOE CABINET ASSEMBLY INSTRUCTIONS IMPORTANT - READ CAREFULLY - RETAIN THESE INSTRUCTIONS FOR FUTURE REFERENCE. INFORMATION • This product is intended for a maximum weight of 30 kg. Do not exceed this weight. • Due to the size of this product we recommend that it is assembled in the room intended for use.
- Page 3 SHOE CABINET ASSEMBLY INSTRUCTIONS Parts and Fittings Checklist Please check the pack contents before assembling this product. If any components are missing, please contact your retailer. The fittings pack contains small items that should be kept away from small children.
- Page 4 SHOE CABINET ASSEMBLY INSTRUCTIONS STEP 1 PARTS REQUIRED 1. LEFT HAND SIDE PANEL X 1 2. RIGHT HAND SIDE PANEL X 1 A. CAM BOLT X 6 C. FOOT X 4 D. SCREW X 4 E. RUNNER X 2 H. SCREW X 4 N.
- Page 5 SHOE CABINET ASSEMBLY INSTRUCTIONS STEP 3 PARTS REQUIRED 1. LEFT HAND SIDE PANEL X 1 3. TOP CROSS BAR(BACK) X 1 4. MIDDLE CROSS BAR (BACK) X 1 5. BOTTOM PANEL X 1 B. CAM LOCK X 3 F. DOWEL X 6 Ensure the cam lock is lined up with the cam bolt when fitting.
- Page 6 SHOE CABINET ASSEMBLY INSTRUCTIONS STEP 5 PARTS REQUIRED 6. TOP PANEL X 1 A. CAM BOLT X 6 B. CAM LOCK X 6 Ensure the cam lock is lined up with the cam bolt when fitting. STEP 6 PARTS REQUIRED 7.
- Page 7 SHOE CABINET ASSEMBLY INSTRUCTIONS STEP 7 PARTS REQUIRED 8. DRAWER LEFT HAND SIDE PANEL X 1 9. DRAWER BACK X 1 10. DRAWER RIGHT HAND SIDE PANEL X 1 11. DRAWER BOTTOM X 1 12. DRAWER FRONTX 1 A. CAM BOLT X 4 B.
- Page 8 SHOE CABINET ASSEMBLY INSTRUCTIONS STEP 9 PARTS REQUIRED M. WALL FIXING X 2 COMPLETE Batch No.: WMI 14999 Page 8 of 8...
Need help?
Do you have a question about the SHOE CABINET and is the answer not in the manual?
Questions and answers