Sign In
Upload
Download
Add to my manuals
Delete from my manuals
Share
URL of this page:
HTML Link:
Bookmark this page
Add
Manual will be automatically added to "My Manuals"
Print this page
×
Bookmark added
×
Added to my manuals
Manuals
Brands
Leader Fox Manuals
Bicycle
Ayra
Operating instructions manual
Leader Fox Ayra Operating Instructions Manual
Hide thumbs
1
2
3
4
5
6
7
8
9
10
11
12
13
14
15
16
17
18
19
20
21
22
23
24
25
26
27
28
29
30
page
of
30
Go
/
30
Bookmarks
Advertisement
Quick Links
Download this manual
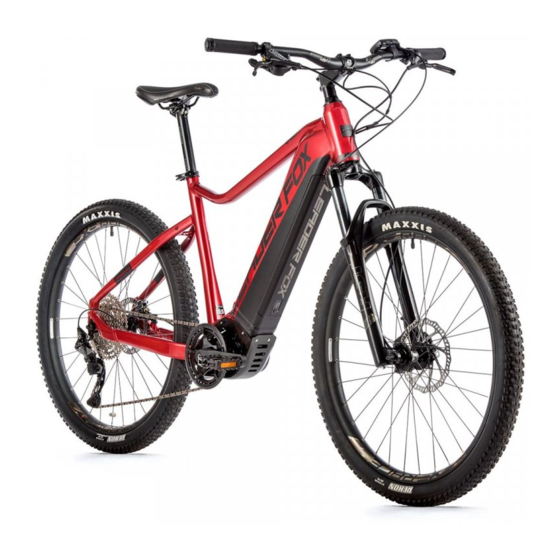
Electric Bicycle Operating
Instructions
Under the law, the dealer is obliged to attach the LEADER FOX Electric Bicycle Operating Instructions to every product
E – BIKE
POWER RIDE
Ayra
Arran
Orem
Orton
Table of
Contents
Previous
Page
Next
Page
1
2
3
4
5
Advertisement
Need help?
Do you have a question about the Ayra and is the answer not in the manual?
Ask a question
Questions and answers
Related Manuals for Leader Fox Ayra
Bicycle Leader Fox Altar Operating Instructions Manual
(20 pages)
Bicycle Leader Fox Arran Operating Instructions Manual
(30 pages)
Bicycle Leader Fox Orem Operating Instructions Manual
(30 pages)
Bicycle Leader Fox Orton Operating Instructions Manual
(30 pages)
Bicycle Leader Fox SWAN 27 K 16 Operating Instructions Manual
(12 pages)
Bicycle Leader Fox E-Ferrara K16 Operating Instructions Manual
(13 pages)
Bicycle Leader Fox Hasuda Operating Instructions Manual
Bafang max drive (32 pages)
Bicycle Leader Fox Neba Operating Instructions Manual
(31 pages)
Bicycle Leader Fox Induktora Operating Instructions Manual
(20 pages)
Bicycle Leader Fox Curtis Operating Instructions Manual
(28 pages)
Bicycle Leader Fox Swan Operating Instructions Manual
(30 pages)
Bicycle Leader Fox Braga Operating Instructions Manual
(28 pages)
Bicycle Leader Fox Runner Operating Instructions Manual
(26 pages)
This manual is also suitable for:
Arran
Orem
Orton
Print
Rename the bookmark
Delete bookmark?
Delete from my manuals?
Login
Sign In
OR
Sign in with Facebook
Sign in with Google
Upload manual
Upload from disk
Upload from URL


Need help?
Do you have a question about the Ayra and is the answer not in the manual?
Questions and answers