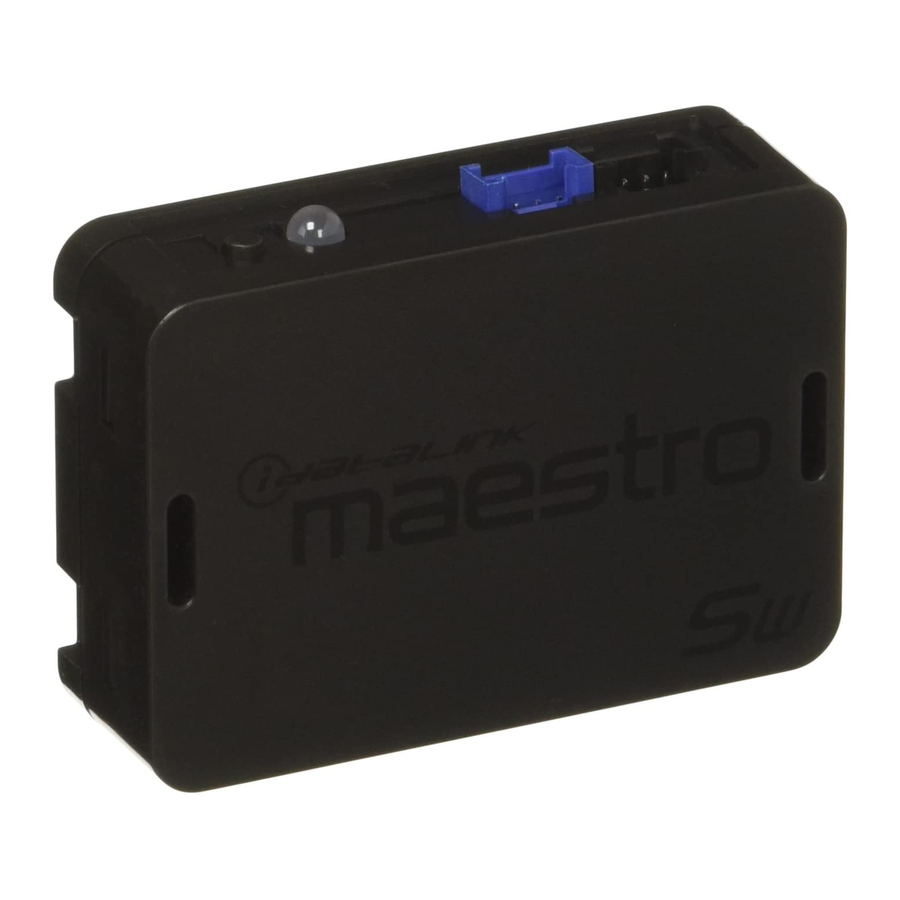
Summary of Contents for iDataLink maestro Sw
- Page 1 QUICK START GUIDE THESE PRODUCTS REQUIRE ONLINE PROGRAMMING BEFORE INSTALLATION. DETAILS INSIDE. QSGRRSW201310E...
- Page 2 6 STEPS TO GET STARTED INSTALL THE WEBLINK LOG INTO WEBLINK PLUG-IN Go to: idatalinkmaestro.com/login. Go to: Enter your username and idatalinkmaestro.com/plugin and password, then click OK. follow the installation steps. Review the System Requirements before installing. REGISTER A WEBLINK PROGRAM YOUR MODULE ACCOUNT Follow the installation steps...
-
Page 3: Document Number
This device must be installed by a certified technician. This guide has been written for properly trained technicians; a certain level of skill & knowledge is therefore assumed. Please review the Installation Guide carefully before beginning any work. Automotive Data Solutions Inc. © 2012 www.maestro.idatalink.com... - Page 4 RR- SWI F SWI F Illum+ LF+ AMP+ AMP+ SWI F SWI F LF- ANT+ ANT+ SWI F SWI F RF+ SWI-1 SWI-1 SWI F SWI F RF- SWI-2 SWI-2 SWI F SWI F Automotive Data Solutions Inc. © 2012 www.maestro.idatalink.com...
- Page 5 06 RED - ACCESSORY POWER +12V INPUT 07 BLACK - GROUND VEHICLE WEBLINK UPDATER CABLE (NOT INCLUDED) 01 BLUE/YELLOW - RADIO CONTROL 1 OUTPUT 02 RED 03 BLACK RADIO CONTROL 2 OUTPUT 04 WHITE AFTERMARKET RADIO Automotive Data Solutions Inc. © 2012 www.maestro.idatalink.com...
- Page 6 Module installation procedure completed. tor A, Pin 1) to SWI-1 wire. SWI-1 Connect module BLACK/WHITE wire (Connec- tor A, Pin 5) to SWI-F wire. (Disregard this step if no SWI-F wire is found). SWI-F Automotive Data Solutions Inc. © 2012 www.maestro.idatalink.com...
- Page 7 Phone Menu [11] Hang Up [11] JVC w/o preset Direct [12] Answer Call [12] Kenwood Phone [13] Hang Up [13] Pioneer Repeat [14] Voice Recognition [14] Pioneer w/o preset [10] Sound [15] Sony Automotive Data Solutions Inc. © 2012 www.maestro.idatalink.com...
- Page 8 1 solid RED to register selection. is reached. Find the number associated to the vehicle Wait, LED will fl ash GREEN 1 time. Refer to FUNCTION PAIRING CHART. make: [X]. Automotive Data Solutions Inc. © 2012 www.maestro.idatalink.com...
- Page 9 Turn key to OFF position. til LED turns solid GREEN to pair the function. START >> NOTE: Press programming button once [1x] to Remove key. LED will turn OFF. skip a function. START _________________________________ Automotive Data Solutions Inc. © 2012 www.maestro.idatalink.com...
- Page 10 ON position. Wait, LED will fl ash RED rapidly. (This may take up to 10 seconds.) Release programming button. Wait, LED will turn solid GREEN for 2 seconds. Turn key to OFF position. START Automotive Data Solutions Inc. © 2012 www.maestro.idatalink.com...
-
Page 11: Year Limited Warranty
Maestro product. © Automotive Data Solutions Inc.


Need help?
Do you have a question about the maestro Sw and is the answer not in the manual?
Questions and answers