Garmin eTrex Vista Quick Start Manual
Garmin etrex vista: quick start
Hide thumbs
Also See for eTrex Vista:
- Owner's manual and reference manual (84 pages) ,
- Specification sheet (2 pages) ,
- Declaration of conformity (1 page)
Advertisement
Quick Links
Basic Navigation
Starting to Navigate
Basic navigation with your eTrex Vista requires only three steps: mark, move, and return. Mark your location as a waypoint,
move a distance away, and then return after choosing one of several methods to help you find your way.
To return to a waypoint using Goto:
To mark a waypoint:
1. Press in and hold the THUMB
1. Press the FIND button to display the Find Menu.
STICK for two seconds to display
2. Use the THUMB STICK to highlight 'Waypoints' and then press.
the Mark Waypoint Page. Your
3. Use the THUMB STICK to highlight 'Nearest' and then press.
current location is marked as
a waypoint and automatically
4. Use the THUMB STICK to highlight the waypoint and then press to
assigned a three digit number.
display the Information Page.
2. The 'OK' button is highlighted so
5. With the on-screen 'Goto' button highlighted, press the THUMB
press the THUMB STICK to save
STICK to activate the Goto navigation feature.
the Waypoint.
To move about with the Map Page:
1. Use the PAGE button to access the Map Page and view the new
waypoint.
Press the ZOOM IN button to get a more detailed view of the map.
2. Walk or drive around for a few minutes, make a right or left turn,
then continue for a few more minutes and then stop.
The 'position icon' shows your location and the dotted line shows
your path of travel (a Track).
Position Icon
showing your
current location
Track Line
The newly
marked
Waypoint
Basic Navigation
To finish your return:
1. The Navigation Page displays the 'Bearing Pointer' indicating the direc-
2. Use the PAGE button to move to the Map Page to see your location
3. To stop navigating, highlight the Options Menu button on either page,
To change the Waypoint symbol or name:
• Use the THUMB STICK to highlight the
• Use the THUMB STICK to highlight the
Find Menu
Waypoints List
Waypoint Information
Page
Basic Navigation
Returning to Waypoint with a Goto
tion to go. Because you can't always travel in a straight line, refer to the
Bearing Pointer from time to time. When possible, turn in the direction
the Bearing Pointer directs.
marked by the Position Icon and a straight dark line leading to the
waypoint.
Move back and forth between the Map Page and the Navigation page
to check your progress and verify your bearing.
press the THUMB STICK, select 'Stop Navigation', and then press the
THUMB STICK.
Changing the Waypoint Name or Symbol
You can personalize a Waypoint by changing the Name field
and map Symbol field to make them easier to recognize.
Waypoint Symbol Field
Waypoint symbol field and then press to
display the symbol list. Use the THUMB
STICK to move up and down the list to
highlight a symbol and then press to place
Waypoint Name Field
the symbol in the symbol field.
Waypoint name field and then press to display
the keyboard. Use the THUMB STICK to
highlight the desired characters and then
press. Repeat the process until you are
through, highlight 'OK', and then press the
THUMB STICK to save the name and close
the keyboard.
The Data Entry Keyboard
Basic Navigation
Options Menu
Button
A Goto on the
Map Page on a
Navigation Page
Map Page Options
Goto
Menu
Clearing the Track Log and Elevation Plot
After you have navigated a few times over the same area,
the map display may become difficult to read, cluttered by
the recorded tracks. Clear the Track Log to clean the screen
and clear the Elevation Plot of the Track Log shown on the
Altimeter Page.
To clear the Track Log:
1. Use the PAGE button to access the
Main Menu and highlight 'Tracks'.
2. Press the THUMB STICK to display
the Tracks Page.
Highlight 'Clear' and press
the THUMB STICK.
3. Use the THUMB STICK to highlight
the 'Clear' button and then press to
display the 'Yes/No' prompt.
4. Highlight 'Yes' and press the THUMB
STICK to clear the Track Log and the
Pressure or Elevation Plot.
Track Log Page
© Copyright 2005 GARMIN Ltd. or its subsidiaries
Part Number: 190-00219-01 Rev. D
Printed in Taiwan
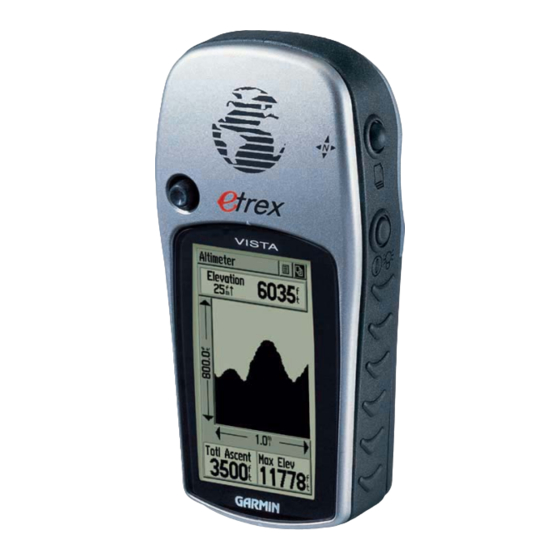
VISTA
QUICK START
GUIDE
Internal
External
GPS
Power/Data
Antenna
Connector
(on back)
Thumb
Stick
Page
Button
Power
Button
Battery
Compartment
(on back)
Waterproof
LCD Display
Case
(with Backlight)
Step-by-Step Instructions
to Get You Started
(Turn this page and begin with Step 1)
Advertisement

Related Manuals for Garmin eTrex Vista


Summary of Contents for Garmin eTrex Vista
-
Page 1: Quick Start Guide
Starting to Navigate Basic navigation with your eTrex Vista requires only three steps: mark, move, and return. Mark your location as a waypoint, move a distance away, and then return after choosing one of several methods to help you find your way. - Page 2 Setting the Time Zone Previewing the Main Pages All of the information you need to operate the eTrex Vista is found on the five Main Pages (or display screens). To preview these pages, press the PAGE button to cycle from one page to the next.
Need help?
Do you have a question about the eTrex Vista and is the answer not in the manual?
Questions and answers