Sign In
Upload
Download
Table of Contents
Contents
Add to my manuals
Delete from my manuals
Share
URL of this page:
HTML Link:
Bookmark this page
Add
Manual will be automatically added to "My Manuals"
Print this page
×
Bookmark added
×
Added to my manuals
Manuals
Brands
Singer Manuals
Sewing Machine
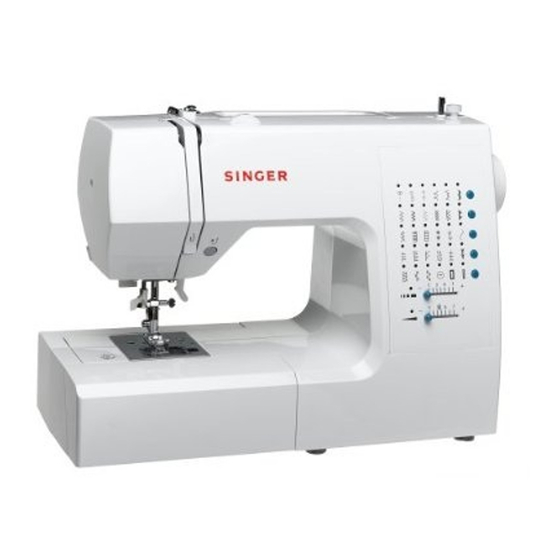
Advance 7422
Service manual
Singer 7422 Service Manual
Hide thumbs
Also See for 7422
:
Specifications
(2 pages)
,
Instruction manual
(84 pages)
1
Table Of Contents
2
3
4
5
6
7
8
9
10
11
12
13
14
15
16
17
18
19
20
21
22
23
24
25
26
27
28
29
30
31
32
33
34
35
36
37
38
39
40
page
of
40
Go
/
40
Contents
Table of Contents
Bookmarks
Table of Contents
Table of Contents
Sec. 1 Disassembling of Covers
Sec.2 Test Mode
Sec. 3 Adjustment of Feed Dog Height
Sec. 4 Needle Bar Height
Sec. 5 Needle Position at Zigzag Stitching
Sec. 6 Clearance between Needle and Shuttle
Sec. 7 Needle Timing to Feed Dog
Sec. 8 Needle Timing to Shuttle Hook
Sec. 9 Needle Stopper at Right Position
Sec. 10 Adjustment of Thread Tension
Sec. 11 Zigzag Bight & Stitch Balance
Sec.12 Needle Stops at Heighest Position
AC Power Board
CPU Board
Switch Board
Advertisement
Quick Links
1
Table of Contents
2
Sec. 1 Disassembling of Covers
3
Sec.2 Test Mode
4
Sec. 3 Adjustment of Feed Dog Height
5
Sec. 4 Needle Bar Height
6
Sec. 5 Needle Position at Zigzag Stitching
7
Sec. 10 Adjustment of Thread Tension
Download this manual
SERVICE MANUAL
MODEL 7422/7424/7426/7428
7442/7444/7446/7448
7462/7464/7466/7468
Original issue: April, 2005
Revised :
July,2005
- 1 -
Part No. 77350
Table of
Contents
Previous
Page
Next
Page
1
2
3
4
5
Advertisement
Table of Contents
Need help?
Do you have a question about the 7422 and is the answer not in the manual?
Ask a question
Questions and answers
Related Manuals for Singer 7422
Sewing Machine Singer 7466 Instruction Manual
Singer instruction manual sewing machine 7466 (84 pages)
Sewing Machine Singer 7400 Specifications
New electronic series (2 pages)
Sewing Machine Singer 7468 Instruction Manual
(84 pages)
Sewing Machine Singer 7442 Instruction Manual
(71 pages)
Sewing Machine Singer 7462 Instruction Manual
(71 pages)
Sewing Machine Singer 7442 Instruction Manual
Singer sewing machine instruction manual (71 pages)
Sewing Machine Singer 7442 Instruction Manual
(71 pages)
Sewing Machine Singer Precision 7444 Specifications
Singer sewing machine product sheet (1 page)
Sewing Machine Singer 7462 Specification Sheet
Singer sewing machine specification sheet (1 page)
Sewing Machine Singer 7426 Service Manual
(40 pages)
Sewing Machine SINGER CONFIDENCE 7465 Instruction Manual
(82 pages)
Sewing Machine Singer Confidence 7470 Instruction Manual
(96 pages)
Sewing Machine Singer Confidence 7469Q Instruction Manual
(86 pages)
Sewing Machine Singer Confidence 7469 Instruction Manual
(82 pages)
Sewing Machine Singer 740 Manual
(68 pages)
Sewing Machine Singer Sewing Machine Instruction Manual
(96 pages)
This manual is also suitable for:
7424
7426
7428
7442
7444
7446
...
Show all
7448
7462
7464
7466
7468
Table of Contents
Save PDF
Print
Rename the bookmark
Delete bookmark?
Delete from my manuals?
Login
Sign In
OR
Sign in with Facebook
Sign in with Google
Upload manual
Upload from disk
Upload from URL


Need help?
Do you have a question about the 7422 and is the answer not in the manual?
Questions and answers