Table of Contents
Advertisement
Quick Links
Advertisement
Table of Contents

Subscribe to Our Youtube Channel
Related Manuals for Westpac EFTPOS Now

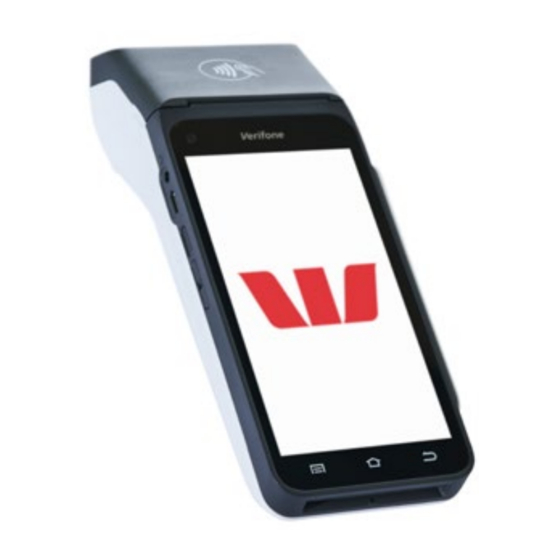
Summary of Contents for Westpac EFTPOS Now
- Page 1 EFTPOS Now A Quick Reference Guide to help you get started with your terminal.
-
Page 3: Getting Started
This simple guide gives you all the basic steps to set up and use your terminal to start accepting payments. Getting Started How to turn on your terminal. Hold the Power button down for approximately 3 seconds until the terminal turns on. Terminal layout USB-C Status bar... - Page 4 Navigation icons and keys Status icons Notification icons Navigation keys Warning/Attention Recent apps Bluetooth enabled Important information Home/Payment app Bluetooth enabled, connected to base Back Download/Update in progress Aeroplane mode Quick settings icons Menu Mobile signal App launcher More options Wi-Fi Expand Torch...
-
Page 5: Terminal Communication
How to load a paper roll. Open the paper roll compartment by holding the terminal base securely and lifting the sides of the paper compartment door upwards and back. Place a paper roll in the compartment. Ensure that the paper end is feeding under the roll and towards the terminal screen, as shown above. - Page 6 Processing a Transaction Purchases. Insert Swipe From the amount-entry screen, use the touch screen to enter the purchase amount, e.g., $25 = 2500. Select Purchase. The cardholder may tap, insert, or swipe their card; or tap their payment-enabled smart device. If the cardholder has inserted or swiped their card, they will be prompted to select their account type.
- Page 7 Refunds. From the amount-entry screen, use the touch screen to enter the refund amount, e.g., $25 = 2500. Select Other. Select Refund. Enter the Manager passcode. Select Card or Mobile. The cardholder may tap, insert, or swipe their card; or tap their payment-enabled smart device.
-
Page 8: Auto Settlement
Settlement Totals Settlement is the process that’s completed so you can be paid for your transactions. Auto settlement. The terminal will automatically settle every day at your nominated auto settlement time. A default auto settlement time will be assigned if you haven’t chosen an auto settlement time. - Page 9 Settlement history. Select the menu icon located at the top left of the amount-entry screen. Select Reports. Select Settlement History. Select the required date. The requested settlement will be displayed on the screen. Select Print, if required. Settlement enquiry. Select the menu icon located at the top left of the amount-entry screen.
-
Page 10: Transaction History
Transaction Reports Reprint receipt. You can search, view, reprint or email receipts for transactions processed in the past 14 days. A transaction may also be referred to as an Order. Select the menu icon located at the top left of the amount-entry screen. Select Transaction History. -
Page 11: Transaction Search
Transaction search. You can search transactions using advanced search options. Select the menu icon located at the top left of the amount-entry screen. Select Search Transactions. There are 3 ways a search can be performed. Search bar • Enter the last 4 digits of the card, or the full STAN in the search bar. STAN is a six-digit ID number found on the receipt. - Page 12 Passcodes Your terminal has the ability to limit and protect transactions and functionality such as refund, MOTO (Mail Order and Telephone Order), settlements and more, by using passcodes. The passcode levels available are Manager and Cashier. Change your passcodes. Use this process if you need to change your Manager passcode or change or reset your Cashier passcode.
- Page 13 Reset your manager passcode. Use this process if you’ve forgotten your Manager passcode. Select the menu icon located at the top left of the amount-entry screen. Select Settings. Select Security. Select the More options icon at the top right of the screen. Select Switch to Admin.
-
Page 14: Troubleshooting
Troubleshooting Hardware Faults Action Blank Screen – 1. Ensure that the battery charge state is not below the terminal isn’t the critically low level. The terminal will not work if turning on. there is insufficient charge remaining in the battery. 2. - Page 16 (available 24 hours a day, 7 days a week). Handy hint: Have your Merchant and Terminal numbers ready so we can assist you promptly. westpac.com.au/eftposnow Credit Card Authorisation 132 415 © 2022 Westpac Banking Corporation ABN 33 007 457 141 AFSL and Australian credit licence 233714 WBCEFTQRG202 0122...
Need help?
Do you have a question about the EFTPOS Now and is the answer not in the manual?
Questions and answers