
Related Manuals for BH FITNESS IRIDIUM AVANT


Summary of Contents for BH FITNESS IRIDIUM AVANT
- Page 1 BH FITNESS IRIDIUM AVANT OWNER’S GUIDE BH FITNESS 20155 Ellipse Foothill Ranch, CA 92610 Phone: 949 206-8152 Fax: 949 206-0013 Email: fitness@bhnorthamerica.com Web: www.bhnorthamerica.com Revised 6/26/2007...
-
Page 2: Assembly And Use
ASSEMBLY AND USE Fig 1 Fig 2... - Page 3 Fig 3 Fig 4...
- Page 4 Fig 5...
- Page 5 Fig 6 Fig 6A Fig 6B...
- Page 6 Fig 7...
- Page 7 Fig 8 Fig 9 Fig 10 Fig 11...
- Page 8 SAFETY INSTRUCTIONS conjunction with a calorie controlled diet it will help you to lose weight. Consult your doctor before starting any exercise program. It is advisable to 1. Warm-up phase undergo complete physical This phase speeds up the body’s blood examination.
- Page 9 reducing the rhythm and continuing for 4. The owner is responsible for ensuring approximately 5 minutes. Repeat the that anyone who uses the machine is stretching exercises but remember not to uly informed about the necessary overexert the muscles. Eventually your precautions.
-
Page 10: Attaching The Footrests
TTENTION: The assistance of a 4. ATTACHING THE FOCUS BARS second person is required for this AND WATER BOTTLE HOLDER stage of the assembly. Insert the focus bar spindle (26) through the spacer bushes on the main post (11), 2. ATTACHING THE STABILIZER leaving it centered. -
Page 11: Attaching The Monitor
position them at the spindle end with the spring washers (14). Securely tighten all bars on the ri ght hand side, as shown in of the bolts on the main post. Fig. 7. Now use screws (27) and (60) to attach them. - Page 12 CONSOLE Fig 2 Fig 3 Fig 4...
- Page 13 CONSOLE OPERATION THR is displayed at the top of the When the machine is switched on the console. The center of the screen will console will display U1 in the center of simultaneously display selected the screen. Select the user, between U1- program level.
- Page 14 screen, exercise will begin directly in If, after selecting manual mode, you manual mode. press the MODE key five times the PULSE window will start flashing. By Exercise level programming using the ▲/▼ keys you can program the heart rate for the exercise (between If, after selecting manual mode, you press the MODE key the level window 30-240 BPM).
- Page 15 Repeat this procedure to program all To program time, distance, calories sixteen stages of the user program. and/or pulse rate, go through the Press and hold the MODE key down to following procedure: Once the heart rate exit the profile set up. Press START / program has been selected and before pressing the START / STOP key, press STOP to start the exercise.
-
Page 16: Troubleshooting Guide
in Figure 2. When both hands are placed The comparison between the worked on the sensors the heart symbol on the heart rate and the recovery heart rate right-hand side of the screen, marked provides a fast, simple method of PULSE, will begin to flash and after a gauging how fit you are. - Page 17 INSTRUCTIONS Wear the band as high as possible just TELEMETRIC PULSE SENSOR below breast bone with transmitter center electrode contacts flat against the skin. Doing this correctly assures a correct reading of the heart beat. HOW TO IMPROVE CONDUCTIVITY The technology used for the chest transmitters is based on measuring ECG signals.
-
Page 18: Frequently Asked Questions And Answers
can it be affected by electromagnetic battery life. Before storage all moisture interference. These can cause incorrect should be wiped off. readings on your chest band. Sources of interference or situations that FREQUENTLY ASKED QUESTIONS AND ANSWERS can cause Incorrect readings are: -Your monitor picks up signals in a radius Question 1: of approximately 30 inches. - Page 19 power transmission lines or other such b) Elastic strap is too loose allowing devices that generate powerful magnetic transmitter to move during exercise. fields located in the area of equipment c) Ensure that there is no anyone else usage. If one of your associates has a wearing a transmitter in the reception Polar heart rate monitor, if possible, area of your receiver.
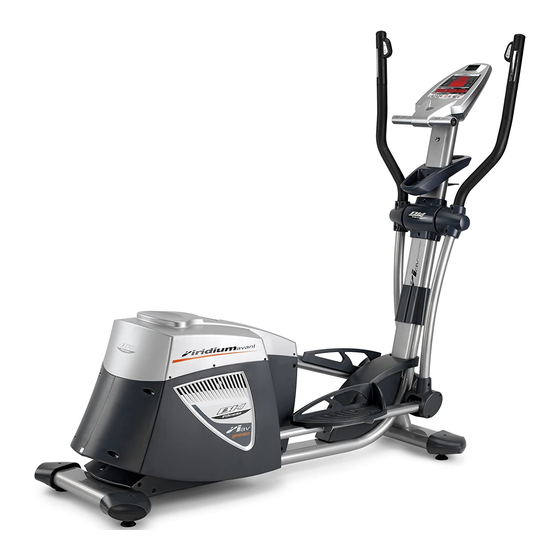
- Page 20 IRIDIUM ELLIPTICAL...
-
Page 21: Exclusive Remedy
LABOR – 1 Year BH Fitness shall cover the labor cost for the repair of the device for a period of One year from the date of original purchase, so long as the device remains in the possession of the original owner for home use.
Need help?
Do you have a question about the IRIDIUM AVANT and is the answer not in the manual?
Questions and answers
The rubber belt came off. What’s the best way to put it back on?