Sign In
Upload
Download
Table of Contents
Contents
Add to my manuals
Delete from my manuals
Share
URL of this page:
HTML Link:
Bookmark this page
Add
Manual will be automatically added to "My Manuals"
Print this page
×
Bookmark added
×
Added to my manuals
Manuals
Brands
Microtest Manuals
Measuring Instruments
6363
User manual
Microtest 6363 User Manual
Precision lcr meter
Hide thumbs
1
2
Table Of Contents
3
4
5
6
7
8
9
10
11
12
13
14
15
16
17
18
19
20
21
22
23
24
25
26
27
28
29
30
31
32
33
34
35
36
37
38
39
40
41
42
43
44
45
46
47
48
49
50
51
52
53
54
55
56
57
58
59
60
61
62
63
64
65
66
67
68
69
70
71
72
73
74
75
76
77
78
79
80
81
82
83
84
85
86
87
88
89
90
page
of
90
Go
/
90
Contents
Table of Contents
Bookmarks
Table of Contents
Table of Contents
Chapter 1. Precautions
Safety Signs
Electrification and Electric Shock
Static Electricity
Ground
Power
Warm up
Machine Malfunction
Test End
Placement and Storage
Emergency Handling
Chapter 2. Begin
Characteristics
Introduction
Communication Interface
Package Contents
Frequency Range and Test Frequency Point
Test Voltage and Resolution
Measurement Type
Introduction to Basic Measurement Functions
Hardware Structure Settings
Precautions before Turning on the Device
Chapter 3. Operations
Main Menu
System Settings
Metermode
Multi-Step Mode
File Management
Instruction Set
Idn
Trg
Cal:open:all
Cal:open:DC
Cal:open:spot
Cal:short:all
Cal:short:DC
Cal:short:spot
DISP:PAGE <Disc
Disp:page
Fetch?(For Meter Mode)
Fetch?(For Multi-Step Test Mode)
Meas:aver <Nr1
Meas:aver
MEAS:BEEP <Disc
Meas:beep
MEAS:FREQ <Nr3|Disc
Meas:freq
MEAS:MODE <Disc
Meas:mode
MEAS:PARA <Disc-1>,<Disc-2>,<Disc-3>,<Disc-4
Meas:para
Meas:rang <Nr1
Meas:rang
Meas:rang:auto
Meas:rang:hold
MEAS:TIME <Disc
Meas:time
Meas:trig:del <Nr1
Meas:trig:del
MEAS:TRIG:MODE <Disc
Meas:trig:mode
MEAS:VOLT <Nr3|Disc
Meas:volt
MEAS:COMP:LOW <Nr3|Disc
Meas:comp:low
MEAS:COMP:MODE <Disc
Meas:comp:mode
MEAS:COMP:NOM <Nr3|Disc
Meas:comp:nom
Meas:comp:para <Nr1
Meas:comp:para
MEAS:COMP:STAT <Disc|Nr1
Meas:comp:stat
Meas:comp:upp <Nr3
Meas:comp:upp
MEAS:COUN <Disc
Meas:coun
Meas:coun:res
Meas:coun:val
LIST:BEEP <Disc
List:beep
List:comp:low <Nr3
List:comp:low
LIST:COMP:MODE <Disc
List:comp:mode
List:comp:nom <Nr3
List:comp:nom
List:comp:upp <Nr3
List:comp:upp
LIST:COUN <Disc
List:coun
List:coun:res
List:coun:val
List:del <Nr1
List:del
LIST:FREQ <Nr3|Disc
List:freq
LIST:PARA <Disc
List:para
List:rescan <Nr1
List:rescan
List:step <Nr1
List:step
LIST:TIME <Disc
List:time
LIST:VOLT <NR3 | Disc
List:volt
Trig
Trig?(For Meter Mode)
Trig?(For Multi-Step Test Mode)
Create LAN Communication Interface (ni VISA)
Handler Interface
Save the Test Data to a USB Flash Drive
Appendix
Advertisement
Quick Links
1
Table of Contents
2
Machine Malfunction
3
Communication Interface
4
Measurement Type
Download this manual
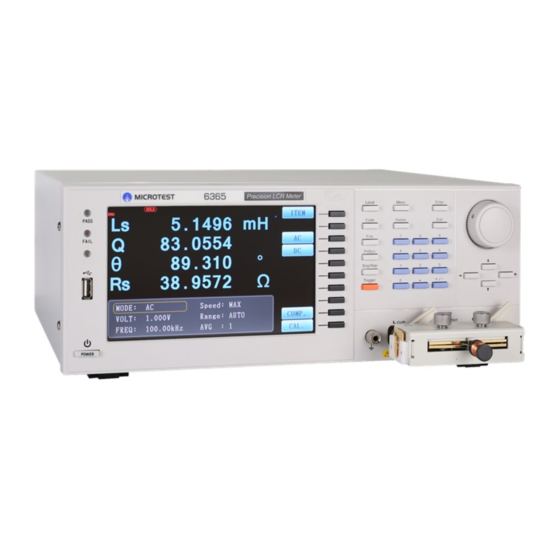
6363/6364/6365/6366/6367
Precision LCR Meter
User Manual
1.02
May 2020
Table of
Contents
Previous
Page
Next
Page
1
2
3
4
5
Advertisement
Table of Contents
Need help?
Do you have a question about the 6363 and is the answer not in the manual?
Ask a question
Questions and answers
Related Manuals for Microtest 6363
Measuring Instruments Microtest 6630E User Manual
Lcr meter (56 pages)
Measuring Instruments Microtest 6375 User Manual
Lcr meter (95 pages)
Measuring Instruments Microtest 6377 User Manual
Lcr meter (95 pages)
Measuring Instruments Microtest 6632 Series User Manual
Precision impedance analyzer (106 pages)
Measuring Instruments Microtest 6632 User Manual
Precision impedance analyzer (120 pages)
Measuring Instruments Microtest 6577 User Manual
(81 pages)
Measuring Instruments Microtest 6630 User Manual
Precision lcr meter (94 pages)
Measuring Instruments Microtest 6364 User Manual
Precision lcr meter (90 pages)
Measuring Instruments Microtest 6365 User Manual
Precision lcr meter (90 pages)
Measuring Instruments Microtest 6366 User Manual
Precision lcr meter (90 pages)
Measuring Instruments Microtest 6367 User Manual
Precision lcr meter (90 pages)
Measuring Instruments Microtest SimpliFiber 850/1300 Source User Manual
(40 pages)
Measuring Instruments Microtest 7110 User Manual
Single-phase power meter (86 pages)
This manual is also suitable for:
6364
6365
6366
6367
Table of Contents
Print
Rename the bookmark
Delete bookmark?
Delete from my manuals?
Login
Sign In
OR
Sign in with Facebook
Sign in with Google
Upload manual
Upload from disk
Upload from URL


Need help?
Do you have a question about the 6363 and is the answer not in the manual?
Questions and answers