Advertisement
Quick Links
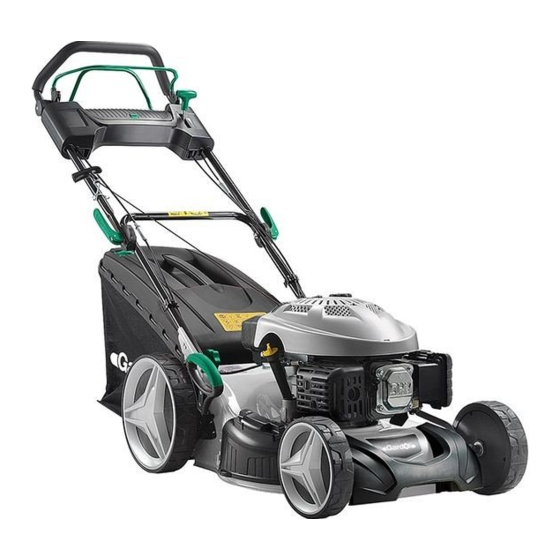
petrol lawn mower
original operating instructions
models:
GBD-46R (DYM1676CE-3)
GBD-46REV (DYM1676SED-3)
GBD-51REV (DYM1678SD-3)
GBD-51R (DYM162601)
Manufactured by
Imported by
Ningbo Daye Garden Machinery Co., Ltd.
Daye Europe GmbH
No.58 Jinfeng Road
Parkstraße 1a
Yuyao, Zhejiang 315403
66450 Bexbach
P.R. China
Germany
1
Advertisement


Need help?
Do you have a question about the GBD-46R and is the answer not in the manual?
Questions and answers