Table of Contents
Advertisement
Quick Links
Advertisement
Table of Contents

Related Manuals for Shark Navigator Pet Plus NV251 Series


Summary of Contents for Shark Navigator Pet Plus NV251 Series
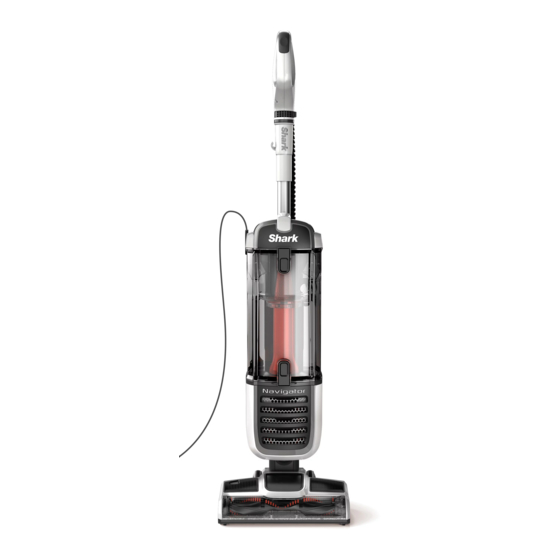
- Page 1 Navigator Pet Plus ® Upright Vacuum NV251 Series OWNER’S GUIDE...
-
Page 2: Important Safety Instructions
Your vacuum cleaner may consist of 10. DO NOT handle plug or vacuum 22. Your Shark® vacuum may not be 27. Hand wash with water only. Washing a motorized nozzle, wand, hose, and/ cleaner with wet hands. -
Page 3: Power Cord
ASSEMBLY ASSEMBLY Cord Clip Upper Cord Hook (Click) (Click) (Click) Tool Storage Posts (Click) (Click) POWER CORD 1. Insert the Wand into the Pod. 2. Insert the Handle into the top of the wand. 3. Connect the Hose to the back of the pod. 4. -
Page 4: Cleaning Modes
WHOLE-HOME CLEANING WHOLE-HOME CLEANING SETTINGS CLEANING MODES POWER/SURFACE SWITCH SUCTION CONTROL UPRIGHT MODE Select surface setting: The Suction Control Slider located on the handle Press the Power/Surface switch to the allows you to adjust the suction depending on the appropriate floor setting, then step on O Off floor type. -
Page 5: Emptying The Dust Cup
EMPTYING THE DUST CUP CLEANING AND REPLACING THE FILTERS IMPORTANT: Unplug the power cord before performing any maintenance. CLEANING FILTERS Empty the dust cup each time you vacuum and periodically during cleaning, when debris in the dust cup reaches the MAX fill line. Regularly rinse and replace the filters to maintain your vacuum's suction power. -
Page 6: Maintenance
MAINTENANCE CHECKING FOR BLOCKAGES CLEANING THE BRUSHROLL WAND BLOCKAGES POD BLOCKAGES Detach wand from pod and handle, and check both Detach wand from pod, and check opening Using a coin, turn locks counterclockwise, then lift the cover to access Brushroll. ends for blockages. -
Page 7: Available Accessories
AVAILABLE ACCESSORIES TROUBLESHOOTING Vacuum is not picking up debris. No suction or light suction. • Check filters to see if they need cleaning. Follow instructions for rinsing and air-drying the Crevice Tool This slim crevice tool is great for cleaning filters before reinserting in the vacuum. -
Page 8: Five (5) Year Limited Warranty
REGISTER YOUR PURCHASE Benefits of registering your product and FIVE (5) YEAR LIMITED WARRANTY creating an account: registeryourshark.com • Get easier, faster product support and The Five (5) Year Limited Warranty applies to purchases made from authorized retailers of SharkNinja access to warranty information Scan QR code using Operating LLC. - Page 9 For SharkNinja U.S. Patent information, visit sharkninja.com/uspatents © 2020 SharkNinja Operating LLC. SHARK and SHARK NAVIGATOR are registered trademarks of SharkNinja Operating LLC. NAVIGATOR is a trademark of SharkNinja Operating LLC.
Need help?
Do you have a question about the Navigator Pet Plus NV251 Series and is the answer not in the manual?
Questions and answers