Advertisement
Quick Links
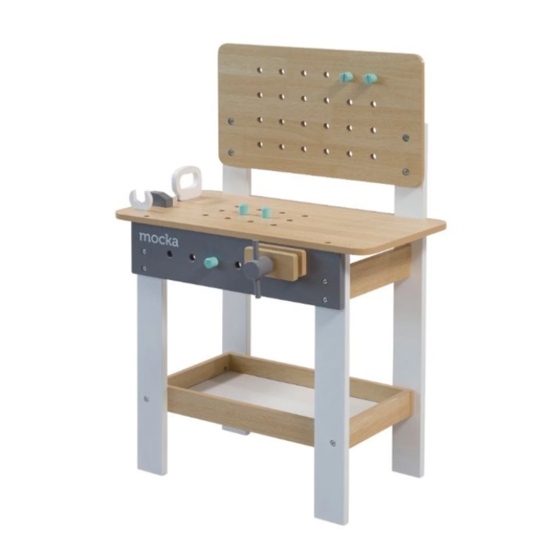
Kids Tool Bench
Assembly Instructions
Thank you for your purchase.
Please follow the instructions below for correct assembly.
A
dowel
medium screw
x4
D
cap
x4
Hardware Supplied
Phillips screwdriver required.
For quicker assembly, we recommend the
use of a power drill on a low-speed setting.
mocka.co.nz | mocka.com.au | PO BOX 6171, Maroochydore BC, QLD, 4558
B
C
small screw
x8
x4
E
large screw
x8
WARNING:
Recommended for ages 2+. Small parts are
used to assemble the Mocka Kids Tool Bench and should
only be assembled by an adult. Keep all assembly parts
away from small children.
1
Advertisement

Related Manuals for Mocka Kids Tool Bench


Summary of Contents for Mocka Kids Tool Bench
- Page 1 Hardware Supplied WARNING: Recommended for ages 2+. Small parts are used to assemble the Mocka Kids Tool Bench and should Phillips screwdriver required. only be assembled by an adult. Keep all assembly parts For quicker assembly, we recommend the away from small children.
- Page 2 Attach panels [5] and [6] to panels [1] and [2] and secure with 2 x large screws (E). Attach panels [7] to panels [1] and [2] and secure with 4 x medium screws (B). Tighten with a screwdriver. mocka.co.nz | mocka.com.au | PO BOX 6171, Maroochydore BC, QLD, 4558...
- Page 3 Kids Tool Bench Assembly Instructions Slide panel [8] between panels [5] as shown. Attach panel [6] to panels [5] as shown. mocka.co.nz | mocka.com.au | PO BOX 6171, Maroochydore BC, QLD, 4558...
- Page 4 Attach panels [3] and [4] to panels [5] and secure with 2 x large screws Attach panel [9] to assembled frame as shown and secure with 4 x (E). Tighten with a screwdriver. large screws (E). Tighten with a screwdriver. mocka.co.nz | mocka.com.au | PO BOX 6171, Maroochydore BC, QLD, 4558...
- Page 5 Attach panel [11] to assembled frame as shown and secure with 4 x medium screws (B). Tighten with a screwdriver. small screws (C) and 4 x caps (D). Tighten with a screwdriver. mocka.co.nz | mocka.com.au | PO BOX 6171, Maroochydore BC, QLD, 4558...
- Page 6 Kids Tool Bench Assembly Instructions Attach panels [12] and [13] to assembled frame and organise tools as Once assembled lift furniture into place, do not drag. You’re done, shown. enjoy! mocka.co.nz | mocka.com.au | PO BOX 6171, Maroochydore BC, QLD, 4558...
Need help?
Do you have a question about the Kids Tool Bench and is the answer not in the manual?
Questions and answers