Advertisement
Quick Links
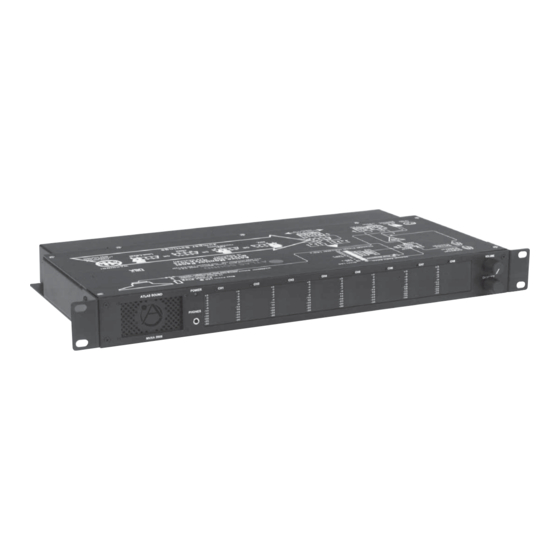
MVXA
OWNER'S MANUAL
MULTI-CHANNEL AMPLIFIED MONITOR PANEL
Accurate speaker and line level monitoring in a single rack unit!
• 8 or 16 channel audible and visual monitoring
• Sophisticated single rack-unit design (1RU)
• Selectable input references of 1Vrms, 25Vrms, 70Vrms, or 100Vrms
• Accurate visual monitoring of all channels simultaneously
• LEDs display green or red for easy identification of referenced signal levels
• Internal speaker, headphone jack, line level output, and speaker output
• Multiple patents pending
Specifications are subject to change without notice
AtlasSound.com
1601 JACK MCKAY BOULEVARD ENNIS, TEXAS 75119 U.S.A. •
TELEPHONE: (800) 876-3333 • FAX: (800) 765-3435
©2006 ATLAS SOUND LP
Printed in China
00606
AT000384 RevB 06/06
PN 484004
Advertisement

Related Manuals for Atlas MVXA


Summary of Contents for Atlas MVXA
- Page 1 • Multiple patents pending Specifications are subject to change without notice AtlasSound.com 1601 JACK MCKAY BOULEVARD ENNIS, TEXAS 75119 U.S.A. • TELEPHONE: (800) 876-3333 • FAX: (800) 765-3435 ©2006 ATLAS SOUND LP Printed in China 00606 AT000384 RevB 06/06 PN 484004...
- Page 2 Mounting Flexibility The compact design of the MVXA is ideally suited for shelf, rack, or wall mounting. To facilitate application flexibility, rack mount brackets may be installed in three different ways for standard rack or wall mount applications including single and side-by-side wall orientation.
- Page 3 "on" position. If only the line level device is desired, move the speaker/headphone disconnect jumper to "off". 5. Perform desired wire management and labeling functions. 6. Connect the power supply (included) to the MVXA. 7. Attach rear cover. 8. Plug the power supply into a 110/120 VAC outlet.
- Page 4 Install flush to front of unit for use in a standard 19" EIA rack or cabinet 3. Output Amplifier The MVXA Series uses a 3 Watt amplifier to drive the internal speaker, headphone jack, and/or an external speaker 4. Internal Speaker The internal speaker provides built-in audio monitoring capability.
- Page 5 (Ex: left to channel 1 and right to channel 2). Note: If simultaneous audible monitoring of stereo signals is required, two MVXA units are necessary; one for the left signal and the other for the right signal. Channel Audio Select...
- Page 6 Shields and Grounding The MVXA requires a solid "earth ground" connection. The unit itself is internally grounded from the circuit board to the chassis and should receive a good "earth ground" under most mounting conditions. If the unit is not rack mounted or the powder-coat paint is interfering with the case grounding, then one of the "S"...
- Page 7 MVXA SERIES MULTI-AMPLIFIED MONITOR PANEL MVXA Series Back Panel View (Rear Panel Cover Removed) 15. Terminal Inputs Each of the unit's eight or sixteen channel inputs is independent allowing audio and visual monitoring of any combination of 25V, 70V, and 100V, and line level circuits.
-
Page 8: Specifications
3 WATT AMPLIFIER (5 WATT PEAK) INTO: Terminals on back • Internal speaker • Headphone Jack • External speaker output (4Ω or 8Ω) terminals on back 1601 JACK MCKAY BOULEVARD ENNIS, TEXAS 75119 U.S.A. • ©2006 ATLAS SOUND LP Printed in China CHANNELS TOTAL FLOOR INTERNAL...
Need help?
Do you have a question about the MVXA and is the answer not in the manual?
Questions and answers