Mounting Dream MD2263-XLK Installation Instruction
Hide thumbs
Also See for MD2263-XLK:
- Installation instruction (10 pages) ,
- Troubleshooting manual (4 pages)
Advertisement
Quick Links
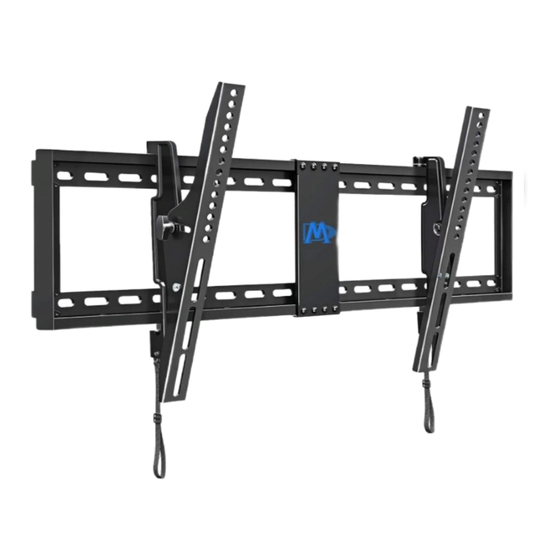
MD2263-XLK
INSTALLATION INSTRUCTION
x1
Max:800x400mm/32x16"
42"~86"
Min:200x100mm/8x4"
1
2
TV
(B1)
If you have any questions, please contact us via customerservice@mountingdream.com
or call us at telephone (626) 604-9048 (USA) Mon - Fri 10am - 6pm (Pacific time).
For more information, please visit our website:www.mountingdreamonline.com
Advertisement

Related Manuals for Mounting Dream MD2263-XLK


Summary of Contents for Mounting Dream MD2263-XLK
- Page 1 MD2263-XLK INSTALLATION INSTRUCTION Max:800x400mm/32x16" 42"~86" Min:200x100mm/8x4" (B1) If you have any questions, please contact us via customerservice@mountingdream.com or call us at telephone (626) 604-9048 (USA) Mon - Fri 10am - 6pm (Pacific time). For more information, please visit our website:www.mountingdreamonline.com...
- Page 2 ● The wall must be capable of supporting five times the weight of the TV and mount combined. ● Do not apply this product to any purpose not indicated by Mounting Dream. ● Incorrect installation may result in product damage or body injury. Mounting Dream shall bear no responsibility for any damage or injury resulted from incorrect installation, incorrect assembly or misuse.
-
Page 3: Step 1 Attach Brackets To Tv
STEP 1 Attach Brackets to TV Parts and Hardware WARNING: This product contains small items that could be a choking hazard if swallowed. Before starting assembly, verify all parts are included and undamaged. For parts shortage or damage, please contact us via customerservice@mountingdream.com NOTE: Not all hardware included will be used. - Page 4 1-3 Attach the TV Brackets Spacer(s), screw and washer Tips: If you need to combine M6(e) or M8(c/f) screw with 2.5mm spacer(j), you have to remove the inner circle. Screw and washer...
- Page 5 STEP 2 Attach Wall Plate to Wall For wood stud installation, follow STEP 2A For concrete installation, follow STEP 2B on PAGE 6 Parts and Hardware M8 Washer Lag Bolt M8x60mm Wall plate Allen Key M5x8mm Bolt Mounting Template Connection Plate Contact us at telephone (626) 604-9048 (USA) Mon - Fri 10am - 6pm (Pacific time) or email us by customerservice@mountingdream.com to...
- Page 6 Centre line Again, find another wood stud 32"(812.8mm) 24"(609.6mm) Centre line 16"(406mm) Mounting Template CAUTION : To avoid potential personal injury or property damage: All 4 lag bolts MUST BE firmly tightened to prevent unwanted movement of the wall plate assembly.
-
Page 7: Solid Concrete Wall Installation
STEP 2B Solid Concrete Wall Installation Min. 8"(203mm) DANGER 2.5" (64mm) 3/8" 3/8" (10mm) (10mm) Mounting Template CAUTION : To avoid potential personal injury or property damage: All 4 lag bolts MUST BE firmly tightened to prevent unwanted movement of the wall plate assembly. - Page 8 STEP 3 Hang and Secure TV to Wall Plate Before hanging TV, please conduct "wall plate installation integrity test" first. 120 LBS (54.5 KG) Pull down...
- Page 9 STEP 4 Adjustment 4-1 TV leveling adjustment (±1°): Loosen 2 leveling bolts on the rear of TV plate by maximum 2 turns, adjust to level, and retighten to secure. Tighten Loosen 4-2 Tilting angle adjustment (+5°/-15°) : Loosen handle , adjust TV to your desired position,then tighten handle .
-
Page 10: Product Dimensions
STEP 5 Take Down the TV from the Mount Pull down the straps Product dimensions: 860.6mm 64.5mm MAX:800mm +5°/-15° MAX:400mm 222mm 430mm...
Need help?
Do you have a question about the MD2263-XLK and is the answer not in the manual?
Questions and answers