Advertisement
Quick Links
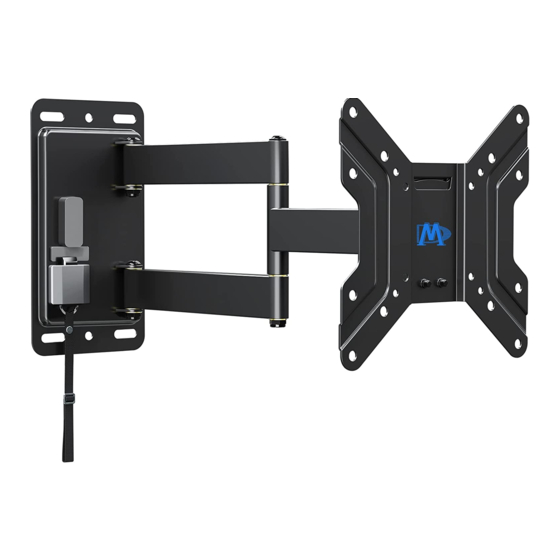
MD2210
x3
17"~39"
Thank you for purchase!We strive to provide products and services of exceptional quality.
We sincerely invite you to write an unbiased review. For parts missed or installation problems,
please contact us at telephone (626) 604-9048 (USA) Mon - Fri 10am - 6pm (Pacific time) or email
us by customerservice@mountingdream.com , so that we may solve the issue for you.
INSTALLATION INSTRUCTION
x1
Max:200x200mm/8x8in
Min:100x100mm/4x4in
(A0)
Advertisement

Related Manuals for Mounting Dream MD2210


Summary of Contents for Mounting Dream MD2210
- Page 1 MD2210 INSTALLATION INSTRUCTION Max:200x200mm/8x8in 17"~39" Min:100x100mm/4x4in Thank you for purchase!We strive to provide products and services of exceptional quality. We sincerely invite you to write an unbiased review. For parts missed or installation problems, please contact us at telephone (626) 604-9048 (USA) Mon - Fri 10am - 6pm (Pacific time) or email us by customerservice@mountingdream.com , so that we may solve the issue for you.
- Page 2 According to the wall you're going to install, the structure of your RV may require additional reinforcement. ● Incorrect installation may result in product damage or body injury. Mounting Dream shall bear no responsibility for any damage or injury resulted from incorrect installation, incorrect assembly or misuse.
- Page 3 Parts and Hardware WARNING: This product contains small items that could be a choking hazard if swallowed. Before starting assembly, verify all parts are included and undamaged. For parts shortage or damage, please contact us via customerservice@mountingdream.com. NOTE: Not all hardware included will be used. Allen Key Spacers TV Screws...
- Page 4 1-2 Choose Configuration ③ ③ ② ① ① ② ① 100mm x 100mm ② 200mm x 100mm ③ 200mm x 200mm ② ① ① ② ③ ③ 1-4 Need Spacer? 1-3 Select TV Screws No, go to PAGE 4 for detailed combination. Bracket Short Screw Washer...
- Page 5 1-5 Attach TV Plate to TV Back Screw and washer Spacer(s), screw and washer Tips: If you need to combine M8(d/h) screw with 2.5mm spacer(n), you have to remove the inner circle.
- Page 6 Parts and Hardware Wall Plate Lag Bolt Bolt Head UP! Min. 0.5" Wall plate CAUTION : All 4 lag bolts MUST BE firmly tightened to prevent unwanted movement of the wall plate assembly. Ensure the wall plate assembly is securely fastened to the wall before continuing on to the next step.
- Page 7 Before hanging TV, please conduct "wall plate installation integrity test" first. 44 LBS (20 kg)
- Page 8 4-1 Tilting angle adjustment (+5°/-15°) : Loosen handle and tilting bolt, adjust TV to your desired position, then tighten handle and tilting bolt. Tilting bolts -15° Tighten +5° Loosen To tighten or loosen the handle Handle Handle ① Turn handle (loosen or tighten) until stopped by mount.
- Page 9 4-2 TV leveling adjustment (±5°): Loosen 2 leveling bolts on the rear of TV plate by maximum 2 turns, adjust to level, and retighten to secure. Loosen Tighten Push your TV to the wall until you hear the "click" sound. Important ! Make sure to stow the TV and fully lock the mount in place before your RV is moving.
- Page 10 Pull out Pull and hold the strap 200mm 100mm 260mm +5° 200mm 100mm -15° 467mm 72mm +90°/-90 ° If you have any questions about the installation,please feel free to contact us at telephone (626) 604-9048 (USA) Mon - Fri 10am - 6pm (Pacific time) or email us by customerservice@mountingdream.com . For more information, please visit our website:www.mountingdream.com...
Need help?
Do you have a question about the MD2210 and is the answer not in the manual?
Questions and answers