Advertisement
Packing List
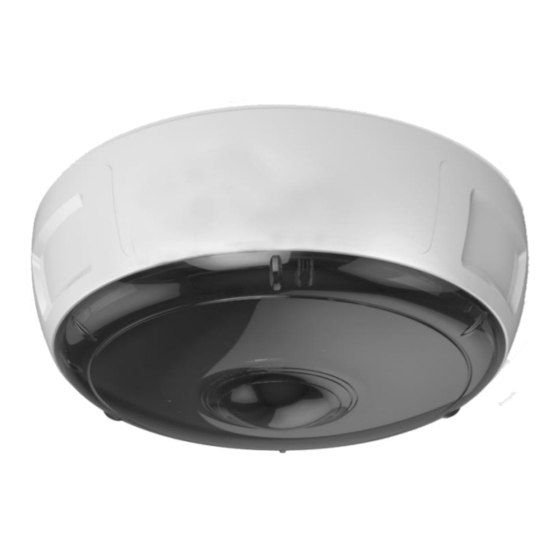
iCAM-771 package includes the following items:
iCAM-771
Waterproof Head x 2
(1 is on I/O Port)
Technical Resources
How to search for drivers, manuals and spec information on ICP DAS website.
For Mobile Web
For Desktop Web
L Style Bracket
Software CD
iCAM-771 Quick Start
Screw Pack
x 1
(This Document)
Technical Support
service@icpdas.com
www.icpdas.com
v1.1, 05/2020
Alignment Sticker
Quick Start
P.1
Advertisement
Table of Contents

Related Manuals for ICP DAS USA iCAM-771


Summary of Contents for ICP DAS USA iCAM-771
- Page 1 Quick Start v1.1, 05/2020 Packing List iCAM-771 package includes the following items: iCAM-771 L Style Bracket Screw Pack Alignment Sticker Waterproof Head x 2 Software CD Quick Start (1 is on I/O Port) (This Document) Technical Resources How to search for drivers, manuals and spec information on ICP DAS website.
- Page 2 Physical Connection iCAM-771 PC/Notebook PoE Switch ① RJ45 ② 1) Be sure that your PC or laptop has connected to your local Ethernet network. 2) Be sure that IP Camera has connected to your local networking via the LAN port (RJ45) on the cable. For this PoE model, user can use PoE Switch as power supply.
- Page 3 CAM FINDER Installation CAM FINDER software utility installation is required for finding out your camera on local network that you can launch camera web pages via Internet Browser or do some basically setting directly without camera web pages. CAM FINDER utility programs are located in the Software iCAM CD provided together with the device.
- Page 4 Network Configuration Using CAM FINDER to Assign an IP Address 1) Click the [Device Search] on the top of Window to search the camera on the network. 2) From the list, select the device with the MAC Address that corresponds to the Camera that is to be configured. 3) Double click the item or click right key of mouse to the...
- Page 5 Modify the relative network settings of Static IP Address. Click [Set] button to save and enable the configuration modifications. Open the Web-based UI of the selected camera To access the Web-based UI of the selected unit, run the [Open Web] on the select item.
- Page 6 For first time user, there will be a prompt to install the NETCAM VIEWER PLUG-IN. Click the hyper-link directly to download. Before completing the installation, you should close the browser first for PLUG-IN component installation. After installation completed, re-launch the browser.
- Page 7 Camera and its Bracket Installation 1) Extract the round mounting plate from the camera enclosure by pressing then turning it counterclockwise. 2) Attach the provided alignment sticker to the ceiling / wall where the camera is going to be installed. 3) Drill the screw holes by either A or B to screw the mounting plate on the wall.
- Page 8 4) Drill a hole as indicate on the sticker. Gently get the cable to go through the hole before installing the camera. 5) Attach the camera by matching the alignment marks to the unlock points and edge line on the sticker. Twist the camera clockwise, then 2 alignment marks should be shifted to...
Need help?
Do you have a question about the iCAM-771 and is the answer not in the manual?
Questions and answers