Advertisement
Quick Links
F L U S H A C S e r i e s I n s t a l l a t i o n G u i d e
Thanks for choosing our Flush AC Series ceiling fan.
We strongly recommend that you read this manual carefully before installation.
Models Parameters (Fan Only):-
MFF133MM
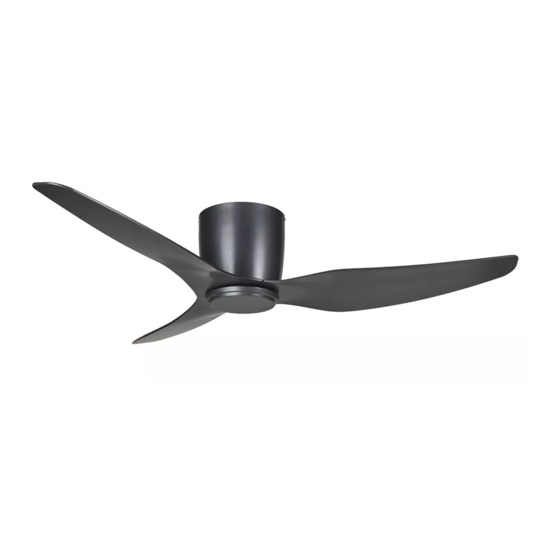
1250mm 3 Blade Ceiling Fan Matt Black
MFF133WS
1250mm 3 Blade Ceiling Fan White Satin
Models Parameters (Fan and LED Light):-
MFF1333MM
1250mm 3 Blade Ceiling Fan Matt Black with 15W Tricolour LED Light
MFF1333WS
1250mm 3 Blade Ceiling Fan White Satin with 15W Tricolour LED Light
Part List:
Qty 1x motor assembly
Qty 1x instruction manual
Qty 1x hanging bracket
Qty 1x wall control kit
Application
Flat Surface / Ceiling
How to Assemble
Fg.1
Secure the hanger bracket to ceiling
beam or a suitable piece of timber
inserted between the ceiling beams
using the two long screws supplied
with the package. (See Fg.1)
Fg.4
Push motor upward and secure
the motor to the mounting plate by
tightening the screws and washers
provided. (See Fg.4)
E: sales@martecltd.com.au | P: 02 8778 7500
www.martecaustralia.com.au
Slope Ceiling up to 15°
Fg.2
Remove pre-installed screws from
motor bracket and mounting plate.
Hang fan from mounting plate by
inserting T-shaped bracket into the
slot. (See Fg.2)
Fg.5
Position no.1 and n0.2 directly under
and align with no.3.
Rotate the motor housing clockwise
until both screws from the mounting
bracket drop into the slots. (See Fg.5)
Qty 1x screw kit
Qty 1x balancing kit
Qty 3x blade
Corrugated Ceiling
Fg.3
Fg.6
Insert and tighten screws and star
washers into the mating holes to
secure the motor housing. (See Fg.6)
Apex Ceiling
Advertisement

Summary of Contents for Martec Flush AC Series
- Page 1 F L U S H A C S e r i e s I n s t a l l a t i o n G u i d e Thanks for choosing our Flush AC Series ceiling fan. We strongly recommend that you read this manual carefully before installation.
- Page 2 WARNING Installation MUST carry out by a qualified and licensed electrician. How to Install Blades Fg.7 Align holes on the blades with holes at the bottom of the motor assembly. Tighten the blade using screws provided. Repeat the same step until all blades are installed.(See Fg.7) NB: Ensure the blades do not get damaged or bent during the installation process while the fan maybe on the ground, this will affect the performance and balance of the fan and this is NOT covered under warranty.
- Page 3 Setting code on receiver:- 1. Slide code switches on the receiver in the same position set on the transmitter NB: Martec Remotes - MPREMS (as illustrated on the left), MPLCDS and MAPP are sold separately. Installing Receiver Remote Control Receiver...
- Page 4 WARNING Installation MUST carry out by a qualified and licensed electrician. Wire Connections NB: Wall control with light NB: Remote Control with or without light NB: Wall control without light To AC Power To the To the Fan Motor Fan Light 6* Year Warranty Visit our website for details https://www.martecaustralia.com.au/warranty-statement/...


