
Subscribe to Our Youtube Channel
Related Manuals for 3M MACURCO GD-6


Summary of Contents for 3M MACURCO GD-6
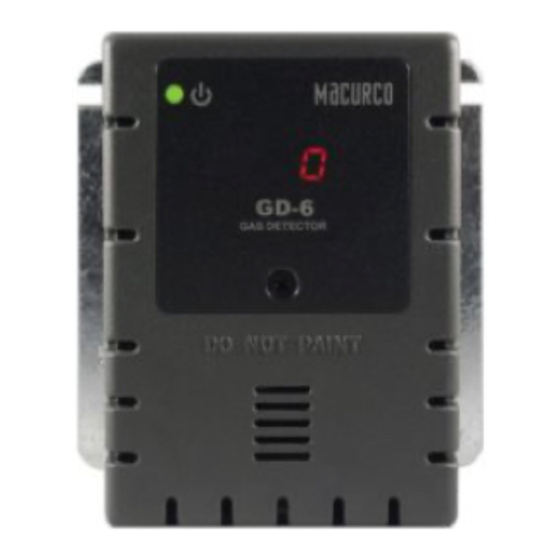
- Page 1 GD-6 Macurco ™ Combustible Gas Detector, Controller and Transducer User Instructions IMporTanT: Keep these User Instructions for reference.
-
Page 2: Table Of Contents
MaInTEnanCE ...15 Cleaning ...15 Testing ...15 Operation Test ...16 Manual Operation Test ...16 Combustible Gas Test ...17 Quick Gas Test ...20 Field Calibration Procedure ...21 Zero the Sensor ...21 Calibration ...21 3M GaS DETECTIon proDUCTS WarranTY...22 For MorE InForMaTIon ...22... -
Page 3: General Safety Information
For proper use, see supervisor or User Instructions, or call 3M in U.S.A., 1-800-243-4630. In Canada, call Technical Service at 1-800-267-4414. -
Page 4: Features
), mount the 3M™ Macurco™ GD-6 Combustible Gas Detector high on a wall about one foot down from the ceiling. If the target gas is heavier than air; propane (LP), mount the 3M™ Macurco™ GD-6 Combustible Gas Detector on a wall or column one foot above the floor. Use the same spacing as for smoke detectors-30 foot centers, 900 square feet per detector. -
Page 5: Installation
1. The 3M™ Macurco™ GD-6 Combustible Gas Detector mounts on a type 4S electrical box supplied by the contractor. 2. Connect the 3M™ Macurco™ GD-6 Combustible Gas Detector to Class 2 power supply only. It is suggested to use a separate transformer for powering the unit or units because of possible interference’s from other devices on the same... - Page 6 INSTALLATION NOTES 1. One sensor per 900 square feet (approximately). 2. If the gas used is natural gas (methane) or Hydrogen (H2) mount the 3M™ Macurco™ GD-6 Combustible Gas Detector high on a wall about one foot down from the ceiling. If the gas used is propane (LP), mount the 3M™ Macurco™ GD-6 Combustible Gas Detector on a wall or column one foot above the floor.
-
Page 7: Power Up
– The 3M™ Macurco™ GD-6 Combustible Gas Detector cycles through an internal self-test cycle for the first minute that it is powered. The unit will execute the test cycle any time power is dropped and reapplied (i.e. power failure). During the self-test cycle the unit will display the firmware version number, then count down from 60 to 0 and finally go into normal operation. -
Page 8: Gas Selection
To change settings, remove the Philips screw on the front of the 3M™ Macurco™ GD-6 Combustible Gas Detector. Pull off the front cover of the unit. Gas Selection To select the Gas option, in normal mode, press the Next button once to display the current gas selection (mE is Methane, pro is propane and Hy is Hydrogen). -
Page 9: Fan Minimum Runtime Setting
Check that the 3M™ Macurco™ GD-6 Combustible Gas Detector OPERATING LED type light is illuminated, continuously. If not, do not proceed with the tests. If the unit is in error mode contact your local representative or 3M Macurco... -
Page 10: Operation Test
Test 1. Remove the single screw in the middle of the front cover of the 3M™ Macurco™ GD-6 Combustible Gas Detector. 2. Remove the front cover. 3. Observe the LED light on the front of the 3M™ Macurco™ GD-6 Combustible Gas Detector. - Page 11 The gas concentration to activate the fan relay depends on the setting. 1. Remove the Philips screw on the front of the 3M™ Macurco™ GD-6 Combustible Gas Detector. Remove the front cover. 2. Connect the 10% LEL cylinder of Combustible Gas to the regulator. Ensure that the gas used for calibration matches the gas selected in the 3M™...
-
Page 12: Quick Gas Test
Calibration 1. Remove the Philips screw on the front of the 3M™ Macurco™ GD-6 Combustible Gas Detector. Pull the front cover of the unit off. 2. Assemble the 10% LEL gas cylinder and regulator together. Ensure that the gas used for calibration matches the gas that the 3M™... -
Page 13: For More Information
3M FIXED GaS DETECTIon proDUCTS LIMITED WarranTY 3M warrants the GD-6 gas detector will be free from defective materials and workmanship for a period of two (2) years from date of manufacture (indicated on the inside cover of the GD-6), provided it is maintained and used in accordance with 3M instructions and/or recommendations. - Page 15 3M occupational Health and Environmental Safety Division 3M Center, Building 0235-02-W-70 St. Paul, MN 55144-1000 Printed in U.S.A. © 3M 2008-2011. All rights reserved. 3M and Macurco are trademarks of 3M Company, used under license in Canada. 34-8707-5862-9...
- Page 16 34870758629.indd Structure #: SS-41964 Date: 6/17/11 printed Colors – Front: printed Colors – Back: Match Colors: This artwork has been created as requested by 3M. 3M is responsible for the artwork aS approVED and assumes full responsibility for its correctness.
Need help?
Do you have a question about the MACURCO GD-6 and is the answer not in the manual?
Questions and answers