
Related Manuals for Nexen Air Champ FMCBE 130-24


Summary of Contents for Nexen Air Champ FMCBE 130-24
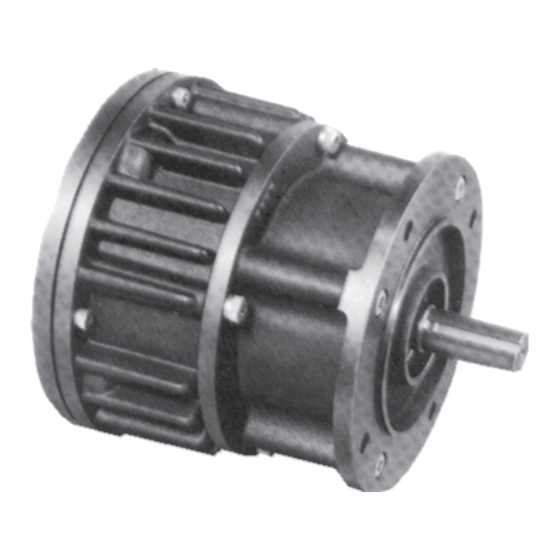
- Page 1 Flange Mounted Enclosed Clutch-Brakes FMCBE Model 130-24 with Locking Key FORM NO. L-20328-B-1112...
- Page 2 In accordance with Nexen’s established policy of constant product improvement, the specifications contained in this manual are subject to change without notice. Technical data listed in this manual are based on the latest information available at the time of printing and are also subject to change without notice.
-
Page 3: Table Of Contents
Table of Contents Installation ----------------------------------------------------------------------------------------------------------------------------------------- 4 Air Connections --------------------------------------------------------------------------------------------------------------------------------- 5 Lubrication ---------------------------------------------------------------------------------------------------------------------------------------- 6 Troubleshooting -------------------------------------------------------------------------------------------------------------------------------- 6 FMCBE Removal ------------------------------------------------------------------------------------------------------------------------------ 7 Parts Replacement - Friction Facings --------------------------------------------------------------------------------------------------- 7 Parts Replacement - Input Bearing ------------------------------------------------------------------------------------------------------ 8 Parts Replacement - Bearings and O-Ring Seals ---------------------------------------------------------------------------------- 9 Parts Replacement - Input Unit ---------------------------------------------------------------------------------------------------------- 11 Replacement Parts --------------------------------------------------------------------------------------------------------------------------- 12 Parts List ----------------------------------------------------------------------------------------------------------------------------------------- 12... -
Page 4: Installation
INSTALLATION Housing (Item 1) CAUTION (Item 38) This unit is not intended for foot mounting. Flange mount the FMCBE with Locking Key only. 1. Coat the threads of the Bar (Item 38) with Loctite ® (Item 25) 242; then, thread the Bar into the Stub Shaft (Item 23) until the end of the Bar is visible in the keyway slot of the Stub Shaft (See Figure 1). -
Page 5: Air Connections
NOTE For quick response, Nexen recommends a quick exhaust valve and short air lines between the Control Valves and the FMCBE. Align the air inlet ports to a down position to allow condensation to drain out of the air chambers. -
Page 6: Lubrication
Pneumatically actuated devices require clean, pressure regulated, and lubricated air for maximum performance and long life. The most effective and economical way to lubricate Nexen Clutch/Brakes is with an Air Line Lubricator, which injects oil into the pressurized air, forcing an oil mist into the air chamber. -
Page 7: Fmcbe Removal
SYMPTOM PROBABLE CAUSE SOLUTION Failure to engage. Air not getting to the FMCBE due to a control valve Check for a control valve malfunction or low malfunction. air pressure and replace the control valve if necessary. Air leaks around the O-ring Seals. Replace the O-ring Seals. -
Page 8: Parts Replacement-Input Bearing
NOTE The Flat Head Machine Screws (Item 7) are assembled with an anaerobic thread locking compound. Inserting a properly fitting screwdriver into the head of the Flat Head Machine Screw and striking the end of the screwdriver with a hammer will break the crystalline structure of the locking compound and allow removal of the Flat Head Machine Screws. -
Page 9: Parts Replacement-Bearings And O-Ring Seals
11. Support the inner race of the new Ball Bearing (Item 2) Clean the bearing bore of the Female Pilot (Item 26) and press the Drive Disc (Item 4) into the new Ball with fresh safety solvent, making sure all old Loctite ®... - Page 10 8. Apply an adequate amount of Loctite 680 to evenly ® coat the outer race of the second new Ball Bearing Press this Ball (Item 19) and press it into the output side of the Bearing on first Male Pilot (Item 20) until it is seated against the first (See Step 7).
-
Page 11: Parts Replacement-Input Unit
24. Install the new O-ring Seals (Items 21 and 22) (See 27. Tighten the four Socket Head Cap Screws (Item 13) Figure 16). to 24.5 Ft. Lbs. [33.22 N m] torque. 25. Align the Spring Pin (Item 17) on the Male Pilot (Item 28. -
Page 12: Replacement Parts
REPLACEMENT PARTS When ordering replacement parts, specify model The item or balloon number for all Nexen products is used designation, item number, part description, and quantity. for part identification on all product parts lists, product Purchase replacement parts through your local Nexen price lists, unit assembly drawings, bills of materials, and Distributor. - Page 13 Facing Kit No. 801430 (two kits required per unit). In accordance with Nexen’s policy of product improvement, the specifications and technical data contained in this manual are subject to change without notice and are based on the latest information available at the time of printing.
-
Page 14: Warranty
Buyer shall be obligated to pay or which Buyer may incur based upon, related to or arising out of its contracts with its customers or other third parties. In no event shall Nexen be liable for any amount of damages in excess of amounts paid by Buyer for Products or services as to which a breach of contract has been determined to exist.
Need help?
Do you have a question about the Air Champ FMCBE 130-24 and is the answer not in the manual?
Questions and answers