Table of Contents
Advertisement
Quick Links
1161 E. Clark Road, Suite #220
DeWitt, MI 48820
800.411.0150
www.bigleaguelawns.com
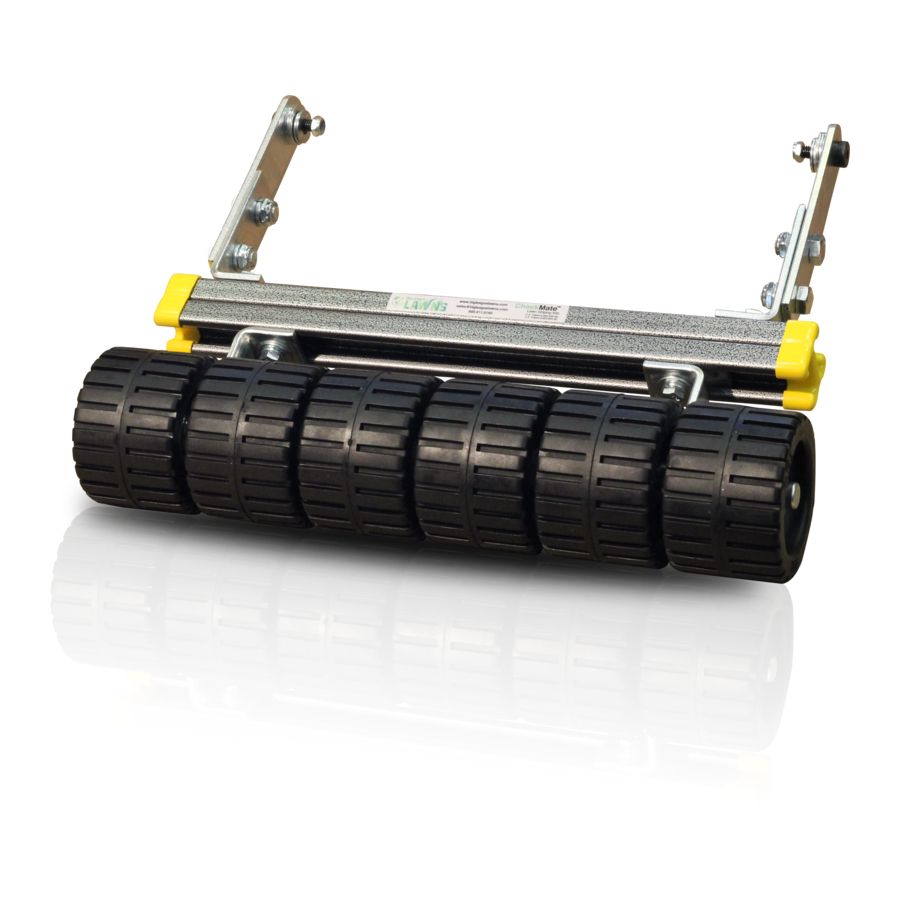
CheckMate™ Lawn Striping Kit For Honda HRN Installation Guide
Important
Big League Lawns, LLC warrants their products to be free of defects in material and workmanship.
This warranty does not cover defects due directly or indirectly to misuse, abuse, normal wear and tear,
failure to properly maintain the product or used for a purpose other than that for which it is intended.
The duration of this warranty is expressly limited to one year parts and labor beginning from the date
of delivery to the original customer.
The obligation of Big League Lawns, LLC is limited solely to the repair or replacement, at our option,
at its factory or authorized repair agent of any part that should prove deficient. Purchaser must
maintain the product under normal operating conditions at all times. Prior to operation, become
familiar with the attachment and any disconnect features. This product is not intended to be used in a
transport position or to be backed over curbs. When not in use, the product should be removed from
the mower and transported in a safe manner. Failure to follow these instructions will void the
warranty.
Advertisement
Table of Contents

Related Manuals for Big League Lawns CheckMate


Summary of Contents for Big League Lawns CheckMate
- Page 1 The obligation of Big League Lawns, LLC is limited solely to the repair or replacement, at our option, at its factory or authorized repair agent of any part that should prove deficient. Purchaser must maintain the product under normal operating conditions at all times.
- Page 2 Congratulations on your new purchase! You are just steps away from creating a beautifully patterned lawn using your new CheckMate™ lawn striping roller. To ensure a long life of both your mower and roller, please be sure to follow the mounting recommendations below.
- Page 3 Step 2: Mark Drilling Location Place the provided 3/8” washer against the back of the frame. The 3/8” washer should rest in the back corner of the deck; touching both the bottom and back sidewalls as pictured below. You may mark the hole with a pen or carefully use the washer as your drill guide. Step 3: Drill Mounting Hole Using a 3/8”...
- Page 4 Step 4: Installing Mounting Arms Install Mounting Arm Install mounting arm through the mounting hole. On the underside, install one 3/8” flat washer and one 3/8” nylon locknut onto the exposed threads of the mounting bolt. Tighten Using a 9/16” wrench and a 7/32” hex key, secure the mounting arm to the mower frame. Step 5: Reinstall Wheel Place the wheel back onto the axel;...
- Page 5 Step 7: Assemble Mounting Arms Using the schematic below, assemble your mounting arms to connect the channel piece in the next step.
- Page 6 Final Steps Check installation, pick up the roller to confirm it freely pivots up and down. Installation is now complete! Enjoy your striping with your new CheckMate ™ Striping kit! *Installation video can be found on our YouTube page below:...
Need help?
Do you have a question about the CheckMate and is the answer not in the manual?
Questions and answers