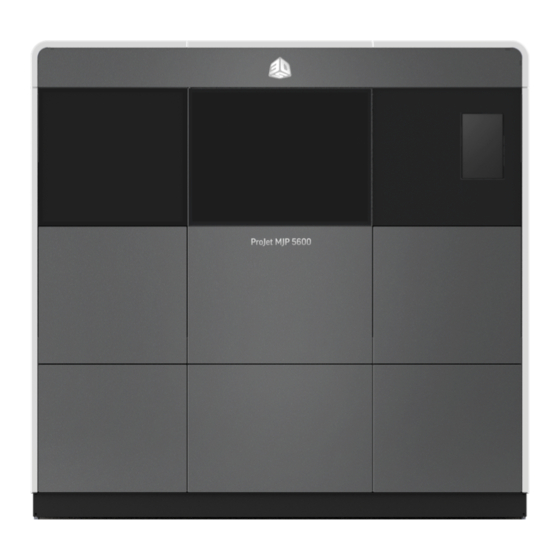
ProJet MJP 5600 Start-Up
Hide thumbs
Also See for MJP 5600:
- Quick start manual (38 pages) ,
- User manual (263 pages) ,
- User manual (119 pages)
Advertisement
Quick Links
Printer Startup and Quick Test Print
The purpose of this section is to execute the following:
Power the 3D printer sysem on.
Load support and build material cartridges into the material delivery modules.
Install a print platform.
Perform a successful Quick Test Print.
Remove the finished parts from the printer.
Empty the waste drawers.
Switch the 3d printer system off.
Completion of this process will familiarize you with all of the "basic" 3D printer system
operations needed to build parts on the printer. It is strongly recommenced that you
complete this section before moving on to larger more sophisticated builds.
Power the Printer ON.
1.
Connect
power cord
2.
Place
power switch
3.
Wait 2.5 hours for printer to warm up before attempting to start a build job.
4.
Because the materials also require a warm up period, proceed to the next step of adding
material
to the
material delivery
NOTE: Build files can not be submitted to the printer while it is warming up.
to the printer (A) and plug into facility receptacle.
(B) located at the rear of printer, to the
modules.
ON
position.
Advertisement

Related Manuals for ProJet MJP 5600


Summary of Contents for ProJet MJP 5600
- Page 1 Printer Startup and Quick Test Print The purpose of this section is to execute the following: Power the 3D printer sysem on. Load support and build material cartridges into the material delivery modules. Install a print platform. Perform a successful Quick Test Print. Remove the finished parts from the printer.
- Page 2 Material Delivery Modules (MDM) and Material Bottles The 3D printer system has a total of four material delivery modules (MDM). Each MDM holds two bottles of material. This provides for a total of four bottles of support material and four bottles of build material. Support material is loaded into both MDMs located on the left side of the machine, for a total of four bottles.
- Page 3 Install Material Bottles For the purpose of the Demo print, we will use only two bottles of support material two bottles of build material. Make certain that the two bottles of build material are the same type. Unpack the material bottles and the Global Health and Safety (GHS) Sheet from cartons.
-
Page 4: Install Build Platform
build material. Install Build Platform Clean the platform using isopropyl alcohol before installing the platform into the printer. Open the chamber door. - Page 5 The adjacent view shows the bottom of the print platform. The recessed area on the bottom of the platform is placed toward the front of the printer. Place the platform on the X-carriage so the rear edge of the platform is positioned in front of the rear brackets.
- Page 6 Close the front door and press the Start key on the touchscreen to bring the printer on- line. QUICK TEST PRINT On the touchscreen, press the Tools icon. Press Print Diagnostics.
- Page 7 Press Quick Test Print.
- Page 8 Select Upper or Lower for a single material demo print. Select Multi for a multi-material demo print...
- Page 9 Select the mode for the Quick Test Print. For a single material Quick Test Print, the available modes are only. For a multi-material Quick Test Print, the available modes are and XHD.
- Page 10 The system displays Purge and continue? Y?N. Select Yes. This will home X and Y and perform a printhead cleaning.
- Page 12 The system displays PLATFORM EMPTY & DOOR CLOSED? Y/N. Make certain the platform is empty, the door is closed and press YES. The 3D printer system starts the Quick Test Print. Quick Test Print will take approximately 2-3 minutes. Remove Print from machine and confirm a test print was performed.
- Page 14 Remove Build Platform When operator panel display shows DONE: <job_name> remove build platform Open the chamber door. To remove the platform, Pull the platform forward until you feel it contact the stops. Place your hands on either side of the platform to lift and remove it from the printer Remove Part From Build Platform To remove your part from the build platform: Place the platform in a freezer for ten to fifteen minutes.
- Page 15 Personal protection equipment is required before opening waste drawer. Follow all material handling and disposal guidelines. Always follow Global Health and Safety guidelines and local regulations regarding handling and disposal of regulated materials. Keep disposal records if local law requires. CAUTION: Wear protective gloves before removing any waste material.
-
Page 16: Shutdown Modeler
If the printer is idle more than hours, it enters Standby mode. If the printer is idle more than hours, it enters Conserve mode. In these energy-saving states, the printer heaters are partially cooled and many other components are disabled. It takes much less time for the printer to warm up from Standby Conserve... - Page 17 The touchscreen displays Shutdown in Progress Please Wait After the PC switches off, switch the power switch on the back to the printer to OFF.
- Page 19 FOR MORE DETAILED INFORMATION, PLEASE REFER TO THE PROJET 5600 USER GUIDE.
Need help?
Do you have a question about the MJP 5600 and is the answer not in the manual?
Questions and answers