
Subscribe to Our Youtube Channel
Related Manuals for Pyle PLCMTRDVR47


Summary of Contents for Pyle PLCMTRDVR47
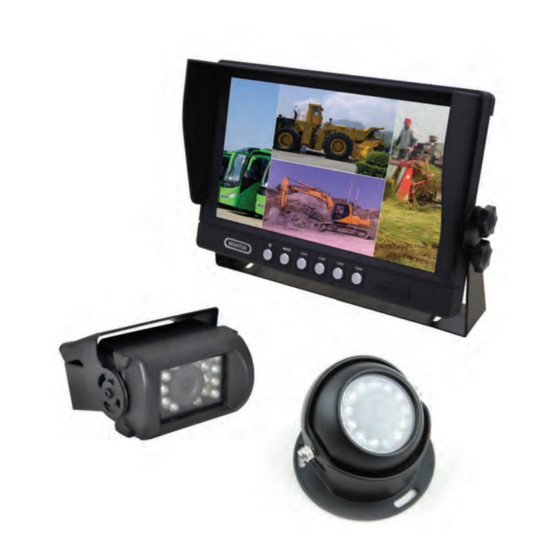
- Page 1 PLCMTRDVR47 Vehicle Back-Up Camera & Monitor DVR Kit 9’’ Display, Video Recording, Quad-View Ability, Night Vision, Waterproof Cams (For Truck, Van, Bus, Trailer)
-
Page 2: Button Function
Please read instructions carefully before installation and use. Installation should be performed by a professional installer. NOTICE For your safety, please do not watch videos on the monitor when driving. Except professional repair-men, do not modify the machine. lf the machine doesn‘t work, please consult customer services or send the machine to local maintenance departments. - Page 3 1. Labelling Mark 2. MENU: Compound key in the settings menu, four split & DVR mode. 3. CH 1: Direct channel CH 1 mode in split mode. In four split state its the menu minus. Menu up in DVR state, its the last page in the DVR video playback state is used to select videos.
-
Page 4: Remote Control
1. Labelling Mark 2. POWER: Compound key long press indicates that the monitor is standby /switched ON. Short press indicates four split/DVR screen switching 3. MODE: Compound key short press indicates the loop switch of the split mode 2 - split 3 - split 4/ln the DVR state. MODE can switch to playback /video mode. - Page 5 REC/ENTER: In DVR mode, video start (stop) / con rm function RIGHT: Right direction MENU: Screen display settings menu DOWN: Down direction MODE: Four split compound split mode switching. Cyclic switching of 2 segmentation, 3 segmentation, 4 segmentation CH1: In the four split mode, use to switch directly to single channel 1 VOL+: Volume increase.
- Page 6 How to operate DVR video In DVR mode, remote control MODE1 or long press the keypad MODE to switch to burn mode, while the lower left corner of the white time display as shown And then remote control REC / ENTER or monitor panel long press CH3 for recording mode.
- Page 7 How to view DVR burn videos In the DVR mode, remote control MODE1 or press the panel MODE to switch to view the recording mode, the upper left corner ofthe display has a black folder icon and the current video track display. You can press CH1/CH2 up and down button to select di erent video le.
- Page 8 MONITOR STANDARD INSTALLATION 1. Remove the screw around then take out the monitor. Put U type bracket to the right place and adjust. Prepare 3 screws. (see below pictures) 2. Lock the bracket by screws. Put the monitor into the bracket. Adjust angle and locking it.
- Page 9 Monitor lnstallation (Optional) 1. Firstly x the screws and fan-shaped bracket tight. (see below pictures) Tapping screw or Machine screw with nut. 2. Secondly put the metal buckle piece on the top of the fan-shaped bracket into the notch at the back of the monitor. (see below pictures) 3.
-
Page 10: Product Maintenance
4. Fix the big screws of the bracket until to keep the monitor tight (see below pictures) 5. To change the direction or angle of the monitor, rstly loosen the screws on the bottom of the bracket. Then move the monitor to the desired location then x the screws on the bottom of the bracket again. - Page 11 ACCESSORY www.PyleUSA.com...
-
Page 12: Installation Examples
INSTALLATION EXAMPLES Monitor system used in truck, bus, express car, or special vehicle www.PyleUSA.com... - Page 13 PLCMTRDVR47 Vehicle Back-Up Camera & Monitor DVR Kit - 9’’ Display, Video Recording, Quad-View Ability, Night Vision, Waterproof Cams (For Truck, Van, Bus, Trailer) Features: • DVR Dash-Cam Bundle Kit What’s in the Box: • Includes Monitor Display + Dual Cameras •...
Need help?
Do you have a question about the PLCMTRDVR47 and is the answer not in the manual?
Questions and answers