Table of Contents
Advertisement
Quick Links
Advertisement
Table of Contents

Related Manuals for Woxcon SE-891MV


Summary of Contents for Woxcon SE-891MV
- Page 1 SE-891MV 9x1 HDMI Seamless Switcher with Multi-view VER 1.0 1 / 13...
-
Page 2: Table Of Contents
Thank you for purchasing this product For optimum performance and safety, please read these instructions carefully before connecting, operating or adjusting this product. Please keep this manual for future reference. Surge protection device recommended This product contains sensitive electrical components that may be damaged by electrical spikes, surges, electric shock, lightning strikes, etc. -
Page 3: Introduction
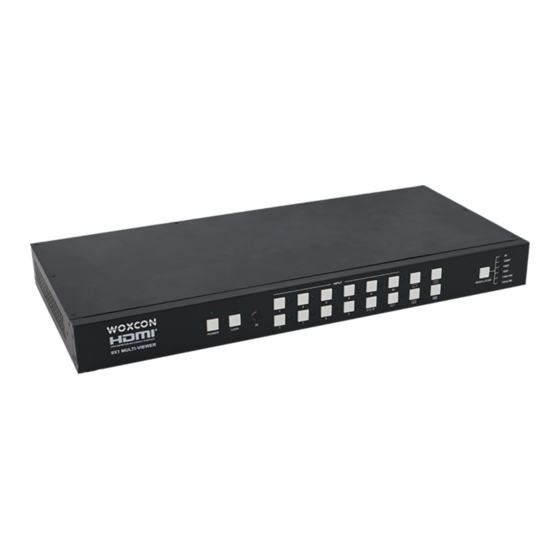
1. Introduction The 9x1 seamless switcher supports 9 HDMI inputs and one HDMI output. It allows user can view up to 9 HD video contents on one display at the same time. Output resolution can be chosen for supporting legacy display. This switcher is a suitable solution for presentation purpose at classroom and conference room. -
Page 4: Specifications
4. Specifications Technical HDMI Compliance HDMI 1.4b HDCP Compliance HDCP 1.4 Video Bandwidth 3Gbps Video Resolutions 4K2K@30Hz YUV4:4:4、RGB4:4:4 Color Depth 8-bit Color Space RGB, YUV4:4:4, YUV 4:2:2 HDMI Audio Formats LPCM 2.0 Human body model — ±8kV (air-gap discharge) & ±4kV (contact ESD Protection discharge) Connections... -
Page 5: Operation Controls And Functions
5. Operation Controls and Functions 5.1 Front Panel Number Name Function description RESET button Press this button up to 10s to reset to factory set, and LED the indicator LED will blink 5 times. LOCK button Press this button to lock all buttons on the panel, and LED the indicator LED is on. -
Page 6: Rear Panel
RESOLUTION Press this button to select output resolution. button 5.2 Rear Panel Number Name Function description HDMI INPUT Connect to the HDMI input source device, such Area as DVD player or Set top box. HDMI HDMI OUTPUT: Connect to the HDMI output OUTPUT Area device, such as TV or Monitor. - Page 7 The 9×1 HDMI Seamless Switcher have 4 display modes. MODE1:The 9x1 HDMI Seamless Switcher will display nine HDMI inputs separately. Switch to the front panel or remote control MODE button. Operating illustration: select MODE 1 button→select HDMI input source button [MODE 1 button( )→...
- Page 8 MODE3: The 9×1 HDMI Seamless Switcher divides four HD inputs and display on a screen. Select input signal source to different display screen. Operating illustration: press MODE 3 button(If you want to output another display mode, please press this button continuously. )→press IN button→press HDMI input source button→press OUT button→press HDMI input source button(MODE 3 button→IN→x→OUT→y).
-
Page 9: Remote Control
7. Remote Control Reset: Long press this botton up to 10s to reset to factory set. Input 1~9: Press these button to select input source. In/Out: When user need select Output multi-screen, firstly user need select the remote control Output multi-screen mode button, then through operate In→x→Out→y to select output screen. - Page 10 General mode ① Select output screen mode. ② When you have selected output screen mode, then you can select output screen corresponding input signal source.(The order is from left to right and from top to bottom.) Video mode ① Set the video picture interface, it contrains Contrast set, Brightness set, Hue set, Saturation set, H Size set and V Size set.
- Page 11 Audio mode ① Set volume: Adjust the volume or select the audio delay(ms). ② Audio Select: Select the output audio corresponding HDMI input signal source. Network mode ① Network Configuration DHCP switch, Status button: Obtain the network configuration information, including IP address, Subnet, Gateway and MAC address. Set port: Set TCP/IP port.
- Page 12 ② Status Log: Display the Network Configuration information. Advanced mode ① Beep: Buzzer switch. ② Factory Reset: Click this button to reset to factory set. ③ Serial Baudrate: Select the serial baudrate. ④ OSD Time Out: Select the OSD display time. ⑤...
-
Page 13: Application Example
9. Application Example 13 / 13...
Need help?
Do you have a question about the SE-891MV and is the answer not in the manual?
Questions and answers