Advertisement
Table of Contents
Mapping the MPD226to Logic Pro X
To get started, download the MPD226 – Logic Pro X Mapping file from the MPD226 product page at
Akaipro.com and double-click on the folder to unzip it.
Loading the Logic Pro X Preset
1. Download and install the MPD226 Editor from the MPD226 product page at Akaipro.com.
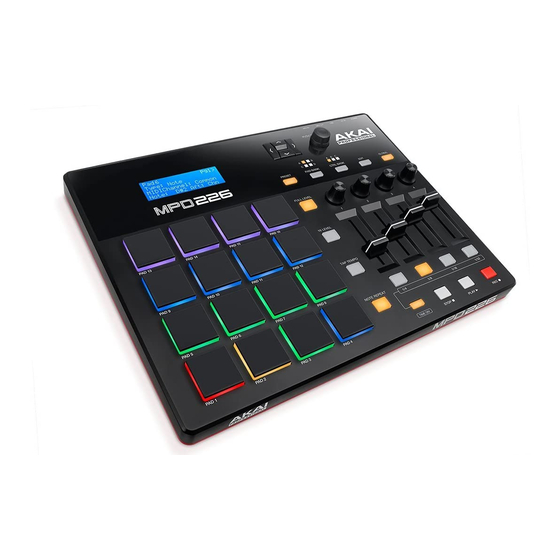
2. Connect your MPD226 to a USB port on your computer and power it on.
3. Close all other Audio/MIDI software, including Logic, and launch the editor.
4. From the top left of the editor window, select File > Open Preset
5. In the window that opens, locate the unzipped MPD226 – Logic Pro X Mapping folder and select
the MPD226_LogicProX.mpd226 file. A new window will appear.
6.
In the new window, select File > Send to Hardware.
7. Choose a preset location on the MPD226 where your Logic preset will be stored. It's
recommended to choose one of the generic presets (14-20) to avoid overwriting any other
presets. Click Send.
8. Use the scroll knob on the MPD226 to scroll to your new preset number and push the knob in to
select the preset. If you were already on the preset, move to and select a different preset, then
go back to the Logic X preset to load it into the RAM.
Your preset is now loaded and you are ready to install the MPD226 mapping file.
Installing the MPD226 control surface mapping for Logic Pro X
Important: In order to share a mapping profile for Logic Pro X, the control surface preference file must
be replaced. This will overwrite any "learned" control assignments previously made in Logic Pro X.
1. Close Logic Pro X.
2. Open a Finder window and click on GO at the top of your screen
3. Hold down the Option key and click on Library when it appears in the list.
4. In the window that appears, navigate into the Library and find the Preferences folder.
5. Find the com.apple.logic.pro.cs file in your MPD226 – Logic Pro X Mapping folder and drag it
into this Preferences folder. This should replace an existing file of the same name in this folder.
If given the option, make sure to select Replace and not Rename.
Connect your MPD226, power it on and open Logic Pro X. Once Logic is fully loaded and you have
inserted some tracks, you should start to see the faders, knobs and buttons to start controlling
parameters in Logic.
Advertisement
Table of Contents

Related Manuals for Akai MPD226


Summary of Contents for Akai MPD226
- Page 1 Click Send. 8. Use the scroll knob on the MPD226 to scroll to your new preset number and push the knob in to select the preset. If you were already on the preset, move to and select a different preset, then go back to the Logic X preset to load it into the RAM.
- Page 2 4. Under MIDI Machine Control (MMC), check off the box for Listen to MMC Input. The Logic X preset on the MPD226 should already be set to the proper settings and you should see the transport (Play/Stop/Record) start working immediately. If not, check your Clock Source Setting and Transport Type on the MPD226: 1.
Need help?
Do you have a question about the MPD226 and is the answer not in the manual?
Questions and answers