
Related Manuals for Tork E500T Series


Summary of Contents for Tork E500T Series
- Page 1 FOR TECHNICAL SUPPORT: SOUTIEN TECHNIQUE : PARA COMUNICARSE CON EL SERVICIO TÉCNICO: techsupport@nsiindustries.com 888.500.4598...
- Page 2 ® E501T ON INTERVAL TIMER INSTRUCTIONS...
- Page 3 4. Connect optional trigger contacts to the timer as shown in the wiring diagram. 5. Securely attach the timer to Tork’s NEMA 4X (for indoor use only) non-metallic enclosure with the included screws.
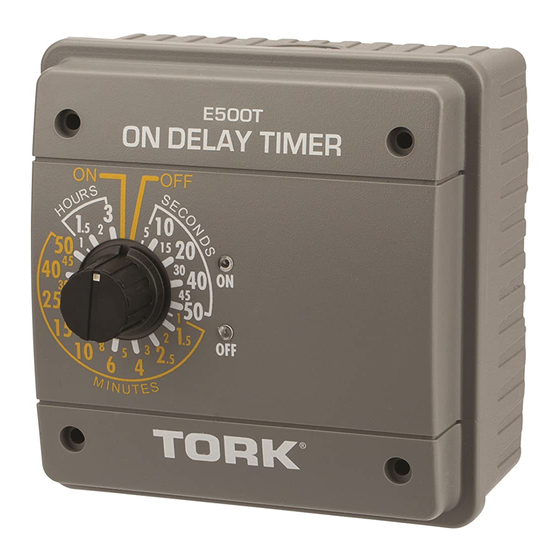
- Page 4 ON/OFF TIME SETTING INSTRUCTIONS FOR LOADS USING NORMALLY OPEN (NO) RELAY CONTACTS To set the INTERVAL ON time: 1. Set dial to the desired length of time that the load (fan, light, etc.) is to be turned on. The dial can be set to various positions within three different time ranges: 10-45 seconds, 1-45 minutes, and 1-12 hours.
- Page 5 4. Branchez les contacts du déclencheur optionnel sur la minuterie, comme l’indique le schéma de câblage. 5. Fixez solidement la minuterie sur le boîtier non métallique NEMA 4X de Tork (pour usage à l’intérieur seulement) à l’aide des vis incluses.
- Page 6 INSTRUCTIONS POUR LE RÉGLAGE dES PÉRIOdES dE MISE EN MARCHE ET d’ARRÊT POUR LES ChARGES UTILISANT DES CONTACTS DE RELAIS NORMALEMENT OUVERTS Réglage de l’INTERVALLE DE MISE EN MARCHE : 1. Réglez le cadran en fonction de la période de temps pendant laquelle la charge (ventilateur, luminaire, etc.) doit être en marche. Il peut être réglé...
- Page 7 4. Conecte los contactos del disparador opcional al temporizador como se FOR 240V PARA 240V (L1) (L1) APLIqUE SóLO UN VOLTAjE muestra en el diagrama de cableado. 5. Fije firmemente el temporizador al compartimiento no metálico NEMA 4x de Tork (solo para uso en interiores) con los tornillos incluidos.
- Page 8 INSTRUCCIONES PARA CONFIGURAR LA HORA dE ENCENdIdO Y APAGAdO PARA LAS CARGAS QUE UTILIZAN CONTACTOS DE RELé NORMALMENTE ABIERTOS (N.A.) Para configurar el tiempo de intervalo encendido (INTERVAL ON): Establezca el selector en la duración de tiempo en que la carga (ventilador, luz, etc.) va a estar activa. El selector puede colocarse en varias posiciones dentro de los tres intervalos de tiempo diferentes: de 10 a 45 segundos, de 1 a 45 minutos y de 1 a 12 horas.
Need help?
Do you have a question about the E500T Series and is the answer not in the manual?
Questions and answers