Milwaukee M18 FCSRH66 Operator's Manual
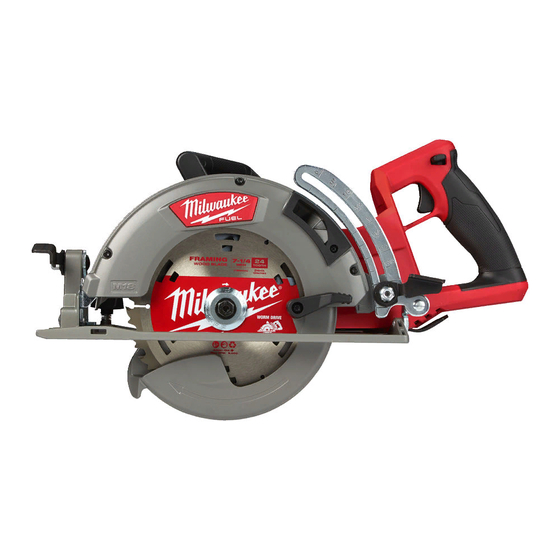
M18 fuel 184 mm (7-1/4") rear handle circular saw
Hide thumbs
Also See for M18 FCSRH66:
- Original instructions manual (139 pages) ,
- User manual (56 pages)

Related Manuals for Milwaukee M18 FCSRH66


Summary of Contents for Milwaukee M18 FCSRH66
- Page 1 OPERATOR'S MANUAL Cat. No. M18 FCSRH66 M18 FUEL™ 184 MM (7-1/4") REAR HANDLE CIRCULAR SAW WARNING To reduce the risk of injury, user must read and understand operator's manual.
-
Page 2: General Power Tool Safety Warnings
GENERAL POWER TOOL • Remove any adjusting key or wrench before turning the power tool on. A wrench or a key left SAFETY WARNINGS attached to a rotating part of the power tool may Read all safety warnings, instruc- WARNING result in personal injury. -
Page 3: Specific Safety Rules For Circular Saws
• When battery pack is not in use, keep it away Further safety instructions for all saws from other metal objects, like paper clips, coins, Kickback causes and related warnings keys, nails, screws or other small metal objects, - Kickback is a sudden reaction to a pinched, jammed, that can make a connection from one terminal or misaligned saw blade, causing an uncontrolled saw to another. -
Page 4: Specifications
SPECIFICATIONS dust extraction solution in accordance with Cat. No........... M18 FCSRH66 the solution’s operating instructions. Volts............18V DC Always use common sense and be cautious • Battery Type ..........M18™... -
Page 5: Removing/Inserting The Battery
1. • If the guard still does not immediately spring back into place, contact a MILWAUKEE ® service facility for repairs. Installing Blade 1. Remove from battery pack 2. -
Page 6: Adjusting Depth
Universal Hose Adaptor Use the universal hose adaptor to Blade attach the saw to a vacuum hose. 1. Remove the battery pack. 2. Remove the screw and dust Outer chute from the upper guard. blade 3. Insert the vacuum hose adap- washer tor into the upper guard and tighten the screw securely. -
Page 7: General Operation
• • Blade depth and bevel adjusting locking levers must be tight and secure before making cut. If and position your arms to resist kickback forces. blade adjustment shifts while cutting, it may cause Position your body to either side of the blade, but not in line with the blade. -
Page 8: Troubleshooting
Adjust for desired width by lining up the selected ger immediately. Correct problem before continu- measurement with the sighting notch and lock setting ing (see “Preventing Kickback”). with thumb screw. and blade comes to a complete stop before setting down saw. Troubleshooting If blade does not want to follow straight line: •... - Page 9 Raise lower guard and mark it for that purpose only and return it to using lower guard lever. a MILWAUKEE ® service facility for cleaning and 2. Pull trigger. Allow the blade to come to full speed.
-
Page 10: Maintenance
Return the tool, battery pack, and charger to a MILWAUKEE service facility for ® repair. After six months to one year, depending on... - Page 12 Australia and New Zealand. SERVICE - AUSTRALIA and NEW ZEALAND MILWAUKEE ® prides itself in producing a premium quality product that is Nothing But Heavy Duty Your satisfaction with our products is very important to us! If you encounter any problems with the operation of this tool, please contact your authorised MILWAUKEE ®...
Need help?
Do you have a question about the M18 FCSRH66 and is the answer not in the manual?
Questions and answers