Apera Instruments ZenTest PH60S-Z User Manual
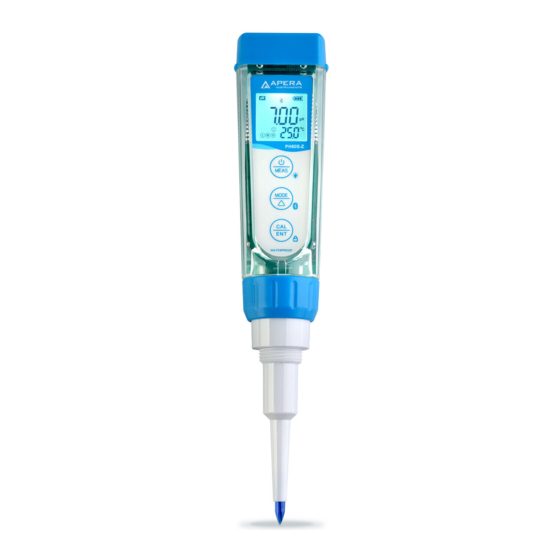
Smart spear ph tester
Hide thumbs
Also See for ZenTest PH60S-Z:
- Instruction manual (11 pages) ,
- Instruction manual (12 pages)

Related Manuals for Apera Instruments ZenTest PH60S-Z


Summary of Contents for Apera Instruments ZenTest PH60S-Z
- Page 1 ™ ZenTest PH60S-Z Smart Spear pH Tester pH/Temp./ORP) User Manual APERA INSTRUMENTS, LLC aperainst.com V1.5 - 1 -...
-
Page 2: Table Of Contents
TABLE OF CONTENTS INTRODUCTION ............................... - 3 - WHAT’S IN THE KIT ..............................- 4 - KEYPAD FUNCTIONS ............................... - 4 - BATTERY REPLACEMENT ............................- 5 - PREPARATION BEFORE USE ..........................- 5 - PH CALIBRATION ..............................- 5 - PH MEASUREMENT .............................. -
Page 3: Introduction
Int rodu ct ion Dear Customer, Thank you for choosing Apera Instruments PH60S-Z Smart pH Tester. Please carefully read this manual in order to properly use and maintain the product. 1.1 Search “zentest smart” in Apple App Store or Google Play App Store to download the latest App for your tester. -
Page 4: What's In The Kit
Wh at ’s in t h e Kit PH60S-Z Tester Calibration Vials Ke yp ad Fun ct ion s ■ Short press------ < 2 seconds, Long press------- > 2 seconds 1. When turned off, short press to turn on the tester; long Battery cap press to enter parameter setting. -
Page 5: Battery Replacement
B at t er y R epl a ce m en t Please install batteries according to the following steps. *Please note the correct direction of battery installation: The Positive Side (“+”) OF EVERY SINGLE Battery MUST FACE UP. (WRONG INSTALLATION OF BATTERIES WILL CAUSE DAMAGE TO THE TESTER AND POTENTIAL HAZARDS!) P re pa r at i on bef or e U se Pull out the battery insulation slip, and take off the probe cap. - Page 6 6.4 Insert the probe into pH 7.00 buffer solution, make a quick stir, and hold still. When the reading is stabilized ( stays on screen), short press to start 1 point calibration. After calibration is completed, the tester will return to measurement mode.
-
Page 7: Ph Measurement
6.8 For the self-diagnosis information, please refer to the table below: Symbol Self-Diagnosis information Potential problems and how to fix Make sure the probe is fully immersed in the calibration solution. Check if calibration solution is expired or polluted. 1st point of pH calibration must be pH 7.00 or 6.86. See 6.6. Please check whether pH probe is damaged or broken. -
Page 8: Orp Measurement
7.3 How to take pH measurements Short press to power on the tester. Rinse the probe in pure water, shake off excess water. Insert the probe in your sample solution or solid sample, and hold still. Record the reading when it is stabilized( stays on screen). -
Page 9: Parameter Setting
P ar am et e r S et t i ng Table of Settings Symbol Parameter Setting Contents Content Factory Default ˚C – ˚F ˚F Temperature Unit 5-20 seconds – Off Select automatic lock 1-8 minutes – Off Automatic Backlight Off 10-20 minutes –... -
Page 10: Technical Specifications
Tec hni c al Sp ec if i c at i ons Range -2.00 to 16.00 pH Resolution 0.01 pH Accuracy ± 0.01 pH ± 1 digit Calibration Points 1 to 3 points 0 – 50˚C (32 – 122˚F) Auto. Temperature Compensation Range -1000 mV to 1000 mV ORP (mV) -
Page 11: Troubleshooting Guide
Tr oub le sho ot i ng G ui de Trouble Reason How to fix Pressing too soon Wait for to stay on the screen before pressing Reboot tester, calibrate pH 7 first, then pH 4. For details refer to Incorrect standard solutions Section 5.2 (a) Replace with fresh and clean standard calibration solutions made... -
Page 12: Probe Replacement
APERA INSTRUMENTS, LLC, any malfunctioned or damaged product attributable to responsibility of APERA INSTRUMENTS, LLC for a period of TWO YEARS (SIX MONTHS for the probe) from the delivery. This limited warranty does NOT cover any damages due to:...
Need help?
Do you have a question about the ZenTest PH60S-Z and is the answer not in the manual?
Questions and answers