Advertisement
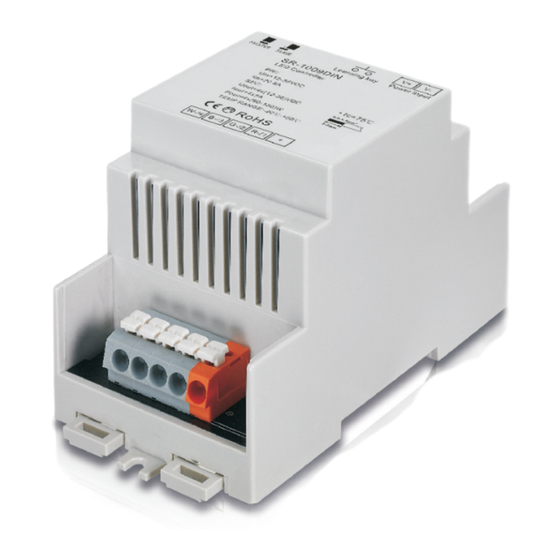
Receiver for RGBW Remote & Wifi transmitter
Parameter
Input Voltage
Part No.
SR-1009DIN
12-36VDC
Product Size
53.0
Model: SR-1009DIN
Work with different sender
Work with WIFI transmitter
Control RGBW, RGB, CC-CW, Single color LED lighting.
Current
Output
4x5A
Constant voltage
4x(60-180)W
65.0
Wiring diagram
L
Remarks
Operation
Learning (matching)
a. Do wiring according to connection diagram
b. Wake up the remote control by touching ON/OFF button.
c. Press learning button on receiver.
d. Touch any zone button on remote control.
e. Then touch color wheel.
f. Connected LED light will blink to confirm zone designation.
g. Press at learning button on receiver over 5 seconds until LED light flash, then delete the learned ID.
Note 1: To choose a master from slaves by jumper for each zone.
Short circuit for master.
Open circuit for slave.
Each zone only can set one master controller. After a period of time, the master will do synchronization
operation to keep the same color or mode of all slaves in one zone.
Note 2: Each remote control 8 zones (areas) receivers, each area can be learned as many receivers as
we can.
Each receiver maximally can be controlled by 8 different remote controllers.
V+
V-
Learning key
Power input
SR-1009DIN
LED Controller
+
W-/4
B-/3
G-/2
R-/1
RGB/W or CDW LED strip
Advertisement
Table of Contents

Subscribe to Our Youtube Channel
Related Manuals for Sunricher SR-1009DIN


Summary of Contents for Sunricher SR-1009DIN
- Page 1 Receiver for RGBW Remote & Wifi transmitter Wiring diagram Model: SR-1009DIN Learning key Power input SR-1009DIN LED Controller W-/4 B-/3 G-/2 R-/1 Work with different sender Work with WIFI transmitter Control RGBW, RGB, CC-CW, Single color LED lighting. RGB/W or CDW LED strip...
- Page 2 Safety & Warnings 1) The product shall be installed and serviced by a qualified person. 2) IP20.Please avoid the sun and rain. When installed outdoors, please ensure it is mounted in a water proof enclosure. 3) Always be sure to mount this unit in an area with proper ventilation to avoid overheating. 4) Please check if the output voltage of any LED power supplies used comply with the working voltage of the product.
Need help?
Do you have a question about the SR-1009DIN and is the answer not in the manual?
Questions and answers