Advertisement
This sheet covers the installation of the Valerus PoE NVR Recording Servers (NVRs) with built-in PoE. This
system should only be installed by a qualified technician using common hand tools and approved materials in
accordance with the National Electrical Code ANSI/NFPA 70, state and local wiring codes.
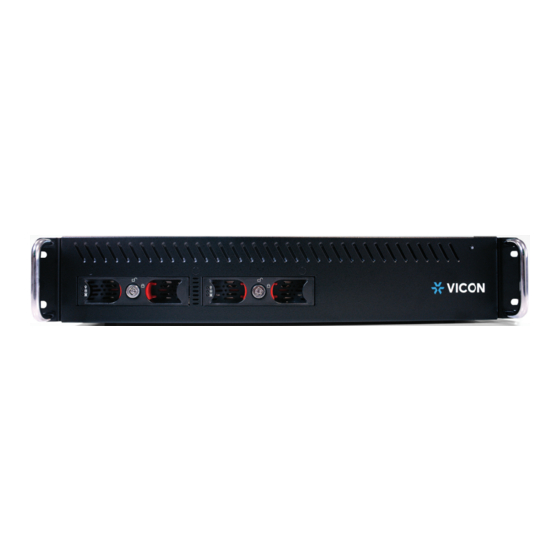
Front Panel Connections & Controls
Removable
Drive Bays (2)
Unpacking and Installation
Unpack the unit and place it in the mounting location. Hard drives are preinstalled from the factory. Refer to figure
above.
Keyboard and mouse are not included with the unit – please procure them and connect them to the server.
•
Connect monitor(s) using the DVI and/or HDMI port.
•
If the unit is to be part of a network or on the internet, connect it to the network using the WAN (Internet) port. The
•
port is setup to procure an IP address automatically using DHCP.
Attach the power cord and power the unit on. It is recommended to use an Uninterrupted Power Supply (UPS) to
•
prevent data loss/corruption and/or drive failures due to sudden power loss.
This system is configured to be used in a standalone configuration (not part of a network of NVRs managed by a
common Application Server) and has both the NVR and Application Server installed and running. If this unit is to be used
as an NVR only on a bank of recorders managed by another Application Server, go to the Reconfigure System for Use as
Recording Server Only section that follows.
Configure System: Valerus All-in-One Recorder
1.
Log into Windows using default credentials (login: VII; password: 1234).
2. Upon login, double click on the Valerus icon to launch the application.
3. Sign into the application using default credentials (login: admin; password: 1234).
Note: For increased security, it is highly recommended to change the credentials upon
first login both for Windows and Valerus application.
4. Click on the Configuration Tab, then on NVRs.
5.
The local NVR should be installed and running, with the IP address 172.17.17.xxx.
The system is now ready to be used as an All-in-One unit and now needs to be licensed. Apply and activate
the licenses provided at the time of purchase. Refer to the Valerus User Guide for activation instructions.
Note: With these settings, the NVR will run as a standalone unit. However, for the system to be visible over the network, the
recorder should be rediscovered and added with the IP address of the WAN port. To use the system over the local network:
1. Plug the WAN port to the local network. Make sure it is assigned an IP address, through DHCP or manually. 2. Remove the
NVR at address 172.17.17.XXX. 3. Click on Discover NVRs. 4. Once discovered, click on the network icon to see all the IP
addresses of the local NVR. Select the WAN IP address and add it. 5. The NVR will now be visible over the local network.
Product specifications subject to change without notice. Copyright ©2021. All rights reserved.
Vicon and its logo are registered trademarks and Valerus and its logo are trademarks of Vicon Industries Inc.
VICON INDUSTRIES INC. TEL: 631-952-2288 FAX: 631-951-2288 TOLL FREE: 800-645-9116
24-Hour Technical Support: 800-34-VICON (800-348-4266) UK: +44 (0) 1489 566300 WEB: vicon-security.com
Quick Start Guide: Valerus-PoE NVR
Rear Panel Connections & Controls
Power LED
Power
DVI
Switch
WAN
LAN
HDMI USB 3 Audio
e-SATA
PoE 1-8
PoE 9-16
Vicon part number
8009-8319-20-02
Advertisement
Table of Contents

Related Manuals for Vicon Valerus-PoE NVR


Summary of Contents for Vicon Valerus-PoE NVR
- Page 1 Product specifications subject to change without notice. Copyright ©2021. All rights reserved. Vicon part number Vicon and its logo are registered trademarks and Valerus and its logo are trademarks of Vicon Industries Inc. 8009-8319-20-02 VICON INDUSTRIES INC. TEL: 631-952-2288 FAX: 631-951-2288 TOLL FREE: 800-645-9116...
- Page 2 3. Select “Recording Server” and press “Configure Now.” Pop-ups will display indicating Application Server not running, Vicon NVR is not running, and finally, Vicon NVR is up and running. The Valerus icon will also be removed from the desktop. Click “Close.” The system is now available to be used as a Recorder only.
Need help?
Do you have a question about the Valerus-PoE NVR and is the answer not in the manual?
Questions and answers