Advertisement
Quick Links
Advertisement

Related Manuals for Sliger CL530


Summary of Contents for Sliger CL530
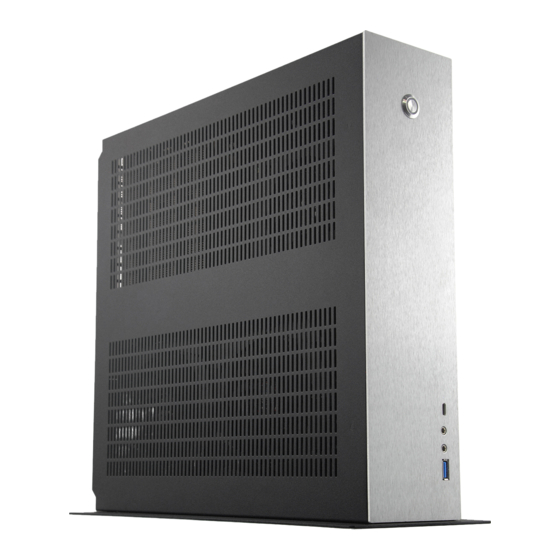
- Page 1 CL530 Console Style Mini-ITX PC Case for 3-slot GPU...
- Page 2 SCREWS The CL530 comes with a total of 8 different screws. For the purposes of this guide we will assign a unique color to each of the screw to signify their locations through out this guide. CYAN M4 .7 x 5mm FLAT HEAD...
- Page 3 SCREWS Cont. PINK M3 x 8mm FLAT HEAD Power Cord YELLOW M3 x 12mm FLAT HEAD 15mm Case Fans Fan Bracket BLUE M3 x 25mm FLAT HEAD 25mm Fans Fan Bracket GREY M3 x 25mm SOCKET CAP Case Handle...
- Page 4 TOOL-LESS TOP PANEL The CL530 top features tool-less removal via ball-stud mounting points. Grasp the lip on the rear of the cover panel and pull upward to remove. The front ball studs may require altering the angle you are pulling from to release.
- Page 5 SSD MOUNTING The CL530 can fit 2 x 2.5" SDD, located beside the power switch. Attach drives with 2x M3 x 5mm FLAT HEAD. Note: We recommend connecting the SATA data cable and power cable prior to screwing drives to chassis.
- Page 6 MOTHERBOARD Don’t forget to install your IO shield first! Some CPU coolers may require a back plate to be installed before installing the motherboard into the case. It is advised to also check that any M.2 drives on the back of the motherboard are installed before mounting the motherboard.
-
Page 7: Power Supply
POWER SUPPLY Remember to connect all required modular power cables FIRST The power supply is required to be positioned with the fan side towards the top of the case. Once positioned, the SFX PSU can be attached to the PSU Mounting Bracket with up to 4x 6-32 x 1/4”... - Page 8 INSTALLING 15mm CASE FANS Use 4x M3 x 12mm FLAT HEAD screws to attach the fan guard. Place fans into chassis sliding in the fan studs. Follow the proper orientation of the fan guard in photo below. NOTE: Fans MUST exhaust air out of the case. Using 15mm fans allows for 3-slot GPUs to fit while also having the option to use a 2- slot GPU in either the first PCIe slot, or second PCIe slot for increased air flow.
- Page 9 Make sure to follow the proper orientation of the fan guard in photo below. NOTE: Fans MUST exhaust air out of the case. Note: Using 25mm fans in CL530 will only allow for a 2-slot GPU to fit.
- Page 10 Slide the card into position, push down into the slot, and then secure the PCIe card bracket with the M3 x 6mm PAN HEAD screws. If your GPU only has a 2-slot wide PCIe bracket. The CL530 includes a single color matched slot cover.
-
Page 11: Power Cord
Then route the power cable through the case to the PSU. Standard Pigtail Inlet NOTE: The CL530 Pig tail option is to increase max GPU card height to 157mm where as the standard option only allows for a card height of 133mm. -
Page 12: Cable Management
CABLE MANAGEMENT Once the motherboard and power supply are mounted, it is recommended to do some cable management before installation of any PCIe cards. Note: the CPU and cooler mount back plate / standoffs are installed. The power switch/LED is routed and plugged into the motherboard. - Page 13 CASE HANDLE Case Handle is attached with 2x M4 x 25mm Socket Cap Use the included Allen key to tighten. NOTE: Do not over-torque screws...
-
Page 14: Base Plate
BASE PLATE Base plate is attached with 2x M4 .7 x 5mm FLAT HEAD NOTE: Slot cut out goes under PCI-E Slots. Do not over-torque screws...
Need help?
Do you have a question about the CL530 and is the answer not in the manual?
Questions and answers