Advertisement
Quick Links
Item #
Model #
,
,
Item #1000******/
UL Model #
1000******
Model #FC132-BVRL
USE AND CARE GUIDE
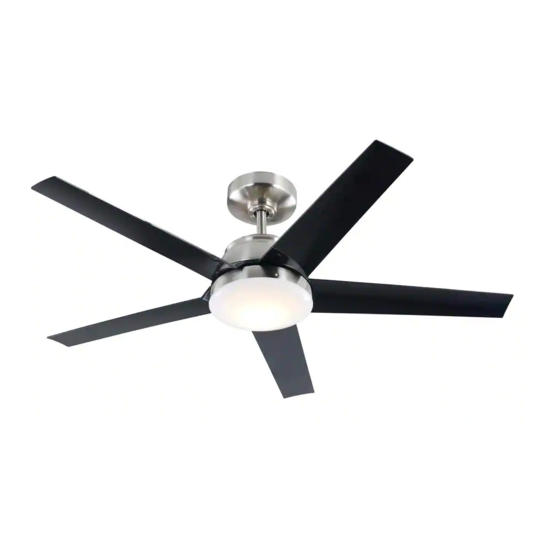
FC132-BVRL 52-INCH CEILING FAN
Questions, problems, missing parts? Before returning to the store call
Home Decorators Collection Customer Service
8 a.m. - 6 p.m., EST, Monday-Friday
1-800-986-3460
HOMEDEPOT.COM/HOMEDECORATORS
THANK YOU
We appreciate the trust and con dence you have placed in Home Decorators Collection through the purchase of this ceiling fan. We strive to continually
create quality products designed to enhance your home. Visit us online to see our full line of products available for your home improvement needs.
Thank you for choosing Home Decorators Collection !
Advertisement

Related Manuals for Home Decorators Collection FC132-BVRL


Summary of Contents for Home Decorators Collection FC132-BVRL
- Page 1 THANK YOU We appreciate the trust and con dence you have placed in Home Decorators Collection through the purchase of this ceiling fan. We strive to continually create quality products designed to enhance your home. Visit us online to see our full line of products available for your home improvement needs.
-
Page 2: Table Of Contents
WARNING: To Reduce The Risk Of Fire Or Electric Shock, This After making electrical connections, spliced conductors should FC132-BVRL Fan Should Only Be Used With Fan Speed Control be turned upward and pushed carefully up into outlet box. The Model No. FYDC759 - A1, Manufactured By ZHONGSHAN wires should be spread apart with the grounded conductor and KEZHUOER ELECTRONIC CO.,LTD. -
Page 3: Warranty
A certain amount of “wobble” is normal and should not be considered a defect. Servicing performed by unauthorized persons shall render the warranty invalid. There is no other express warranty. Home Decorators Collection hereby disclaims any and all warranties, including but not limited to those of merchantability and tness for a particular purpose to the extent permitted by law. -
Page 4: Pre-Installation
Pre-Installation (continued) TOOLS REQUIRED Phillips Flat blade Adjustable Electrical Wire cutter screwdriver screwdriver wrench tape / Stripper Step ladder HARDWARE INCLUDED NOTE: Hardware not shown to actual size. Part Description Quantity Blade Attachment Screw M6 Balance Kit HOMEDEPOT.COM/HOMEDECORATORS Please contact 1-800-986-3460 for further assistance. - Page 5 Pre-Installation (continued) PACKAGE CONTENTS Part Decription Quantity Part Decription Quantity Mounting bracket Fan-motor assembly Ball/downrod assembly Light kit tter assembly Canopy Blade Canopy ring Remote control &Receiver assembly &include 8 plastic wire nuts and 2 batteries Decorative motor collar cover Plastic shade IMPORTANT: This product and/or components are governed by one or more of the following U.S.
-
Page 6: Installation
Installation MOUNTING OPTIONS NOTE: You may need a longer downrod to maintain proper WARNING:To reduce the risk of re,electric shock, blade clearance when installing on a steep, sloped ceiling. or personal injury, mount the fan to an outlet box marked”- The maximum angle allowable is 30°... -
Page 7: Assembly
Assembly - Standard Ceiling Mount Preparing for routing the wires □ Remove the hitch pin (DD) and lock pin (EE) from the downrod (B). □ Loosen the two set screws (FF) from the fan motor assembly (F) coupling. Routing the wires and assembling the fan CAUTION:To ensure wobble-free operation and to avoid damage to the fan, the downrod (B) and the setscrew... - Page 8 Assembly - Hanging the Fan Attaching the fan to the electrical box WARNING: To reduce the risk of re, electric shock, or other personal injury, mount the fan to an outlet box or supporting system marked acceptable for fan support and use the mounting screws provided with the outlet box.
- Page 9 Assembly -Hanging the Fan (continued) Making the electrical connections WARNING: To avoid possible electrical shock, ensure the electricity is turned off at the main fuse box before wiring. WARNING: To avoid possible electrical shock, ensure the electricity is turned off at the circuit breaker or main fuse box before wiring. WARNING: Check to see that all connections are tight,including the ground, and that no bare wire is visible at the wire nuts, except for the ground wire.
- Page 10 Assembly -Hanging the Fan (continued) Wrapping the extra wire Mounting the fan-motor assembly (standard mount) NOTE: Follow this step ONLY if you did not cut the extra length off from the WARNING: When using the standard ball/downrod mounting, the tab in the wires coming from the ceiling fan.
- Page 11 Assembly - Attaching the Fan Blades Fastening the blade assemblies to the motor CAUTION: To reduce the risk of electric shock, disconnect □ Fasten the blade(H) to the motor assembly (F) by inserting the electrical supply circuit to the fan before installing the the alignment post into the slot on the bottom of the motor and tightening the blade screws (BB) .
- Page 12 Assembly - Installing the Light Kit Attaching the glass bowl WARNING: Do not overtighten when installing the shade into the light kit. Allow the shade to cool completely before removing. □ Place the glass bowl (J) into the light kit assembly (G) , aligning the three at areas on the top ange of the glass bowl (J) with the three raised dimples in the light kit assembly (G).
-
Page 13: Operation
Operation Installing the batteries CAUTION: Do not use with a wall light dimmer switch. NOTE: The battery will weaken with age and should be replaced before leaking takes place as this will damage the remote control. Dispose of used battery properly and keep the battery out of the reach of children. - Page 14 Operation(continued) NOTE: The fan has memory function , it will resume the speed setting on the fan prior to the power being turned off. And The LED display will show the founction for 4 seconds after the button is released. 1.
-
Page 15: Care And Cleaning
Care and Cleaning □ Check the support connections, brackets, and blade attachments twice a year. Ensure they are secure. Because of the fan’s natural movement, some connections may become loose over time. It is not necessary to remove the fan from the ceiling. □... -
Page 16: Troubleshooting
Troubleshooting Problem Solution □ The fan will not start. Check the main and branch circuit fuses or breakers. □ Check the line wire connections to the fan and switch wire connections in the switch housing. □ Check the battery in the remote control. □...
Need help?
Do you have a question about the FC132-BVRL and is the answer not in the manual?
Questions and answers