
Subscribe to Our Youtube Channel
Related Manuals for flsun QQ


Summary of Contents for flsun QQ
- Page 1 FLSUN-QQ Instruction Manual (QQ-S) VK-3D Facebook-Flsun принтер Flsun 3D Printer Zhengzhou Chaokuo Electronic Technology Co., Ltd.
-
Page 2: Table Of Contents
B-1. Assembly Instructions - - - - - - - - - - - - - - - Thank you for choosing the FLSUN 3D Printer.For your con- A-2. 3D Printer Parameters --- - - - - - - - - - -- B-2. -
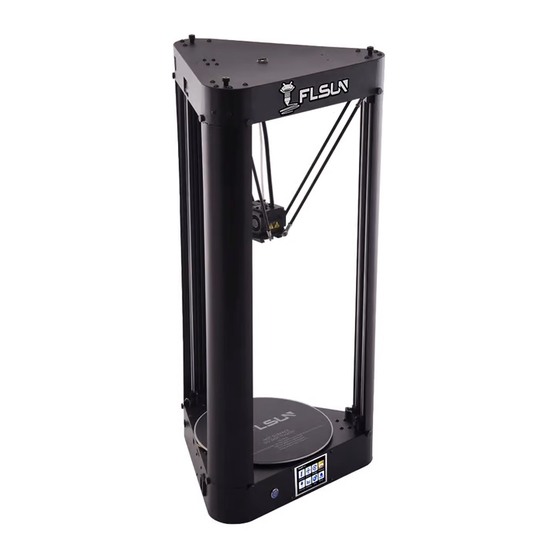
Page 3: A-1. Equipment Introduction
Equipment Introduction 3D Printer Parameters Basic Part Basic Part Molding technology ENV TEMP 5-40℃ Filament Temperature Belt fixing nut Filament frame Nozzle TEMP Print size φ255×360mm 0-260℃ parameter Shell screws Hot bed TEMP Print accuracy 0.05-0.3mm 0-110℃ Extruder Slider Parallel arm Positional accuracy XYZ 0.01mm Slicing software... -
Page 4: A-4. Packing List
Cautions Packing List Basic Part Basic Part 220V 110V 1. The printer default selection voltage is ,if you need to use ,please change it before using. SD card 2. The assemble and user manual,software and other files are in the with printer. -
Page 5: B-1. Assembly Instructions
3.Install top shell Assembly instructions Use Part 1.Preparation Logo and touch screen Align all axis with seat Upper shell completed holes then press to bottom are at the same direction Open package All the components All screws and wrenches 4.Assembly belt for assembly for assembly 2.Install optical axis... - Page 6 7.Install the side shell and bracket 5.Connection limit switch and Titan extruder Put side shell from top Tighten fixing screw of Filament holder mounted Connect the set of Connect others in the Untie the wire Install the Titan extruder then insert to bottom shell the side shell on the upper shell connectors...
- Page 7 B-2-1 Auto Leveling Use Part 1.Install leveling Sensor 2.Leveling Click TOOLS→Autolevel Click LEVEL →Autolevel Connecting magnet Connecting the autolevel After autoleveling, remove Ready autolevel sensor sensor (When autoleveling, In order to ensure the leveling sensor the accuracy of data ,the nozzle moves very slowly)...
- Page 8 B-2-2 Adjust Z0 before printing Use Part Make sure the leveling sensor has been removed before adjusting Z0 ‘+’ nozzle move up After auto leveling, put Move the A4 paper to test Click ‘Save’ Click ‘Adjust Z’ Click ‘Move Z0’ an A4 paper and adjust ‘-’...
-
Page 9: B2-3. Filaments Installation
B-2-3 Filaments Installation Use Part 1.Install filaments 2.Automatic feeding Click Choose EXTRUDER 1 Click Confirm to After completed Click TOOLS→CHANGE Click IN automatic feeding Confirm Install the filament Press hard in the The filament pass Insert the filament and cut a triangle direction of the arrow through the quick through the small hole... -
Page 10: B2-4. Software Installation
Use Part 1.Dual click to install Cura 2.Open Cura Open Cura Click Load to load Software auto-slice , save Gcode to anywhere STL file 3.Click Settings→Printer→Add Printer→FLSUN QQ→Add Printer→Finish 2.Machine Operation Click PRINT Choose file Automatic printing Insert SD card... - Page 11 Precise Leveling Use Part 2.You can adjust the Z-offset while printing .The value can save 1.After automatic leveling, maybe the nozzle is too close or too far from the platform. Automatically, There is no need to repeat the operation. ①The nozzle is too ③The nozzle is middle ③The nozzle is too low from the platform...
-
Page 12: B-4. Touch Screen Introductions
3.Preheat 4.Extrusion Touch Screen Introductions Use Part Preheat bed Heat Extrude Nozzle1 Adjust Heat bed 1.Print 2.More Operations Filament extrude speed nozzle nozzle1 Stop print Pause print X/Ydirection X/Ydirection Filament Close heat Add 1℃ Add 10℃ Extrude Back increase in decrease in move10 size 0.1... - Page 13 3. What is the printing temperature of the common materials? Common Problems Use Part Number Material Nozzle Hot bed Number Material Nozzle Hot bed 195-210 50-60 190-210 50-60 1. What to do after automatic leveling? 220-250 80-100 210-230 40-60 Nylon 200-220 50-60 WOOD...
-
Page 14: B-7. After-Sales Service
1.Is there Gcode 2.Format SD card 3.Change SD card Start SD card 1.Format SD card 2.Change SD card have a shelf life of 12 months 1.Customers who purchase FLSUN 3D printers SD card Can identify Other Gcode Silce Slice again... - Page 15 Type: Purchase date: If you have any questions, please contact us at the first time and we will solve it for you. Name: Damage date: Email: Service@flsund3d.com Address: Damage details: james@flsund3d.com Facebook group: FLSUN QQ 3D Printer Owners Phone: Amazon/AliExpress/Ebay/Others:...
Need help?
Do you have a question about the QQ and is the answer not in the manual?
Questions and answers