
Related Manuals for HIKVISION DS-9600NI-H8


Summary of Contents for HIKVISION DS-9600NI-H8
- Page 1 Installation Manual of DS-9600NI-H8 DS-9600NI-H8 Installation Manual UD.7L0202A1730B01...
- Page 2 We assume no responsibility or liability for any errors or inaccuracies that may appear in the book. During using the surveillance equipment, please obey the applicable laws and regulatory requirements. Using the equipment for monitoring people’s privacy for other improper purpose is regarded as illegal. The installation manual is applicable to DS-9600NI-H8 series.
- Page 3 Installation Manual of DS-9600NI-H8 Preventive and Cautionary Tips Before connecting and operating your NVR, please be advised of the following tips: It is not recommended to replace the batteries by the user, since improper use or replacement of the battery may result in hazard of explosion.
-
Page 4: Table Of Contents
Installation Manual of DS-9600NI-H8 Table of Contents Chapter 1 Overview ............................. 1 Chapter 2 Chipset Features ..........................2 Chapter 3 Interface Description ......................... 3 Front Panel Introduction ......................3 Rear Panel Introduction ......................4 Motherboard Introduction ......................5 Chapter 4 Operating System Installation ...................... -
Page 5: Chapter 1 Overview
Chapter 1 Overview DS-9600NI-H8 is an embedded development platform. It is designed for professional digital surveillance. As to the features, it has a well performance in CPU processing, encoding and decoding, and storage capability. Due to the openness of IA structure, various PC application software can be applied to the product, and providing a flexible NVR solution for the software developers or system integrators. -
Page 6: Chapter 2 Chipset Features
Installation Manual of DS-9600NI-H8 Chapter 2 Chipset Features Intel i3-330E 2.13GHz CPU with low power consumption and high performance. Support flexible development due to IA structure. Two 1000M Ethernet interfaces, support multiple network cameras connection. H.264 hardware compression. -
Page 7: Chapter 3 Interface Description
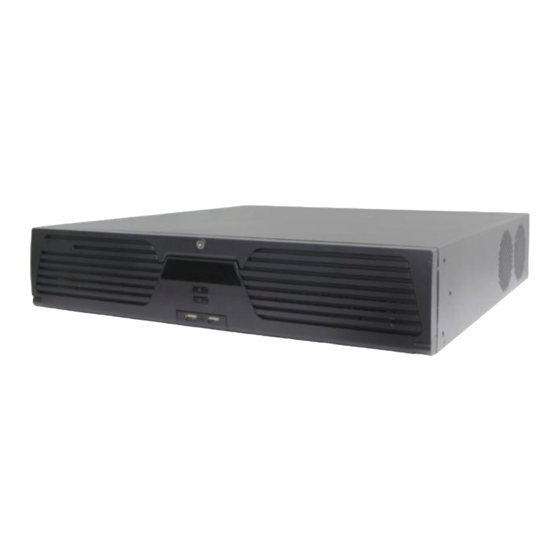
Installation Manual of DS-9600NI-H8 Chapter 3 Interface Description 3.1 Front Panel Introduction POWER ALARM Tx/Rx HDD READY ARCHIVE Figure 3. 1 View of Front Panel Table 3. 1 Description of Front Panel Name Description Power Power indicator is red in standby status and green if the device is running. -
Page 8: Rear Panel Introduction
Installation Manual of DS-9600NI-H8 3.2 Rear Panel Introduction Figure 3. 2 Rear Panel View Table 3. 2 Rear Panel Description Item Description Universal Serial Bus (USB) 3.0 ports for additional devices such as USB USB Interface mouse and USB Hard Disk Drive (HDD). -
Page 9: Motherboard Introduction
Installation Manual of DS-9600NI-H8 3.3 Motherboard Introduction Figure 3. 3 Motherboard View Table 3. 3 Motherboard Description Description Memory card slot. Memory card of capacity up to 8GB DDR3 can be inserted. eSATA interface. Debug card interface. For the use of debugging and maintenance. -
Page 10: Operating System Installation
Installation Manual of DS-9600NI-H8 Chapter 4 Operating System Installation 4.1 Installing a HDD Before you start: Before installing a hard disk drive (HDD), please make sure the power is disconnected from the NVR. A factory recommended HDD should be used for this installation. -
Page 11: Setting Boot Sequence
Installation Manual of DS-9600NI-H8 Figure 4. 3 Opening Front Panel 4. Insert the hard disk along the slot until it is placed into position. Figure 4. 4 Inserting the HDD 5. Repeat the above steps to install other hard disks onto the NVR. After having finished the installation of all hard disks, close the front panel and lock it with the key again. -
Page 12: Installing Operating System
Installation Manual of DS-9600NI-H8 Steps: Enter BIOS interface when starting process by pressing F2 on keyboard. Enter Advance settings interface by pressing direction buttons and Enter button on keyboard. Boot > Legacy > Normal Boot Menu > Advance Figure 4. 6 Boot Configuration Interface Set the CD/DVD-ROM Drive as the first boot type. -
Page 13: Installing Driver
Installation Manual of DS-9600NI-H8 4.4 Installing Driver Purpose: The NVR is attached with a driver installation program when delivery. The program is used for installing system driver, including motherboard chipset driver, audio card driver, graphics driver, etc.. And it is applicable to windows 7 and windows 8 of 32 bit and ×... -
Page 14: Chapter 5 Specification
Installation Manual of DS-9600NI-H8 Chapter 5 Specification Model DS-9600NI-H8 Processor Type Intel® Xeon® Processor E3-1225 v3 (8M Cache, 3.20 GHz) Memory Memory size 1, resolution: 3840 × 2160/30Hz HDMI output 1, resolution: 1920 × 1080/60Hz Video / Audio VGA output 1, resolution: 1920 ×...
Need help?
Do you have a question about the DS-9600NI-H8 and is the answer not in the manual?
Questions and answers