Sign In
Upload
Download
Add to my manuals
Delete from my manuals
Share
URL of this page:
HTML Link:
Bookmark this page
Add
Manual will be automatically added to "My Manuals"
Print this page
×
Bookmark added
×
Added to my manuals
Manuals
Brands
fantastic furniture Manuals
Indoor Furnishing
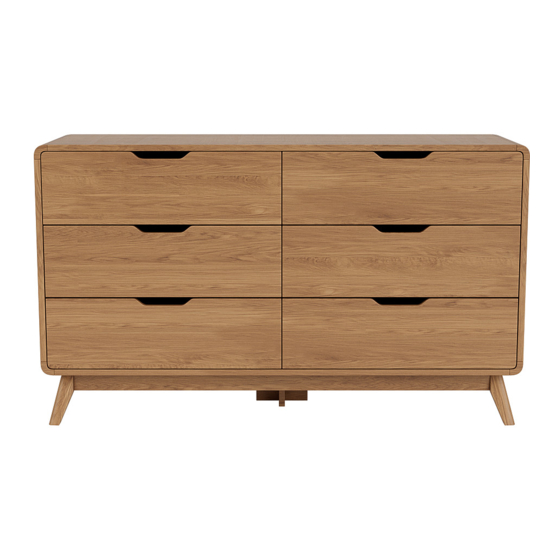
NIVA Dresser
Manual
fantastic furniture NIVA Dresser Manual
Hide thumbs
1
2
3
4
5
6
7
8
9
10
11
12
13
14
15
16
17
18
19
20
21
22
23
24
25
26
27
28
29
30
31
32
33
34
35
36
37
38
39
40
41
42
43
44
45
46
47
page
of
47
Go
/
47
Bookmarks
Advertisement
Quick Links
Download this manual
Previous
Page
Next
Page
1
2
3
4
5
Advertisement
Need help?
Do you have a question about the NIVA Dresser and is the answer not in the manual?
Ask a question
Questions and answers
Related Manuals for fantastic furniture NIVA Dresser
Indoor Furnishing fantastic furniture Java Lamp Table 1 Drawer Manual
(15 pages)
Indoor Furnishing fantastic furniture Torkay Lamp Table 1 Drawer White Walnut Manual
(14 pages)
Indoor Furnishing fantastic furniture Newhaven Manual
Table d6 (6 pages)
Indoor Furnishing fantastic furniture Nicholls Lamp Table Black Ash Quick Start Manual
(7 pages)
Indoor Furnishing fantastic furniture NIVA Bookcase 1 Drawer Manual
(21 pages)
Indoor Furnishing fantastic furniture Nicholls Coffee Table Square Black Ash Manual
(11 pages)
Indoor Furnishing fantastic furniture Niva Bedside 1 Drawer Manual
(14 pages)
Indoor Furnishing fantastic furniture Nicholls Bench Seat Black Ash Manual
(9 pages)
Indoor Furnishing fantastic furniture NIVA Tallboy 4 drawer Manual
(22 pages)
Indoor Furnishing fantastic furniture Duo Table Nest Set Manual
(5 pages)
Indoor Furnishing fantastic furniture Nova Mid Sleeper Desk Lowboy White Manual
(30 pages)
Indoor Furnishing fantastic furniture NIVA Manual
Dresser (23 pages)
Indoor Furnishing fantastic furniture Nook Quick Start Manual
Coffee table 1 shelf (13 pages)
Indoor Furnishing fantastic furniture Nook Manual
Table d4 (8 pages)
Indoor Furnishing fantastic furniture Nook Assembly Instructions Manual
Side table 1 shelf (10 pages)
Indoor Furnishing fantastic furniture Nook Manual
Lowline 1400mm (17 pages)
This manual is also suitable for:
Niva lamp table 1 drawer
Saville queen bed
Saville king bed
Print
Rename the bookmark
Delete bookmark?
Delete from my manuals?
Login
Sign In
OR
Sign in with Facebook
Sign in with Google
Upload manual
Upload from disk
Upload from URL


Need help?
Do you have a question about the NIVA Dresser and is the answer not in the manual?
Questions and answers