Advertisement
Quick Links
Sequoia Professional
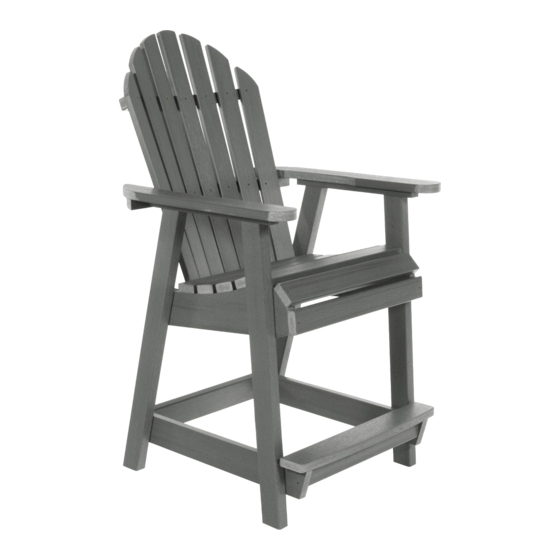
Counter Height Muskoka Chair
Assembly Guide
BACK
1) Insert (1) "A" Bolt into Lower Hole on Each Side to
Attach Seat to Back. Make Sure the Back is Fully Upright.
Make Bolts Snug, but Do Not Overtighten.
NOTE: Arm Goes on
Top of Back Support
2) With the Chair Laying on its Left Side, Attach
the Right Leg to the Seat Using (3) "A" Bolts.
SEQUOIA
PROFESSIONAL
by
highwood
A
SEAT
A
For information on Care and Cleaning or to register your
PROFESSIONAL
www.highwood-usa.com.
A
RIGHT LEG
A
SEAT
product by highwood , please visit
HARDWARE
1/4"-20 x 1-3/4"
IMPORTANT!
DO NOT fully tighten the bolts until all
bolts are started. Once all bolts are inserted,
go back & tighten all the bolts.
Retain these instructions for future reference
INCLUDED TOOLS
5/32" HEX KEY
SEQUOIA
x18
CM-CHRSQC2
03.05.19
PAGE 1 OF 2
Advertisement

Related Manuals for highwood SEQUOIA PROFESSIONAL CM-CHRSQC2


Summary of Contents for highwood SEQUOIA PROFESSIONAL CM-CHRSQC2
- Page 1 2) With the Chair Laying on its Left Side, Attach SEAT the Right Leg to the Seat Using (3) "A" Bolts. SEQUOIA For information on Care and Cleaning or to register your SEQUOIA CM-CHRSQC2 PROFESSIONAL PROFESSIONAL product by highwood , please visit 03.05.19 www.highwood-usa.com. PAGE 1 OF 2 highwood...
- Page 2 5) Attach Arms to the Back Using (2) "A" Bolts. 6) Tighten all Bolts. SEQUOIA For information on Care and Cleaning or to register your SEQUOIA CM-CHRSQC2 PROFESSIONAL 03.05.19 PROFESSIONAL product by highwood , please visit www.highwood-usa.com. PAGE 2 OF 2 highwood...
Need help?
Do you have a question about the SEQUOIA PROFESSIONAL CM-CHRSQC2 and is the answer not in the manual?
Questions and answers