Advertisement
Quick Links
Advertisement

Related Manuals for Hitachi HILU75203


Summary of Contents for Hitachi HILU75203
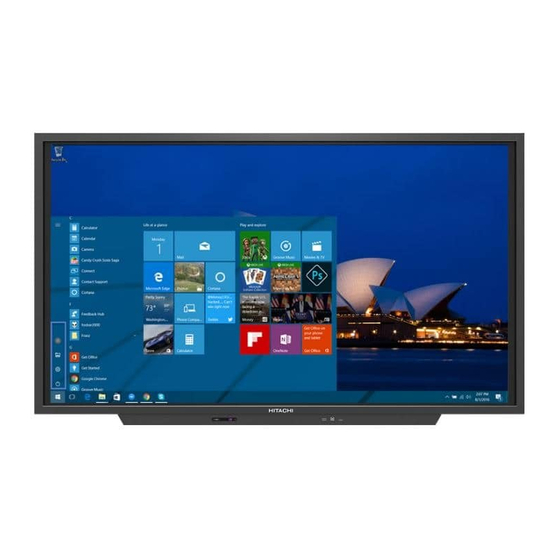
- Page 1 Installation Manual 75˝ (74.52˝) Model: HILS75204/HILU75203 Interactive Flat Panel Display...
- Page 2 QUICK SETUP GUIDE For further information, see the user manual. Please contact directly if you have questions on the use of the touch monitor after reading the Installation Manual and User Manual. IMPORTANT: Please read the precautions, safety instructions and this installation manual carefully before installing the touch monitor.
- Page 3 Moving and Carrying Notice Moving Notice: Moving the monitor requires at least four people. If not, it may drop and a serious injury may result. Carrying Notice: This monitor is heavy; please follow the instructions below when you are ready to carry the monitor.
- Page 4 Installation Don‘t install in a high-temperature environment. If the monitor is used in a high-temperature environment or in direct sunlight, it may cause the case or other parts to become distorted or damaged resulting in overheating or electric shock. Don‘t install in a high-humidity environment. This may cause overheating or electric shock.
- Page 5 Wall mounting safety notes Please make sure the bracket is fixed to a solid wall. After assembling, please don‘t pull or shake violently. Please don‘t install the bracket in direct sunlight or areas of humidity / high temperature for fear that the quality is affected Install the bracket at a minimum distance of 10 cm from other objects / walls on either side.
- Page 6 2. Package contents Packing list Item Q’ty 1. Interactive monitor 2. Carton 3. Bottom cushion 4. Top cushion 5. Packing bag 6. Accessories box Unpacking 1. Set the LCD Monitor box in front and upright position. 2. Cut the banding and take off 10 clips 3.
- Page 7 ④ HDMI Input (When connected, it changes to External Source.) Important Notice ◆ The USB cable (3m) that Hitachi provides in this accessory box is for the Touch USB at the back. Therefore, in case of connecting USB cable to Touch USB port in front, separate USB cable is required and the length of cable is strongly recommended to be less than 3m to make sure the signal intensity of touch sensor works properly.
- Page 8 ④ ③ ① ② ① Button Control ON / OFF Display the main screen menu VGA, OPS, EXTERNAL, HDMI 1, HDMI 2, HDMI 3, DP Volume Up (Right) Volume Down (Left) Move Up Move Down ② Rear Panel Connections Power Switch : ON / OFF Display Port AC IN : 100V~ 240V, 50/60Hz HDMI Output...
-
Page 9: Speaker Out
③ Rear Panel Connections RS232C/ RJ45 RS232/RJ45 SWITCH USB FOR TOUCH USB FOR TOUCH HDMI1 ONLY (HDMI 1 ONLY) RS232C SPEAKER OUT USB 2.0 RS232C (Supports USB cam or camera function) USB 3.0 (Supports USB cam or camera function) LAN OUT LAN IN L(8Ω) PC RGB IN... - Page 10 ④ Installing an OPS PC There is a slot on ④ for OPS PC. When you need to install an OPS PC, remove screws and existing cover first and screw up again after mounting OPS PC in the slot. ⑤ AC cord holder •...
- Page 11 4. Remote Controller(RCU) Instructions Key Name Description Power ON/OFF. Activates OSD menu of input source selecting. Naviga SOURCE tes input source downwards. Navigates upper menu in main OSD menu. ▲ Navigates input source. Navigates down menu in main OSD menu. ▼...
- Page 12 Display Mode Turning the monitor on 1. Correctly insert the power cord into the monitor and into the power socket. 2. Press the power button on the bottom of monitor or front control panel. Turning the monitor off With the power on, press the power button on the remote or control keypad to place the monitor backside in a standby mode.
- Page 13 5. Touch Operation No calibration is required first-time use. However, the touch system might need calibration over time or when for instance a different resolution is used. Please find calibration instructions below for the different operating systems: Installation 1. Connect the signal cable to the monitor and then turn on the monitor. 2.
- Page 14 6. Wall Mounting VESA mount size: 600(W) x 400(H) mm Separate wall mount screw and pipe from Monitor. As shown below, wall mount bracket is assembled with screw and pipe. Pipe only use the upper left and right and fixing screw is assembled attention to the screw length.
- Page 15 7. Trouble Shooting VESA mount size: 600(W) x 400(H) mm Before calling service personnel, please check the following chart for a possible cause to the trouble you are experiencing. Perform the adjustments according to the instructions on the “Operating the monitor page”.
- Page 16 8. Compliance and regulatory information FCC Compliance Statement: This equipment has been tested and found to comply with the limits for a Class A digital device, pursuant to part 15 of the FCC Rules. These limits are designed to provide reasonable protection against harmful interference when the equipment is operated in a commercial environment.
- Page 17 Rev 001.HAUL...
Need help?
Do you have a question about the HILU75203 and is the answer not in the manual?
Questions and answers