
Related Manuals for fantastic furniture STAR WARS BEDSIDE TIE FIGHTER


Summary of Contents for fantastic furniture STAR WARS BEDSIDE TIE FIGHTER
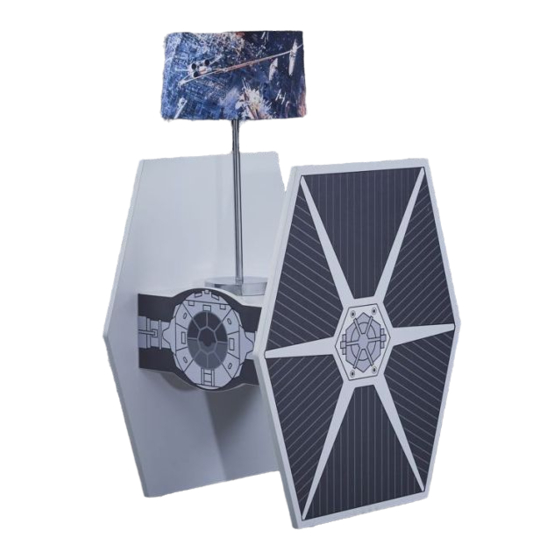
- Page 1 Version 1.0 TWO PEOPLE STAR WARS BEDSIDE TIE FIGHTER REQUIRED www.fantasticfurniture.com.au...
- Page 2 ENJOY Your purchase from Australia's Best Value Furniture Store WARNING: Weight Placed Inside Drawer Not To Exceed 5Kg. PAGE 2 www.fantasticfurniture.com.au...
-
Page 3: Assembly Checklist
Assembly checklist Make sure you have all the required tools. Read through the instructions carefully Never use power tools unless instructed. before you begin. Unless instructed, do not fully tighten screws Identify and lay out all of the components until the item is fully assembled. before you begin assembly. -
Page 4: What You Need
What you need to assemble the product Back Panel (P4) Side Panel L (P1) Top Panel (P3) Side Panel R Drawer Drawer (P2) Other tools you need Side Panel L Back Panel Philips head screwdriver, soft head mallet. (P6) (P5) Parts list Drawer Box 1: Side Panel L (P1);... - Page 5 Step 1 You will need 6 x Cam Bolt 4 x PVC Nail (H2) (H8) Soft Head Mallet - Screw 6 x cam bolts (H2) into panels (P1) & (P2) using a philips head screwdriver. - Fix 4 x PVC nails (H8) into panels (P1) & (P2) using a soft head mallet. Step 2 You will need H7-L...
- Page 6 Step 3 You will need 3 x Screw 1 x Runner M3x12mm (H5) Track L/R 14"(H7) H7-R Philips Head Screwdriver H7-R - Attach runner track (H7-R) to panel (P2) with 3 x short screws (H5) using a philips head screwdriver. Ensure the screw head is flush with the runner and not protruding at all. ** Please measure the screw size first before using it.
- Page 7 Step 5 You will need 2 x Cam Nut 2 x Wood Dowel 15mm(H1) M6x25mm (H3) Soft Head Mallet - Insert 2 x cam nuts (H1) into panels (P6) & (P7). - Rotate the cam nuts, so the arrow points towards the incoming cam bolt. - Insert 2 x dowels (H3) into panels (P6) &...
- Page 8 Step 7 You will need 4 x Screw Philips Head M4x38mm (H4) Screwdriver - Attach panels (P6) & (P7) to panel (P5). - Insert 4 x long screws (H4) and tighten with a philips head screwdriver. ** Please measure the screw size first before using it. Ruler is provided on page 4. Printed Side of Panel Step 8 You will need...
- Page 9 Step 9 H6-L You will need H6-R 6 x CSK Screw 1 x Drawer M3x12mm Runner L/R 14" (H5) (H6) Philips Head Screwdriver H6-R - Attach drawer runner (H6) to the underside of the drawer side panels (P6) and (P7) with 6 x short screws (H5) using a philips head screwdriver.
-
Page 10: Job Complete
Step 11 - Insert the drawer as shown, sliding the wheels on each side of the drawer over the wheels on the side panels. If necessary, tilt the front of the drawer upwards to set the runners in position. Job Complete! In the interest of our environment please dispose of all packaging thoughtfully.
Need help?
Do you have a question about the STAR WARS BEDSIDE TIE FIGHTER and is the answer not in the manual?
Questions and answers