Advertisement
Quick Links
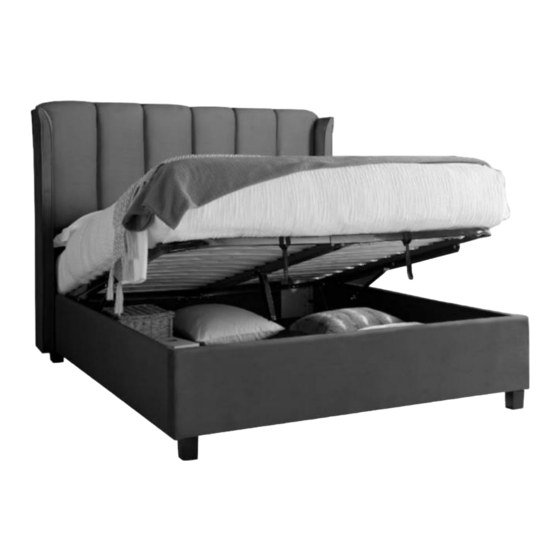
Aurora 5FT Velvet Ottoman Bed
Important before assembly:
Read these instructions carefully before assembling or using the product.
Please check the contents of the boxes before attempting to assemble this product. The instructions will
have a checklist of parts and fittings.
It would be sensible to lay a rug or a carpet on the floor where you intend to assemble the product, to avoid
scratches and damaging the product or the floor.
Assemble the product as close to its intended final location/room as possible.
Do NOT use any power tools as this may damage the frame.
Health & Safety:
This product or some parts of this product will be heavy. Please use an assistant when lifting.
Please keep small parts out of reach of children.
Always use on a level, even surface.
DO NOT jump on the product or any of its parts.
DO NOT use this product if any parts are missing, damaged or worn.
DO NOT use this product unless all fixings are secured.
Please keep these instructions for future reference.
Assembly Instructions
Title of Product
.
.
www.happybeds.co.uk
Advertisement

Subscribe to Our Youtube Channel
Related Manuals for Happybeds Aurora 5FT


Summary of Contents for Happybeds Aurora 5FT
- Page 1 Assembly Instructions Title of Product Aurora 5FT Velvet Ottoman Bed Important before assembly: Read these instructions carefully before assembling or using the product. Please check the contents of the boxes before attempting to assemble this product. The instructions will have a checklist of parts and fittings.
- Page 2 Never drag or push the pieces across a hard or stone floor as this will cause damage to the joints. Use a carpet or a rug for extra care. If you have problems assembling or have damaged or missing pieces, please contact us by visiting: https://www.happybeds.co.uk/customer-service...
- Page 3 No Part List No Hardware List Headboard 1 pc JCBB M6 x 20mm 8 pcs Footboard 1 pc JCBB M6 x 35mm 8 pcs Side Rail 2 pcs JCBC M6 x 45mm 12 pcs Metal Bed Base Frame 1 set JCBC M6 x 80mm 2 pcs U-bracket...
- Page 4 Step 1: To fix the support bed base (N) to the footboard (B) you will need to use hardware parts 3 with the M4 allen key (13). To fix the leg (P) in to the headboard (A) and footboard (B). JCBC M6 x 45mm 4 pcs 13 Allen Key M4...
- Page 5 Step 3: To assembler the cross bar I (K), II (L) you will need to use hardware parts 2 with the M4 allen key (13). To assembler support cross bar leg (M) after cross bar I, II completed. JCBB M6 x 35mm 8 pcs 11 M6 Hex Nuts 8 pcs...
- Page 6 Step 5: To install Hydraulic (H) to the Hydraulic Base Support (G), you will need to loose out the M8 HEX nut from the part (G). After the part (H) go inside the position, put back the M8 HEX Nut and tighten it using M8 Spanner (16). To install the complete set of (G) to the left and right side rail (C), you will need to use hardware 6 and 8 with Allen key M5 (14).
- Page 7 Step 6: To assemble part D, it is a must to make sure the hole go into the right position as shown in (NOTE). And before tighten the screw, please make sure part G is in same alignment in between left and right side of part G. DO NOT use any power tools as this may damage the bed frame and will invalidate any claims.
- Page 8 Step 7: To assemble part D, it is a must to make sure the hole go into the right position as shown in (NOTE). And before tighten the screw, please make sure part G is in same alignment in between left and right side of part G. DO NOT use any power tools as this may damage the bed frame and will invalidate any claims.
- Page 9 Step 8: To put the 4 X BOTTOM PANEL (J), you will need to slightly raise up the beds from the footboard (B) and slot in the panel go direct to the headboard and continue the second pieces there after the first pieces was in right position. To assembler the wing (O) you will need to open the velco behind the headboard (A) as shown.
-
Page 10: General Care And Maintenance
If this is not adhered to, it could result in failure to the product that will invalidate the warranty. For more information on cleaning and product care visit: https://www.happybeds.co.uk/help-and-advice Notes We’ve tried to make this product as easy to assemble as possible. In the unlikely event that...
Need help?
Do you have a question about the Aurora 5FT and is the answer not in the manual?
Questions and answers