Table of Contents
Advertisement
Advertisement
Table of Contents

Related Manuals for Nolan N82


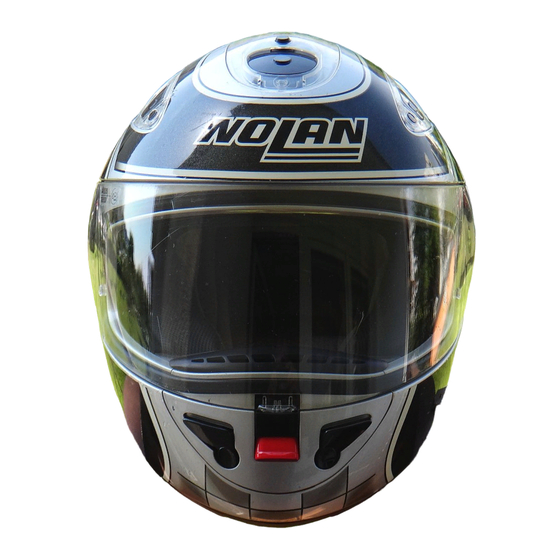
Summary of Contents for Nolan N82
- Page 1 Fig. 1 Fig. 2 Fig. 3 ISTRUZIONI MONTAGGIO E SMONTAGGIO DELLA VISIERA DIRECTIONS FOR THE ASSEMBLY AND DISASSEMBLY OF THE VISOR Fig. 4 ABNEHMEN - ANBRINGEN DES VISIERES INSTRUCTION POUR LE MONTAGE ET DEMONTAGE DE L’ECRAN INSTRUCCIONES DE MONTAJE Fig. 5 Y DESMONTAJE DE LA PANTALLA...
-
Page 2: Manutenzione E Pulizia
1) Se i meccanismi d'apertura e chiusura della visiera presentano (fig. 2). dei malfunzionamenti o danneggiamenti, rivolgersi ad un rivendi- tore autorizzato Nolan. 3) Ripetere l’operazione al punto 2 anche per l’altro lato della visiera. 2) Pulire il meccanismo d'apertura e chiusura della visiera solo con acqua e sapone, asciugando con l’aiuto d'aria compressa. -
Page 3: Maintenance And Cleaning
(fig. 2). 1) If the visor pull up and pull down mechanisms malfunction or are damaged, contact an authorized Nolan retail shop. 3) Repeat step in section 2 on the other side of the visor. 2) Use only neutral soap and water to clean the visor’s pull up and ASSEMBLY pull down mechanism and compressed air as a drying aid. -
Page 4: Wartung Und Reinigung
Trägerplatte gelöst ist (Abb. 2). Funktionsstörungen oder Beschädigungen, wendet man sich an 3) Den unter Punkt 2 beschriebenen Vorgang auf der anderen Seite den Nolan-Händler. des Visiers wiederholen. 2) Die Öffnungs- und Schließmechanik des Visiers nur mit Wasser ANBRINGEN und Seife reinigen und anschließend mit Druckluft trocknen. -
Page 5: Montage
3) Répéter cette opération au point 2 pour l’autre côté de l’ecran. s’adresser à un revendeur Nolan agréé. 2) Nettoyer le mécanisme d’ouverture et de fermeture de l’ecran uniquement avec de l’eau et du savon, en le séchant à l’aide du MONTAGE bombe à... -
Page 6: Montaje
3) Repetir la operación descrita en el apartado 2 en el otro lado de to con un distribuidor autorizado de Nolan. la pantalla. 2) Limpiar el mecanismo de apertura y cierre de la pantalla solamen- te con agua y jabón y secarlo con aire comprimido. -
Page 7: Noise Reducer
NOISE REDUCER I guanciali sono predisposti, nella zona auricolare, per l’inserimento di tasselli NOISE REDUCER (forniti di serie) che possono essere facilmente inseriti a pressione o rimossi (velcro), lasciando libero l’orecchio. The cheek pads are ready, in the auricular area, for the insertion of NOISE REDUCER plugs (standard supplied) that can be easily pressure-inserted or removed (velcro), leaving the ear free. - Page 8 VENTILATION FRONTALE VENTILACIÓN FRONTAL Démontage Desmontaje - Ouvrir le clapet en appuyant sur la partie postérieure des petits clapets - Abrir la ventanilla apretando la parte posterior de las aletas, que se qui s’ouvriront vers l’intérieur du casque. abrirán hacia el interior del casco. - Tirer légèrement la prise d’air vers l’extérieur du casque jusqu’à...
- Page 9 VENTILAZIONE FRONTALE FRONT VENTILATION BELÜFTUNG IM STIRNBEREICH Smontaggio Disassembly Abnehmen - Aprire lo sportello premendo sulla parte posteriore degli sportellini, i - Open the flap by pressing on the rear part of the ports, which will open - Die Klappe durch Drücken auf den hinteren Teil der Klappen öffnen. quali si apriranno verso l’interno del casco.
- Page 10 Démontage Desmontaje 1) Enfoncer le clapet antérieur vers l’intérieur du casque; le clapet antérieur restera 1) Empujar la aleta anterior hacia el interior del casco; la aleta anterior quedará blo- bloqué en position ouverte tandis que le clapet postérieur s’ouvrira, en même queada en la posición abierta y la aleta posterior se abrirá...
- Page 11 Smontaggio Disassembly Abnehmen 1) Premere lo sportellino anteriore verso l’interno del casco; lo sportellino anteriore 1) Push the front port inside the helmet. The front port will remain locked in the open 1) Die vordere Klappe zur Innenseite des Helms drücken; die vordere Klappe bleibt resterà...
- Page 12 Mousse intérieure de confort amovible et lavable déformer légèrement la bordure de la calotte et pousser jusqu’à entend- Relleno interior de confort desmontable ubicado en la zona de la nuca (fig. 3). Para efectuar esta operación, Fig. 1 Fig. 2 REMOVABLE &...
- Page 13 Imbottitura di conforto interna amovibile 2.3 Agganciare la linguetta posteriore destra, centrale e sinistra dell’interno di Removable & washable comfort padding 2.4 Insert the band and the left chin strap in the special slot in the left cheek Abnehmbare und waschbare Komfortpolsterung Rahmen im Nackenbereich stecken (Abb.
Need help?
Do you have a question about the N82 and is the answer not in the manual?
Questions and answers