Sign In
Upload
Download
Table of Contents
Contents
Add to my manuals
Delete from my manuals
Share
URL of this page:
HTML Link:
Bookmark this page
Add
Manual will be automatically added to "My Manuals"
Print this page
×
Bookmark added
×
Added to my manuals
Manuals
Brands
Midea Manuals
Microwave Oven
1834G1A
Instruction manual
Midea 1834G1A Instruction Manual
Commercial microwave oven
Hide thumbs
1
2
3
4
5
6
7
8
9
10
11
12
13
14
15
16
17
18
19
20
21
22
23
24
Table Of Contents
25
page
of
25
Go
/
25
Contents
Table of Contents
Bookmarks
Table of Contents
Specifications
Precautions to Avoid Possible Exposure to Excessive Microwave Energy
Important Safety Instructions
Grounding Instructions
Radio Interference
Materials You Can Use in Microwave Oven
Materials to be Avoided in Microwave Oven
Setting up Your Oven
Names of Oven Parts and Accessories
Countertop Installation
Control Panel
Idle Mode
Ready Mode
Door Open Mode
Stage Cooking Programming
Factory Default Setting
Cleaning Instructions
Advertisement
Quick Links
1
Setting up Your Oven
2
Stage Cooking Programming
Download this manual
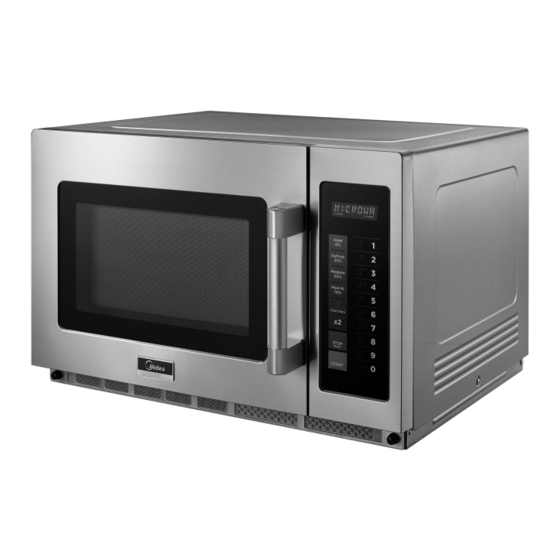
Commercial
Microwave Oven
INSTRUCTION MANUAL
Model: 1834G1A
Model: 2134G1A
Read these instructions carefully before using your microwave oven, and keep it for refer nce
e
If you follow the instructions, your oven will provide you with many years of dependable service.
REA
D
CAREFULLY
Table of
Contents
Previous
Page
Next
Page
1
2
3
4
5
Advertisement
Table of Contents
Need help?
Do you have a question about the 1834G1A and is the answer not in the manual?
Ask a question
Questions and answers
Related Manuals for Midea 1834G1A
Microwave Oven Midea 1025F0A Instruction Manual
Commercial microwave oven (16 pages)
Microwave Oven Midea 1817G1A Instruction Manual
Commercial microwave oven (29 pages)
Microwave Oven Midea 2117G1A Instruction Manual
Commercial microwave oven (28 pages)
Microwave Oven Midea 1025F2A Instruction Manual
Commercial microwave oven (20 pages)
Microwave Oven midea 1034N1A Instruction Manual
Commercial microwave oven (24 pages)
Microwave Oven Midea 1217G1A Instruction Manual
Commercial microwave oven (28 pages)
Microwave Oven Midea 1025F1A Instruction Manual
Commercial microwave oven (20 pages)
Microwave Oven Midea 1834G1F-BS Instruction Manual
(28 pages)
Microwave Oven Midea 1234G1A Instruction Manual
Commercial microwave oven (25 pages)
Microwave Oven Midea 1025F1F-BS Instruction Manual
(24 pages)
Microwave Oven Midea FlashChef Series Operation Instruction Manual
(6 pages)
Microwave Oven Midea 1217G1S Instruction Manual
Commercial microwave oven (36 pages)
Microwave Oven Midea 1817G1F-BS Instruction Manual
(32 pages)
Microwave Oven Midea 1034N1E-EU User Manual
Commercial microwave oven (60 pages)
Microwave Oven Midea 2134G1A Instruction Manual
Commercial microwave oven (25 pages)
Microwave Oven Midea PG2320Z Instruction Manual
Steam microwave oven (32 pages)
This manual is also suitable for:
2134g1a
Table of Contents
Print
Rename the bookmark
Delete bookmark?
Delete from my manuals?
Login
Sign In
OR
Sign in with Facebook
Sign in with Google
Upload manual
Upload from disk
Upload from URL


Need help?
Do you have a question about the 1834G1A and is the answer not in the manual?
Questions and answers