Advertisement
Quick Links
Advertisement

Subscribe to Our Youtube Channel
Related Manuals for Kogan KAWLMFM50TA


Summary of Contents for Kogan KAWLMFM50TA
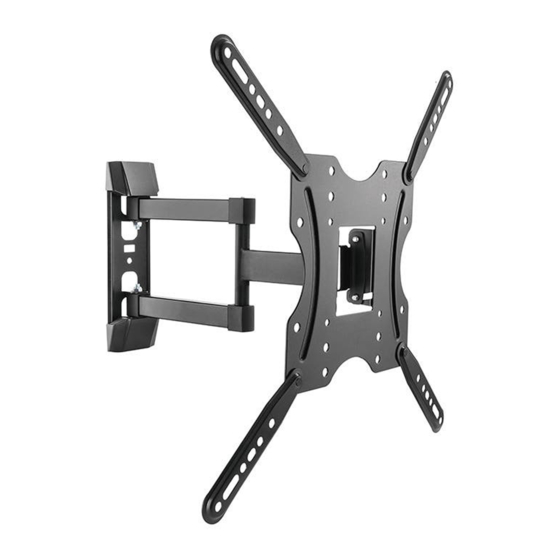
- Page 1 FULL MOTION WALL MOUNT FOR 26" - 50" TVS KAWLMFM50TA...
-
Page 3: Safety And Warnings
SAFETY & WARNINGS Caution This product contains small items that could be a choking hazard if swallowed. Keep these items away from young children. • Make sure these instructions are read and completely understood before attempting installation. If you are unsure of any part of the installation, please contact a professional installer for assistance. - Page 4 COMPONENTS A (x1) B (x4) C (x2) M6x30 (x4) M8x30 (x4) M8x50 (x4) D8 (x4) M-E (x8) M-F (x8) W-A (x4) W-B (x4) W-C (x4) Tools Required...
- Page 5 ASSEMBLY Step 1: Step 2-A (suitable for wood stud mounting):...
- Page 6 Step 2-B (suitable for solid concrete mounting): Step 3: Attach the adjustment arms (B) to bracket (A) .
- Page 7 Step 4: Adjust the four arms (B) to suit your application. Step 5: Attach the two bracket covers (C) .
- Page 8 Step 6: Attach the bracket (A) to the rear of your TV using the appropriate mounting hardware for your application.
- Page 9 Step 7: • Attach the TV/bracket assembly to the mounting arm. • Secure in place using the screw.
- Page 10 Step 8: The mounting arm can be adjusted with up to 90° of ration, +3° upward tilt and -10° of downward tilt.
- Page 11 NOTES...
- Page 12 Need more information? We hope that this user guide has given you the assistance needed for a simple set-up. For the most up-to-date guide for your product, as well as any additional assistance you may require, head online to help.kogan.com...
Need help?
Do you have a question about the KAWLMFM50TA and is the answer not in the manual?
Questions and answers