Advertisement
Quick Links
Before you start
It is recommended that the unit and basin are secured to a suitably reinforced wall to ensure stability. The wall plugs supplied are only suitable for solid stone / brick walls.
For plasterboard walls use specialist wall plugs along with supplementary wall strengthening as units can be very heavy. Seek advice from a specialist about the suitability
of fixings to be used.
Wear suitable eye protection when drilling. Take care when using power tools near water - the use of a residual current device (RCD) is recommended. Beware of
hidden pipes or cables. Take care when drilling tiled surfaces as the drill might slip. Use a piece of masking tape to prevent the drill from wandering.
1
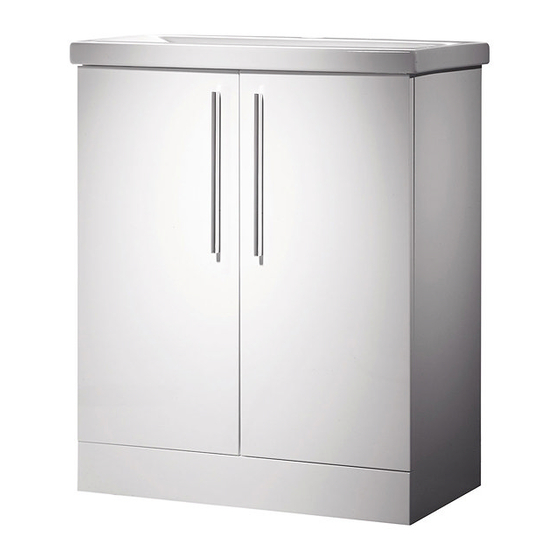
Door
Furniture frame
Fitting the handles
Using the screws packed with the handles, fix the handles
through the pre-drilled holes from the back of the doors.
Door adjustment
Screw A offers left / right adjustment for levelling up the doors.
Screw B offers forward / back adjustment (see Fig. 3).
Button C is the quick release, press this on both hinges to
remove a door by releasing the hinges from their mounting plates.
Fitting ceramic basin
Once the basin has been plumbed in finish by securing to the
washstand using a silicone sealant (not supplied).
ENVY 700 FLOOR MOUNTED WASHSTAND
ENVY WALL MOUNTED UNIT EN700x, EN600x
FITTING INSTRUCTIONS
FITTING INSTRUCTIONS
Please retain for future reference
Please retain for future reference
Mark the location of each of the wall mounting plates
ensuring that they are positioned inside the sidewalls of
the vanity unit. For each mounting plate drill two holes in
the marked positions using a 8mm drill bit to a depth of
A
B
C
Customer S ervices, Rop er Rho des Ltd, Brassmill Lane Trading E state, Bath, BA1 3JF
TEL: 01225 303 900
Email: sales@rop errho des.co.uk
55mm.
3
A
B
|
FAX: 01225 448 877
|
Web: www.rop errho des.co.uk
2
B
C
A
Locate the hangers onto the
hangers not only tighten the
unit against the wall (Screw
wall mounting plates. Wall
A) but also offer up/down
adjustment to fine-tune the
fixing position (Screw B).
Finally fold over flap C to
conceal the adjustment
screws on the wall hanger.
REF: RR.EN7Fx | V2.00 07.11
Advertisement

Subscribe to Our Youtube Channel
Related Manuals for Roper Rhodes ENVY 700


Summary of Contents for Roper Rhodes ENVY 700
- Page 1 ENVY WALL MOUNTED UNIT EN700x, EN600x ENVY 700 FLOOR MOUNTED WASHSTAND FITTING INSTRUCTIONS FITTING INSTRUCTIONS Please retain for future reference Please retain for future reference Before you start It is recommended that the unit and basin are secured to a suitably reinforced wall to ensure stability. The wall plugs supplied are only suitable for solid stone / brick walls.
- Page 2 Clean with a soft damp cloth only. Replacement components Should you require any replacement components for this product please contact Roper Rhodes using the contact details below. Use a wax free polish if one must be used. For removal of lime scale deposits use a suitable proprietary cleaner.
Need help?
Do you have a question about the ENVY 700 and is the answer not in the manual?
Questions and answers