Table of Contents
Advertisement
Quick Links
IMPORTANT.
This product could be dangerous and is only to be installed by a competent person in
accordance with current IEE wiring regulations. If in doubt consult a qualified electrician
WARNING
• DO NOT - strike glass components with hard or pointed items.
• DO NOT - place very hot or very cold items against or in close proximity to glass surfaces.
• DO NOT - connect to a trailing plug and socket outlet
• DO NOT - install in saunas, steam rooms or shower cubicles.
• DO NOT - install the product to surfaces that are damp or otherwise electrically conductive.
Fitting in bathrooms is subject to the appropriate zone in accordance with IEE Regulations.
This product is suitable for zone 2 and outside zones. IT IS NOT suitable for installation in
Zone 0 or Zone 1.
This product is only suitable for permanent installation. Although this product has an Ingress
Protection rating of IP44 it is only suitable for indoor use.
Wear suitable eye protection when drilling. Take care when using power tools near water -
the use of a residual current device (RCD) is advised. Beware of hidden cables or pipes.
Take care if drilling on tiled surfaces in case the drill slips. A piece of masking tape applied
to the wall before marking out the fixing holes will stop the drill from wandering.
The nominal thickness of the mirror glass used in this product is 5mm and is film backed for
safety. If the glass becomes chipped or broken replace immediately.
This product should be positioned well away from curtains and other fabrics. Never cover
the mirror. This product is heated, we recommend that it is turned off after use and should
never be left on for prolonged periods of time
COMPLIANCE
This product complies with all relevant British and European safety standards:
WIRING
This product is manufactured to class I category and must have an earth connection.
COLOUR CODING:
L - Live = Brown
N - Neutral = Blue
- Earth = Green & Yellow
CLEANING
It is recommended that the unit is cleaned with a soft, dry, non abrasive cloth when turned
off. Never use cleaning agents or abrasive materials on any type of surface finish. Do not
allow moisture to come into contact with the electrical components.
DEMISTER PAD
This product has an integrated demister pad which raises the temperature of the associated mirror
glass to above ambient temperatures to prevent condensation forming.
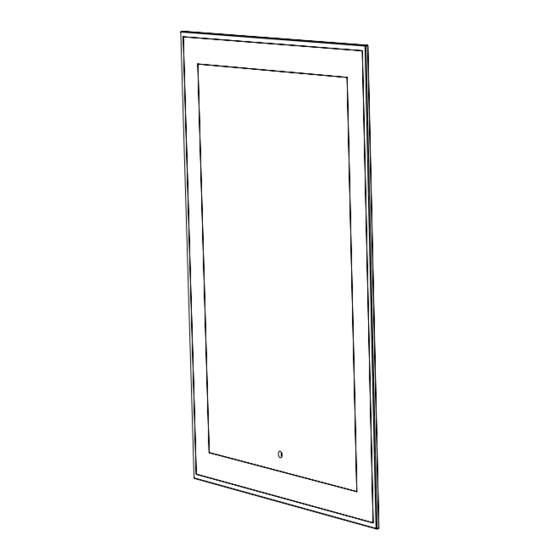
Fitting instructions for US70AL
Page 1 of 5
US80AL
US90AL
US10AL
US12AL
US.TB.08.2016.V0.1
Advertisement
Table of Contents

Subscribe to Our Youtube Channel
Related Manuals for Roper Rhodes US70AL


Summary of Contents for Roper Rhodes US70AL
- Page 1 Fitting instructions for US70AL US80AL US90AL US10AL US12AL IMPORTANT. This product could be dangerous and is only to be installed by a competent person in accordance with current IEE wiring regulations. If in doubt consult a qualified electrician WARNING • DO NOT - strike glass components with hard or pointed items.
- Page 2 INSTALLATION OF THIS PRODUCT REQUIRES CAREFUL PLANNING – PLEASE READ THROUGH THE ENTIRE INSTRUCTIONS BEFORE COMMENCING INSTALLATION: This mirror requires two people for installation. BEFORE YOU BEGIN Ensure that the wall where the mirror will be installed is level, flat and cleared of any debris. Use a straight edge to check the wall and remove any obstructions.
- Page 3 INSTALLATION STEPS Fix template to the wall in the intended position with masking tape. Mark out the area to be removed for the electrical box. The bottom edge of the template represents the final position of the mirror frame. Use the centre line on the template to position the centre point of the mirror final position.
- Page 4 Use hand tools and suitable wall fixings to secure the mirror frame in place. It is very important that the fixing screws are not over tightened. NOTE: IT IS EXTREMELY IMPORTANT TO ORIENT THE FRAME CORRECTLY ACCORDING TO THE LABELS ON THE FRAME. IF THE FRAME IS NOT ORIENTATED CORRECTLY THE MIRROR GLASS WILL NOT SECURE TO THE FRAME.
- Page 5 Screw the IR sensor head into the mirror body. Connect the LED and Demister pad cables connectors. Once connected the excess cabling should be secured to the electronics enclosure using the clips on the electronics enclosure cover provided. Offer the mirror glass assembly up to the frame ensuring it is orientated according to the labels.
Need help?
Do you have a question about the US70AL and is the answer not in the manual?
Questions and answers